Loading ...
Loading ...
Loading ...
9
WARNING
Excessive Weight Hazard
Use two or more people to move and install range hood.
Failure to do so can result in back or other injury.
2. Using two or more people, lift the range hood assembly onto the covered
surface.
STEP 2 - INSTALL MOUNTING SCREWS
1. Determine and mark the centerline on the wall where the canopy hood will be
installed.
2. Select a mounting height between a minimum of 24" (61.0 cm) for an electric
cooking surface, a minimum of 30" (76 cm) for a gas cooking surface, and a
suggested maximum of 36" (91.4 cm) above the range to the bottom of the
hood. Mark a reference line on the wall.
3. Mark centers of the fastener locations on the wall.
IMPORTANT: All screws must be installed into wood. If there is no wood to screw
into, additional wall framing supports may be required.
4. Drill ³⁄₁₆" (4.8 mm) pilot holes at all locations where screws are being installed into
wood.
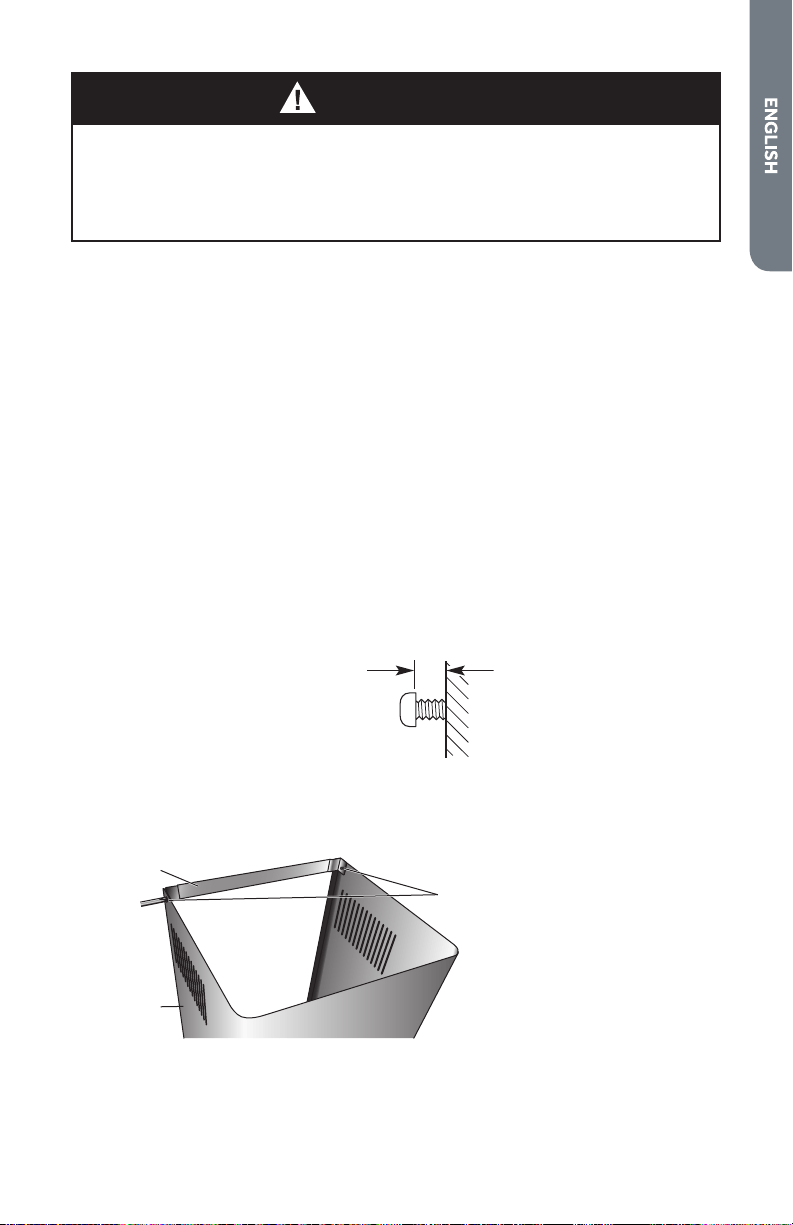
5. Install the two - 5 x 45 mm mounting screws. Leave a ¹⁄₄" (6.4 mm) gap between
the wall and the back of the screw head to slide range hood into place.
¼"
(6.4 mm)
STEP 3 - INSTALL VENT COVER BRACKET
1. Remove support bracket from vent cover.
c
a
b
a Support Bracket
b Screws
c Vent Cover
Loading ...
Loading ...
Loading ...