Loading ...
Loading ...
Loading ...
3
All specifications and informations are subject to change without notice.
II.Installation Instructions
1.Accessories
Signal cable
User manual
Warranty card
(The above pictures are for illustration only and the physical accessories shall govern.)
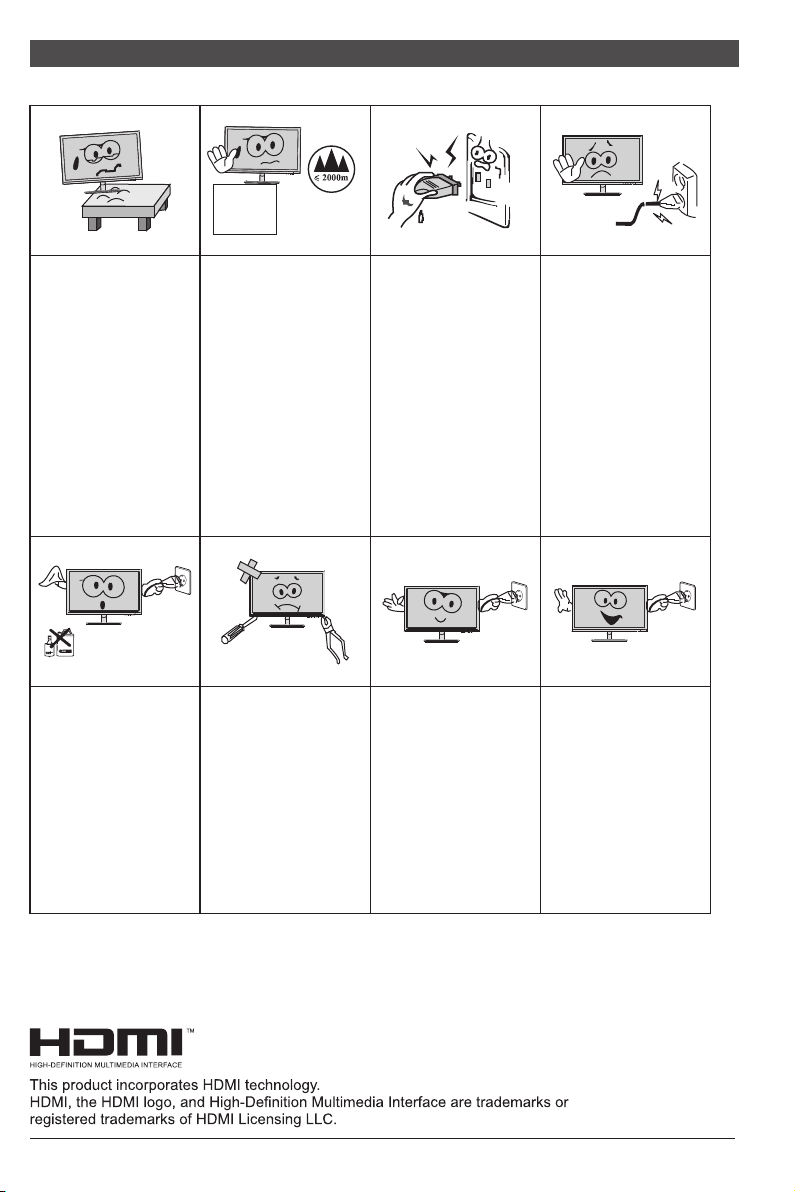
Please always place
this device on a stable
surface; otherwise,
it may fall and b e
damaged.
The altitude and the
tropical environment
the adapter fits depend
on which adapter is
used for the device.
The rating plate on
the back of the device
with the above warning
sign indicates that
t h i s p r o d u c t i s
applicable for the
safe use of the region
w i t h a l t i t u d e o f
2,000m and below.
Do not hold the plug
w i t h w e t h a n d ;
otherwise, electric
shock may occur.
Make sure the plug
has a good touch
because poor touch
may cause fire.
Do not use a broken
power plug nor keep
a power cord near heat
source; otherwise,
el e ct ri c sh oc k o r
fire may occur.
When cleaning the
device, be sure to
remove the power
plug, use a piece
of soft cloth rather
t h a n i n d u s t r i a l
chemical to clean
the device, be sure
not to let water enter
the device.
Do not disassemble
this device without
permission. In case
of failure, be sure to
contact a professional
servicing person to fix
it. The unauthorized
disassembly of this
device may result
in electric shock or
fire.
In case of rare smell
or noise out of this
device, be sure to
immediately cut off
the power supply and
ask a professional
servicing person to
fix the problem.
When this device
is idle for long time,
be sure to power it
off; otherwise, electric
shock or fire may
occur.
I.Safety Prevention Measures
Note:
The device with AC switch may use such AC switch as cut-off component.
The device without AC switch may use power plug or coupler as cut-off component.
In case of the normal use of the equipment, make sure the cut-off component
can be accessed easily.
4
All specifications and informations are subject to change without notice.
Screws
Quick Start Guide
Power adapter
Base/Stand
2. Angle Adjustment
2.1 The screen can be adjusted by
inclining forward and backward;
however, the specific adjustment
depends on the specific model of
the device. Generally, it may be
inclined 5±2°forward and 15±2°
backward.
2.2 When adjusting the angle of the
monitor, be sure not to touch or press
the area of the screen.
(The above pictures are for illustration only and the physical accessories shall govern.)
80mm±3mm
5 ±2゜ ゜
20 ±2゜ ゜
Loading ...
Loading ...
Loading ...