Loading ...
Loading ...
Loading ...
96
SETTING UP FUNCTIONS FROM MENUS
Correcting the Screen Color
[Screen color]
You can adjust the while balance so that white
portions of the image are displayed correctly.
T
T
Press the [OK] button to confirm, and then press
the [MENU] button.
Capturing a Logo to Be Projected
[Logo capture]
You can project a desired image (logo) when
you turn on the projector, there is no input signal,
or you blacken a projecting image temporarily.
T
T
T
Press the [OK] button to confirm, and then press
the [MENU] button.
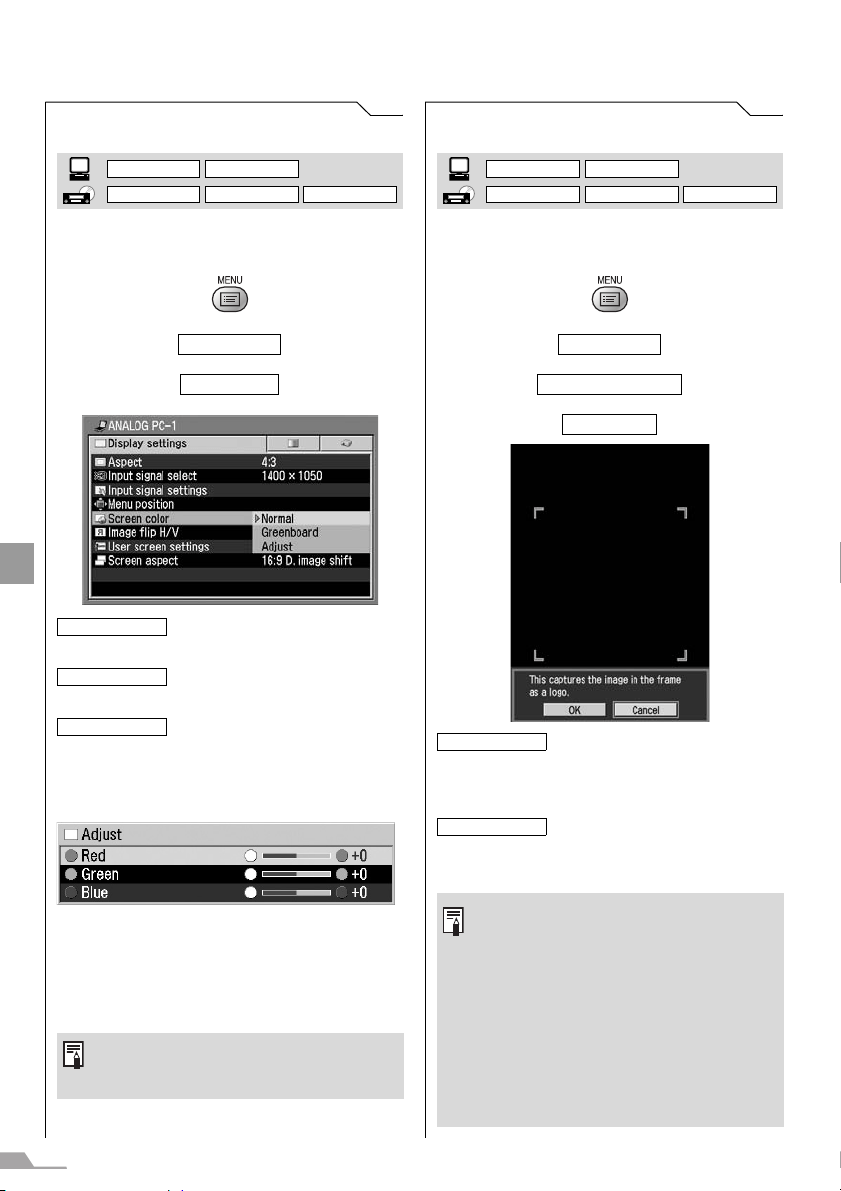
Display settings
Screen color
Projects an image in a color tone
similar to that of natural light on a
standard screen.
Projects an image in an almost natu-
ral color tone on a greenboard (dark
green).
Adjusts color tone with the level
meter. To adjust the color tone auto-
matically, press the [AUTO SET] but-
ton when the following level meter is
displayed. Use this function if the
[Greenboard] setting is inadequate.
If you manually adjust it, press [ ] or [ ]
button to select red, green, or blue.
[>] Increases the color tone of each color.
[<] Decreases the color tone of each color.
z If you select [16:9 D. image shift] for
[Screen aspect], the auto screen color
correction function will be disabled.
DIGITAL PC ANALOG PC
DIGITAL VIDEO COMP./SCART VIDEO/S-VIDEO
Normal
Greenboard
Adjust
<
<
Display settings
User screen settings
Logo capture
Projects the image to be captured
on the screen. Surround the captur-
ing area with the red frame and
press [OK]. The image in the red
frame is captured.
Cancels the image capturing.
z You can capture only one image.
z For projecting the captured logo on a
screen, select [User logo] on the [Pro-
jector on], [No signal screen], or [NO
SHOW] menu item.
z You may not capture an image
depending on the resolution and scan
system.
z If you select [16:9 D. image shift] for
[Screen aspect], you cannot capture
an image.
DIGITAL PC ANALOG PC
DIGITAL VIDEO COMP./SCART VIDEO/S-VIDEO
OK
Cancel
Loading ...
Loading ...
Loading ...