Loading ...
Loading ...
Loading ...
98
Deleting file entries
Deleting single entries
1.
Select the entry you want to delete in Index mode, or
display it in View mode.
2.
Press
MENU
, highlight DATA DELETION then press
ENTER
.
3.
Highlight SELECTED ENTRY then press
ENTER
.
A warning message will appear asking if you are sure you
want to delete the entry.
4.
Press
Y
(or
N
to cancel the deletion).
You can also delete single entries by highlighting the
entry in Index mode and pressing
DEL
.
Deleting all entries
1.
Press
MENU
, select VIEWS then press
ENTER
.
2.
Select the file in which you want to delete all the
entries then press
ENTER
.
3.
Press
MENU
, highlight DATA DELETION, then
press
ENTER
.
4.
From the submenu, highlight ALL IN SELECTED
FILE, then press
ENTER
.
A warning message will appear asking if you are sure you
want to delete all entries in the selected file.
5.
Press
Y
(or
N
to cancel the deletion).
Deleting all entries in all files
1.
Press
MENU
, highlight DATA DELETION, then
press
ENTER
.
2.
From the submenu, highlight ALL TEL FILES or ALL
USER FILES then press
ENTER
.
A warning message will appear asking if you are sure you
want to delete all entries in the files.
3.
Press
Y
(or
N
to cancel the deletion).
☞ It is not possible to delete all entries either in a single
file or in all three files simultaneously if the Organizer
is locked. See p.186.
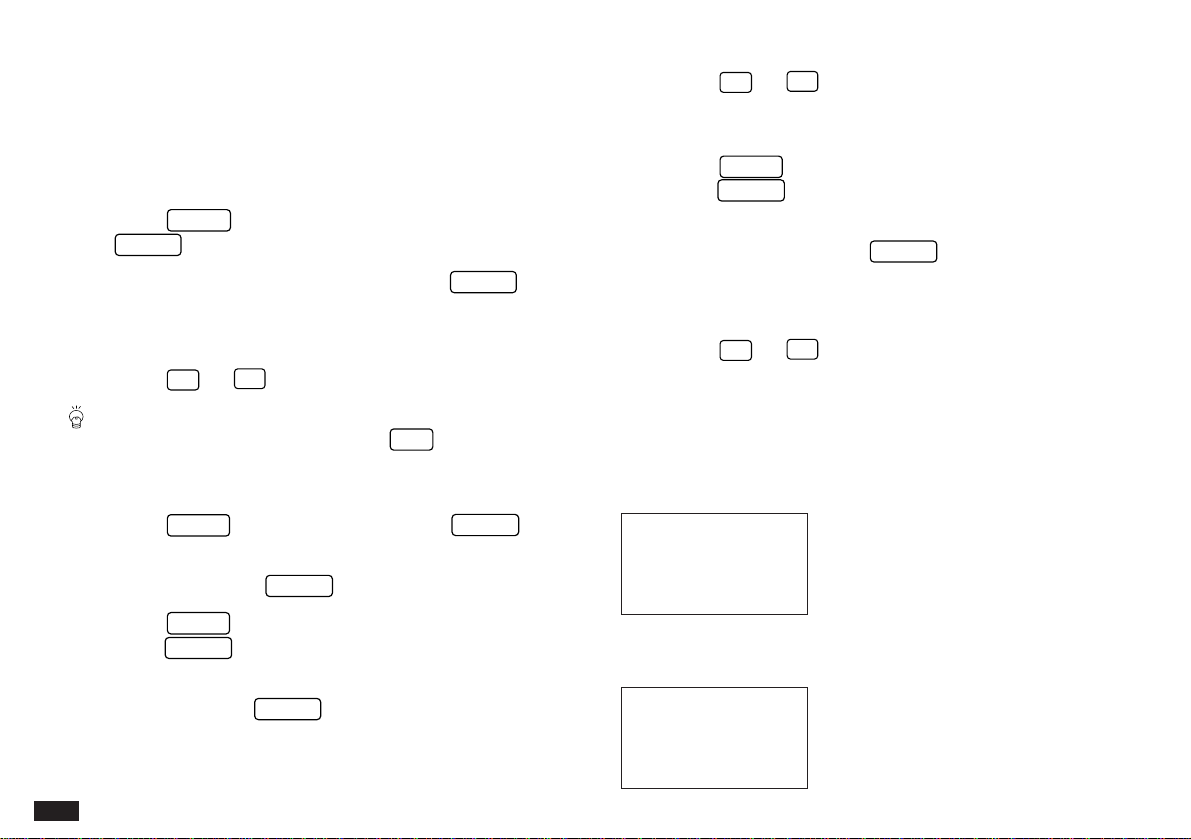
The Tel application menu
#4-1-1 Display
The User File application menu
#4-1-2 Display
Selects TEL 1, TEL 2 or TEL 3
files (see p.96).
Defines the field, index and sorting
format for each file (see p.99).
Selects the specific entries for
deletion (see p.98).
Selects USER FILE 1, USER FILE
2 or USER FILE 3 (see p.96).
Defines the field, index and sorting
format for each file (see p.99).
Selects the specific entries for
deletion (see p.98).
Loading ...
Loading ...
Loading ...