Loading ...
Loading ...
Loading ...
WARNING – SERVICING TO BE CARRIED OUT ONLY BY AN AUTHORISED PERSON
Disconnect from electricity and gas before servicing. Check appliance is safe when you have nished.
29
Ovens
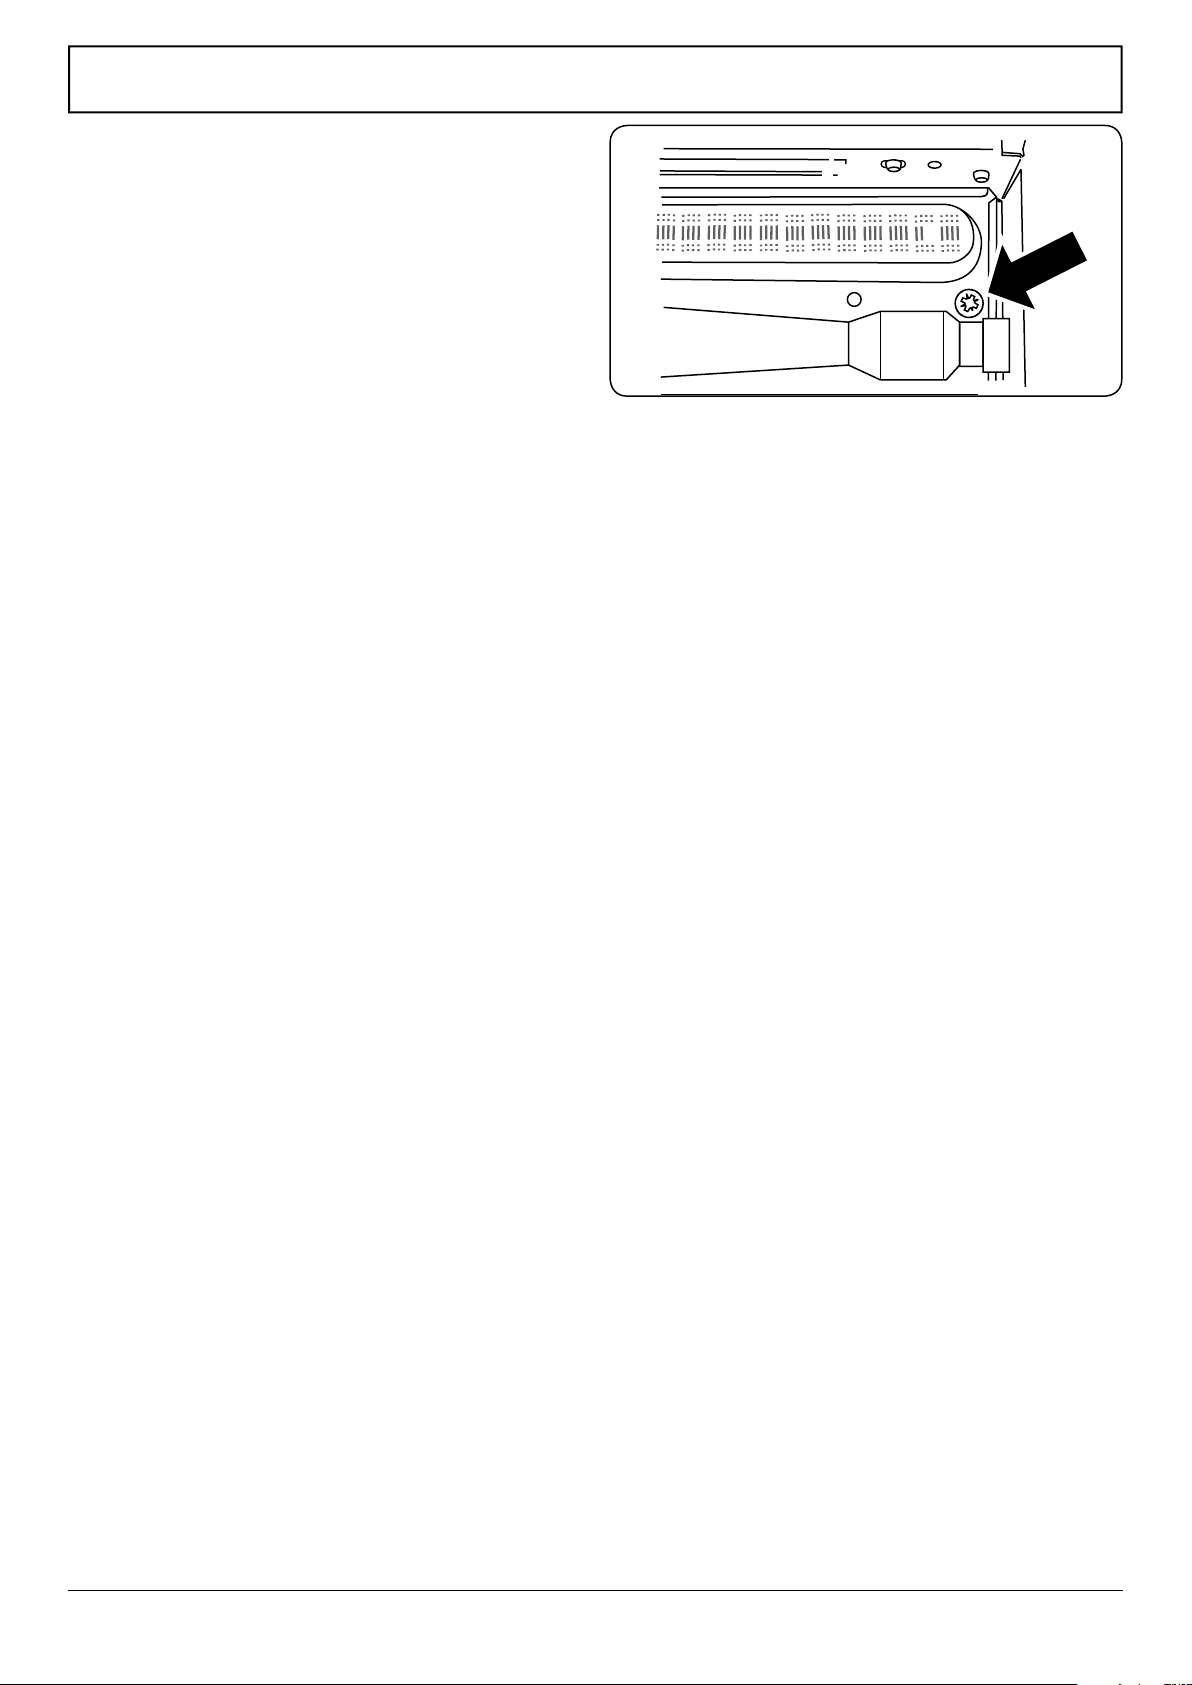
Oven Burner Injector
Remove the oven furniture. Remove the securing screw at the
right-hand end of the burner assembly (Fig.8-4). The burner
is held in place by dimples in the mounting bracket. Slide the
burner to the left and lift up, taking care not to disturb the
ignition electrode or the ame supervision device electrode
positions.
Remove the oven jet from the adaptor and t the new jet; see
the ‘Technical Data’ for the correct jets.
Reassemble in the reverse order.
Oven Thermostat Bypass
Remove the thermostat bypass screw and fit the new one in
each oven; see the ‘Technical Data’ for the correct screws.
Reassemble the cooker.
Gas Connection
Remove the inlet governor from the gas inlet. Connect the
gas hose to the inlet using a ½” female-female connector.
Connect the appliance to the gas supply. Check the cooker is
gas sound; see the ‘Technical Data’ section for test pressures.
Pressure Testing
The pressure test point is accessible on the inlet pipe at the
rear. Remove the test nipple screw and t a pressure gauge to
the test point. Turn on and light two of the hotplate burners.
For Propane X cookers the pressure should be 2.54 kPa.
Check the appliance is gas sound.
Check operation of all the burners.
Affix Label
Stick the appropriate gas label over the natural gas part of the
appliance data label.
Fig.8-4
Loading ...
Loading ...
Loading ...