Loading ...
Loading ...
Loading ...
English
5
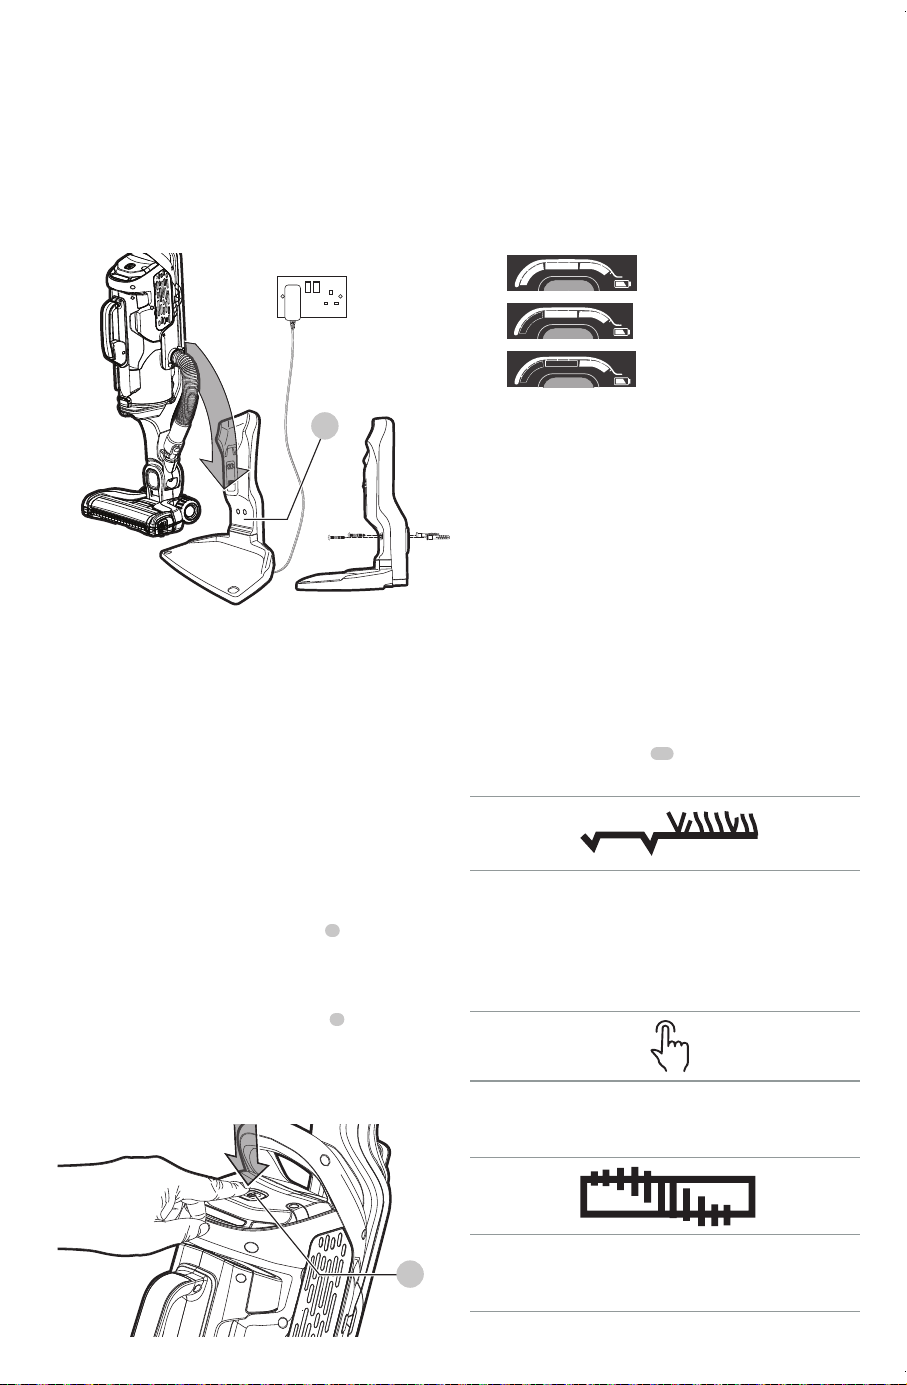
WARNING: Before charging, be sure to
empty all contents and dry thoroughly if needed to avoid
damage to yourappliance.
• The unit must be turned off in order tocharge.
nOTE: While charging, the charger may become warm. This
is normal and does not indicate a problem. The appliance
can be left connected to the chargerindefinitely.
Fig. F
13
WARNING: Do not charge the battery
at ambient temperatures below 39°F (4°C) or above
104°F (40°C). Follow all charging instructions and do
not charge the appliance outside of the temperature
range specified in the instructions. Charging
improperly or at temperatures outside of the specified
range may damage the battery and increase risk
offire.
USE
Switching on and off (Fig. G)
• To switch ON, press the on/off switch
1
. The state of
charge indicator LEDs will illuminate and vacuum will
begin in AUTOSENSEmode.
nOTE: Unit starts in mid performancesetting.
• To switch OFF, press the on/off switch
1
.
• Return the product to the charger immediately after use
so that it will be ready and fully charged for the next
use. Ensure that the product is fully engaged with the
chargerplug or chargerbase.
Fig. G
1
State of charge indicator
This appliance include a state of charge indicator which
consists of three white LED lights that indicate the level
of charge remaining in the battery. This feature is only
activated when the vacuum is poweredon.
The state of charge indicator is an indication of approximate
levels of charge remaining in the battery pack according to
the followingindicators:
75–100% charged
51–74% charged
< 50% charged
The LED battery indicator displays the remaining charge
and warns you when the battery is low. The final LED will
flash continuously when there is only 1 minute of runtime
remaining. All LEDs will flash when the unit isdischarged.
nOTE: The state of charge indicator is only an indication
of the charge left on the battery. It does not indicate tool
functionality and is subject to variation based on product
components, temperature and end-userapplication.
AUTOSENSE (Fig. H)
The appliance is fitted with a unique floor sense feature. It
will automatically switch between low and high suction
modes as it detects the surface that is beingvacuumed.
• The appliance will default to using AUTOSENSE when
you turn the unitON.
• To turn off AUTOSENSE, first turn the unit ON then press
the AUTOSENSE button
35
to deactivate thefeature.
The features incorporated are:
FLOORSENSOR Touch Button
Intelligent floor sensor technology increases suction on carpets and
switches to Economy Mode for lighter tasks, such as hard floor cleaning,
thus optimising the battery run time this feature is active when the LED
is lit. In order to maximise runtime on all surfaces, switch this feature off
by touching area.
Power contol Touch Slider
Touch button panel allows you to control the level of power to the unit
from minimum to maximum by sliding finger along this area.
Beater bar Touch Button
Allows you to turn on and off the beater bar function by touching
this area.
Loading ...
Loading ...
Loading ...