Loading ...
Loading ...
Loading ...
English
4
Fig. B
2
23
Fig. C
23
5
Fig. D
4
6
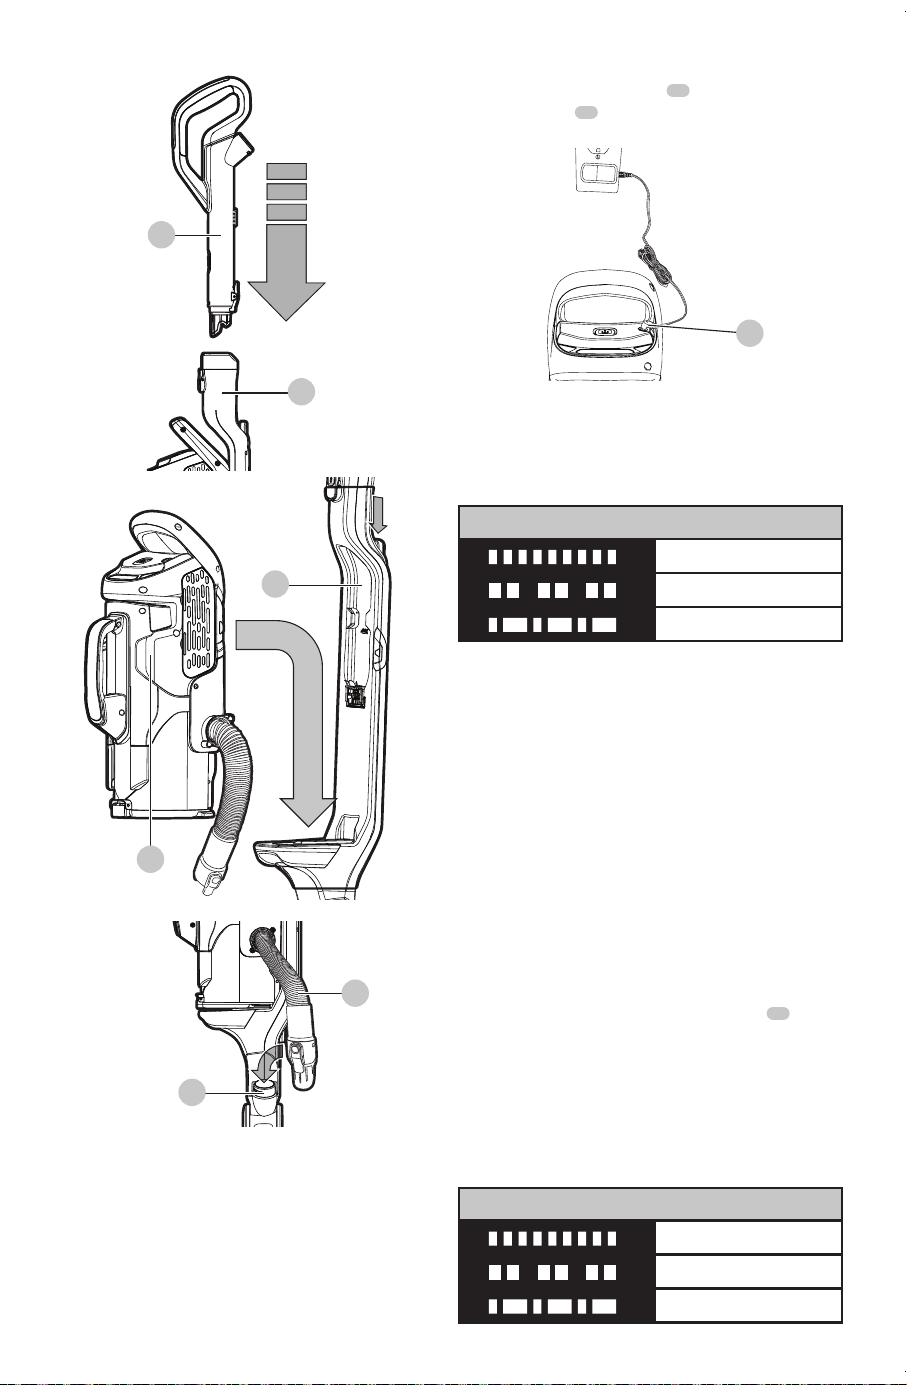
Charging the battery (HCUA525J,
HCUA525JA, HCUA525J, HCUA525JP)
WARNING: For use only with the
suppliedcharger.
From new, the rechargeable cells of the product need a
minimum charge time of 6 hours to ensure fullpower.
• The unit must be turned off in order to charge.
• Figure E - Plug the jack plug
21
of the charger into the
charging port
14
of the tool. Plug the charger into any
standard 120 Volt 60 Hz electricaloutlet.
Fig. E
21
• While charging, the charger may get warm, this
is perfectly normal and safe. It is safe to leave the
appliance connected to the charger indefinitely. The
charger automatically reduces power consumption
when charging iscomplete.
Battery Sensor LED Patterns
Battery Fault (All LEDs)
Charger Fault (All LEDs)
Battery Hot (All LEDs)
WARNING: Do not charge the battery
at ambient temperatures below 39°F (4°C) or above
104°F (40°C). Follow all charging instructions and do
not charge the appliance outside of the temperature
range specified in the instructions. Charging
improperly or at temperatures outside of the specified
range may damage the battery and increase risk
offire.
Charging the battery (HCUA525BA)
WARNING: For use only with the
suppliedcharger.
• Before first use, the battery must be charged for at least
6hours.
• Place the appliance on the charging station
13
whenever it is not in use as shown in FigureF.
Plug the charger into any standard 120 Volt 60 Hz electrical
outlet. The LED charging indicator will flash and increase in
sections. LEDs go out when fullycharged.
nOTE: The charging base is supplied with 2 screws and wall
plugs for securing it to a wall, providing extra stability, as
shown in FigureF.
Battery Sensor LED Patterns
Battery Fault (All LEDs)
Charger Fault (All LEDs)
Battery Hot (All LEDs)
Loading ...
Loading ...
Loading ...