Loading ...
Loading ...
Loading ...
113
Shooting – Selecting Particular Effects
3
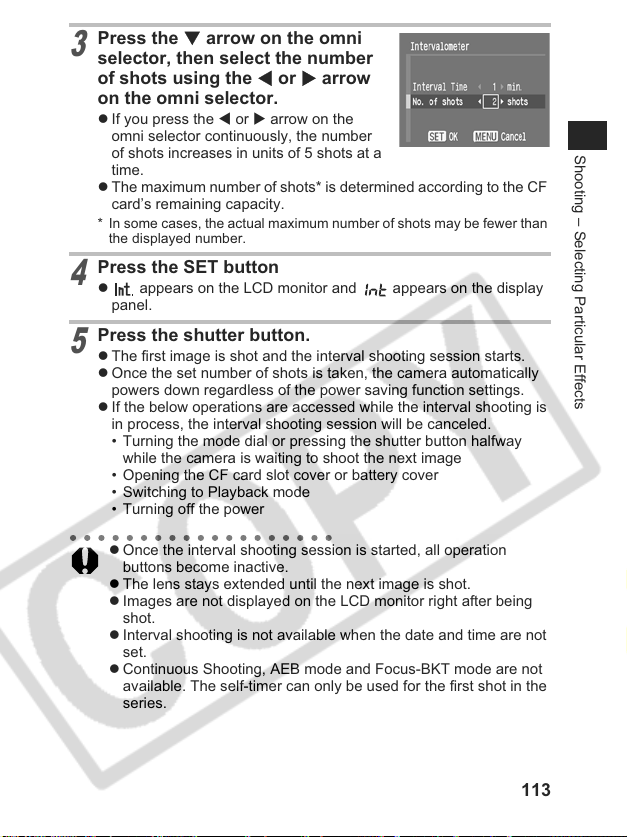
Press the T arrow on the omni
selector, then select the number
of shots using the W or X arrow
on the omni selector.
z If you press the W or X arrow on the
omni selector continuously, the number
of shots increases in units of 5 shots at a
time.
z The maximum number of shots* is determined according to the CF
card’s remaining capacity.
* In some cases, the actual maximum number of shots may be fewer than
the displayed number.
4
Press the SET button
z appears on the LCD monitor and appears on the display
panel.
5
Press the shutter button.
z The first image is shot and the interval shooting session starts.
z Once the set number of shots is taken, the camera automatically
powers down regardless of the power saving function settings.
z If the below operations are accessed while the interval shooting is
in process, the interval shooting session will be canceled.
• Turning the mode dial or pressing the shutter button halfway
while the camera is waiting to shoot the next image
• Opening the CF card slot cover or battery cover
• Switching to Playback mode
• Turning off the power
z Once the interval shooting session is started, all operation
buttons become inactive.
z The lens stays extended until the next image is shot.
z Images are not displayed on the LCD monitor right after being
shot.
z Interval shooting is not available when the date and time are not
set.
z Continuous Shooting, AEB mode and Focus-BKT mode are not
available. The self-timer can only be used for the first shot in the
series.
Loading ...
Loading ...
Loading ...