Loading ...
Loading ...
Loading ...
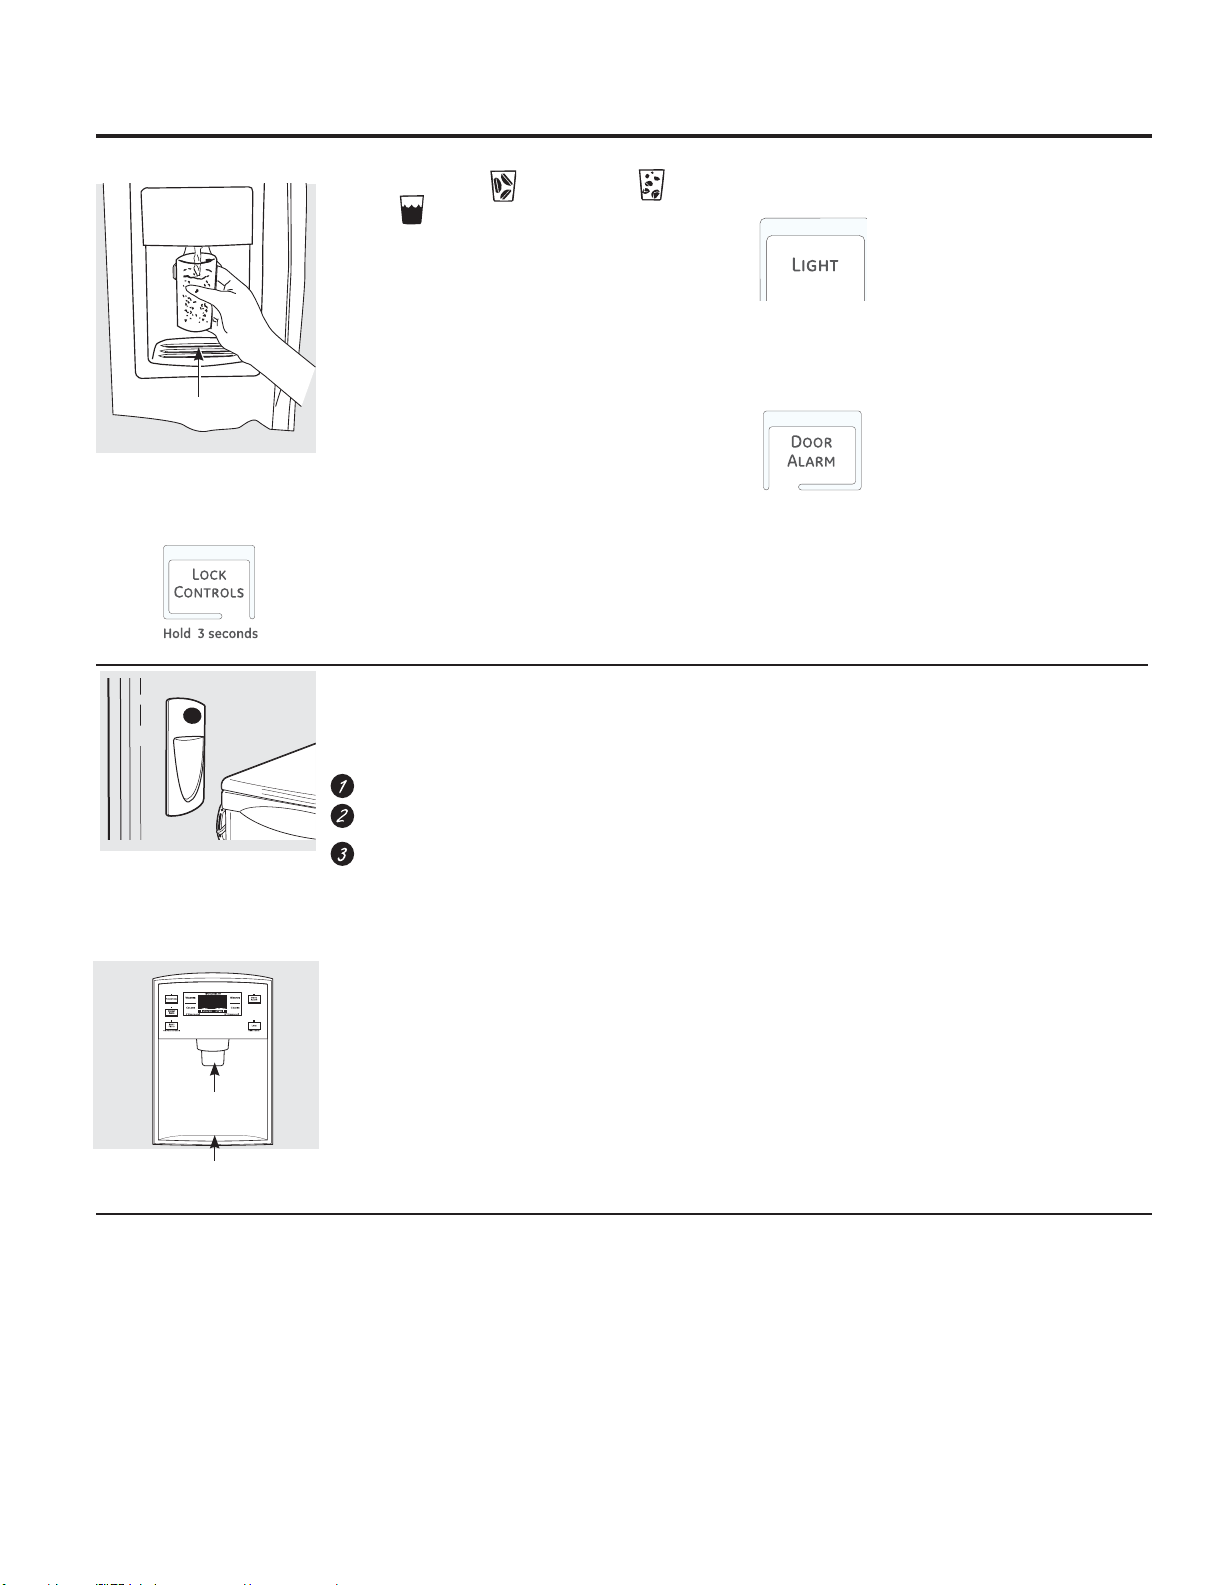
To Use the External Water Dispenser (on some models)
Press the glass gently against the top of the dispenser
cradle.
The spill shelf is not self-draining. To reduce water
spotting, the shelf should be cleaned regularly.
If no water is dispensed when the refrigerator is first
installed, there may be air in the water line system. Press
the dispenser arm and run 1
1
ø2 gallons to remove trapped
air from the water line and to fill the water system. To
flush out impurities in the water line, throw away the
first six glassfuls of water.
Locking the Dispenser
Press the LOCK pad for 3 seconds to lock the dispenser
and control panel. To unlock, press and hold the pad
again for 3 seconds.
Door Alarm
To set the alarm, press the DOOR ALARM pad. The
indicator light will illuminate. This alarm will sound if either
door is open for more than 2 minutes. The beeping stops
when you close the door.
Spill Shelf
Dispenser Cradle
To Use the Internal Water Dispenser (on some models)
The water dispenser is located on the left wall inside the
refrigerator compartment.
To dispense water:
Hold the glass against the recess.
Push the water dispenser button.
Hold the glass underneath the dispenser for 2–3
seconds after releasing the dispenser button. Water
may continue to dispense after the button is
released.
If no water is dispensed when the refrigerator is first
installed, there may be air in the water line system. Press
the dispenser button for at least 2 minutes to remove
trapped air from the water line and to fill the water
system. During this process, the dispenser noise may be
loud as the air is purged from the water line system. To
flush out impurities in the water line, throw away the first 6
glassfuls of water.
NOTE: To avoid water deposits, the dispenser should
be cleaned periodically by wiping with a clean cloth or
sponge.
About the ice and water dispenser. (on some models) GEAppliances.com
To Use the External Dispenser (on some models)
Select CUBED ICE ,CRUSHED ICE or
WATER .
Press the glass gently against the top of the
dispenser cradle.
The spill shelf is not self-draining. To reduce water
spotting, the shelf and its grille should be cleaned
regularly.
If no water is dispensed when the refrigerator is first
installed, there may be air in the water line system.
Press the dispenser arm for at least two minutes to
remove trapped air from the water line and to fill the
water system. To flush out impurities in the water
line, throw away the first six glassfuls of water.
CAUTION: Never put fingers or any other objects
into the ice crusher discharge opening.
Locking the Dispenser
Press the Lock Controls pad for 3 seconds to lock
the dispenser and control panel. To unlock, press
and hold the pad again for 3 seconds.
Dispenser Light
This pad turns the night light
in the dispenser on and off. The
light also comes on when the
dispenser cradle is pressed. If
this light burns out, it should
be replaced with a 6 watt 12V
maximum bulb.
Door Alarm (on some models)
To set the alarm, press this pad
until the indicator light comes
on. This alarm will sound if either
door is open for more than 3
minutes. The light goes out and
the beeping stops when you
close the door.
Spill Shelf
Important Facts About Your Dispenser
Do not add ice from trays or bags to the storage drawer. It
may not crush or dispense well.
Avoid overfilling glass with ice and use of narrow glasses.
Backed-up ice can jam the chute or cause the door in the
chute to freeze shut. If ice is blocking the chute, poke it
through with a wooden spoon.
Beverages and foods should not be quick-chilled in the ice
storage drawer. Cans, bottles or food packages in the storage
drawer may cause the icemaker or auger to jam.
To keep dispensed ice from missing the glass, put the glass
close to, but not touching, the dispenser opening.
Some crushed ice may be dispensed even though you
selected CUBED ICE. This happens occasionally when a few
cubes accidentally get directed to the crusher.
After crushed ice is dispensed, some water may drip from the
chute.
Sometimes a small mound of snow will form on the door in
the ice chute. This condition is normal and usually occurs
when you have dispensed crushed ice repeatedly. The snow
will eventually evaporate.
13
Loading ...
Loading ...
Loading ...