Loading ...
Loading ...
Loading ...
14
E
Turning Power On/Off
Caution
• Turn on the monitor first before turning on the PC or
playback device.
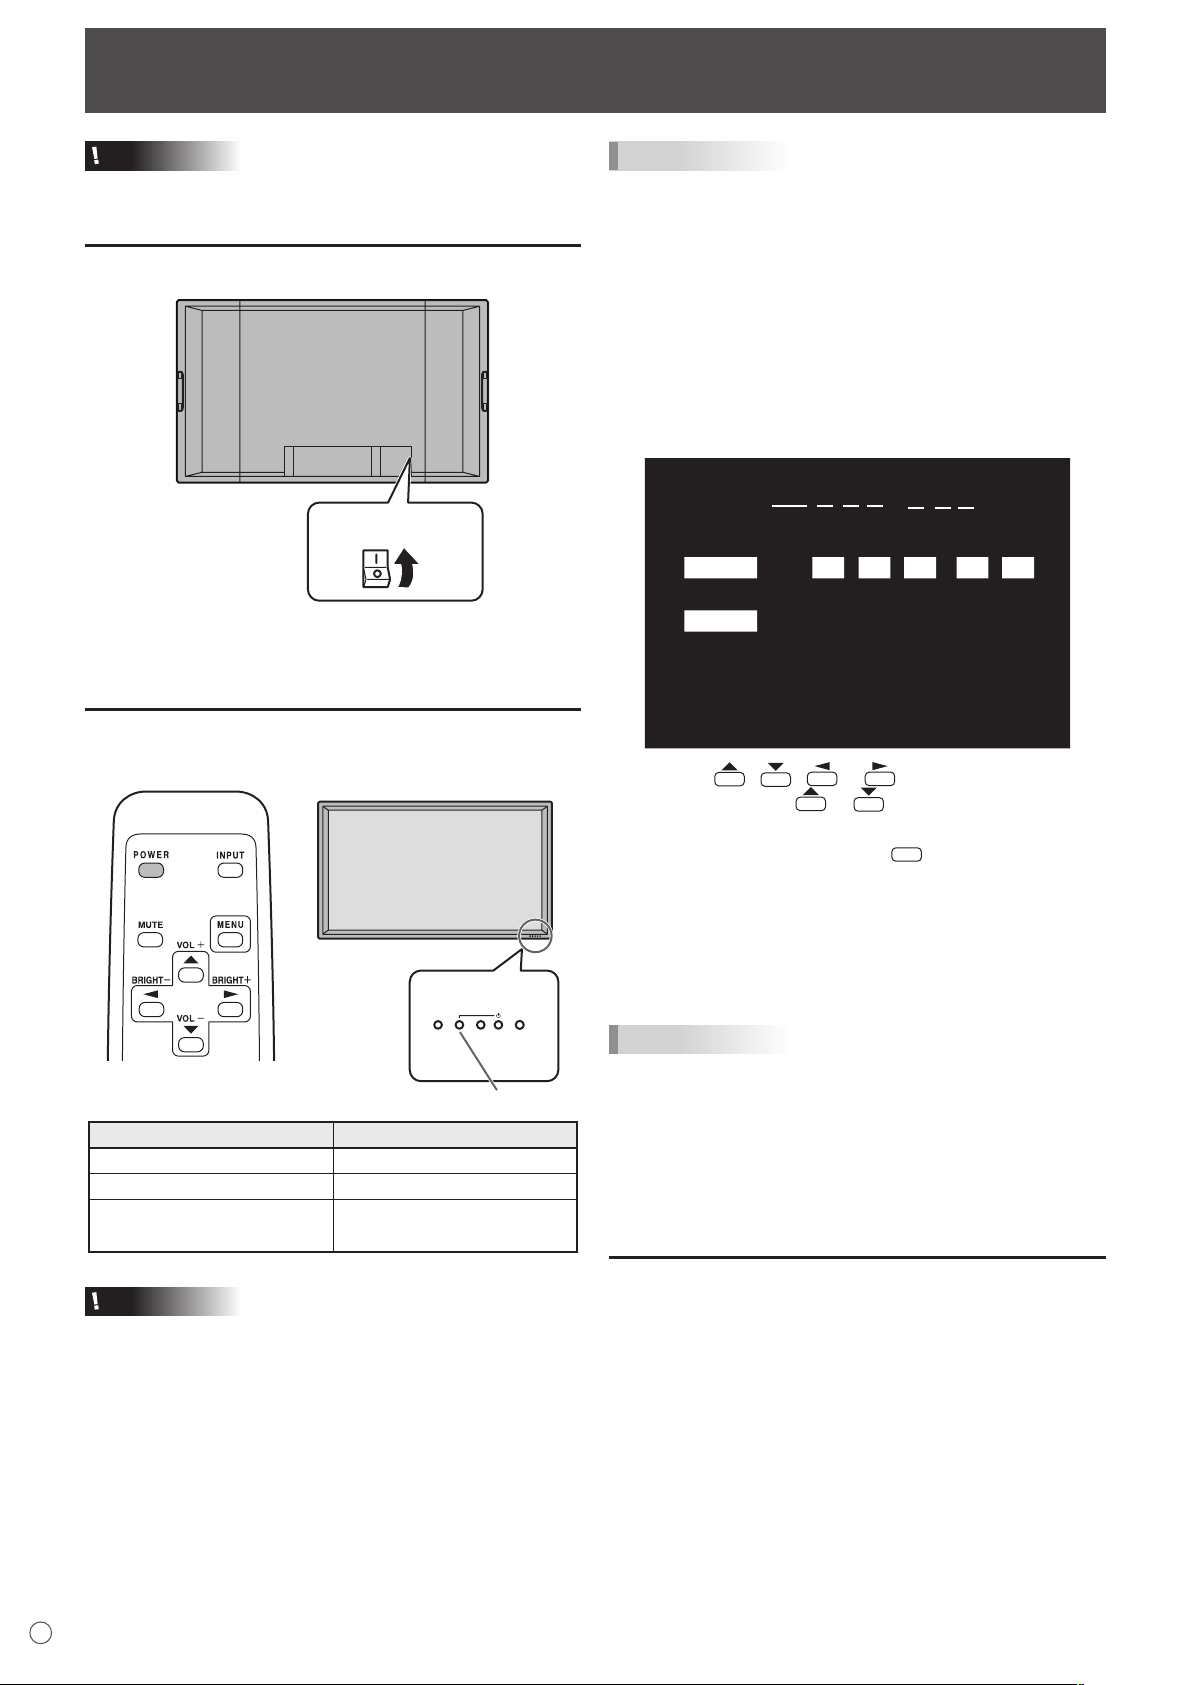
Turning on the main power
Main power switch
When the main power switch is off, the monitor cannot be
turned on using the POWER button on the remote control unit.
Turning power on/off
Press the POWER button to turn the power ON/OFF.
INPUT
Power LED
Status of a power LED Status of the monitor
Green lighting Power “On”
Orange lighting Power “Off” (Standby mode)
Green flashing
Input signal standby mode
(input using a PC)
Caution
• When switching the main power switch or the POWER
button off and back on, always wait for at least 5 seconds.
A short interval may result in a malfunction.
TIPS
• If the monitor is in the input signal standby mode and you
press the POWER button on the remote control unit, the
monitor enters standby mode.
• You can turn on/off the monitor by pressing the power
switch of the monitor.
• Setting the SCHEDULE flashes the power LED alternately
in red and orange in standby mode.
Date/time setting
• If the time has yet to be set when the monitor is first turned
on, the date/time setting screen appears. Set the date and
time.
DATE/TIME SETTING
SET
CANCEL
07
/ /
OK···[MENU]
20
01
/
01
/
00 00
:
: :
1. Press , , or to select the date and
time, and press or to change the numerical
values.
2. Select SET and then press
MENU
.
• Be sure to set the date and time.
• The date/time setting screen will close automatically if no
operation is performed for about 15 seconds. The date
and time can be set using DATE/TIME SETTING from
the OPTION menu when the date/time setting screen
disappears.
TIPS
•
Set the date in “Year/Month/Day” order.
•
Set the time on a 24-hour basis.
•
The clock stops after the power-off status continues for
approximately 1 week.* The date/time setting screen
appears at power-on. Be sure to set the date and time.
(
* This is a guide. The power-off status that stops the clock
depends on the status of the monitor.)
Disabling power on/off operations
Power on/power off operations can be disabled in order to
protect the monitor from an accidental power off. Set the
ADJUSTMENT LOCK in FUNCTION menu to “2”. (See page
24.)
Loading ...
Loading ...
Loading ...