Loading ...
Loading ...
Loading ...
9
FIGURE E
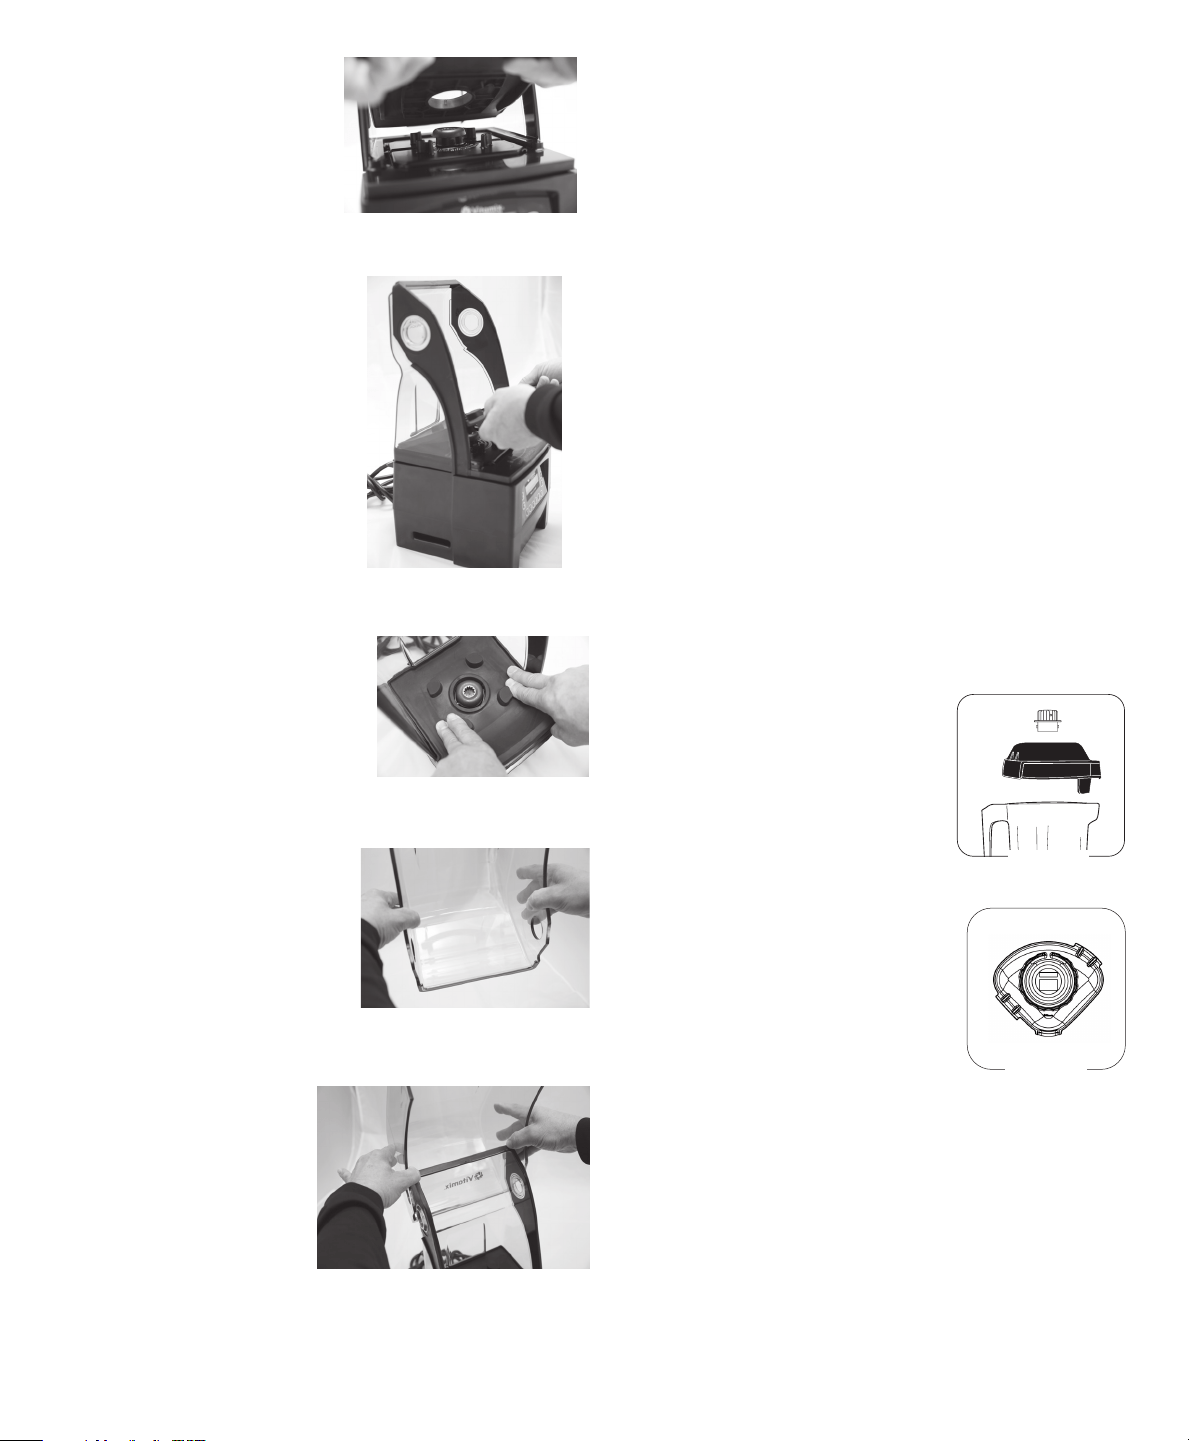
3. Align the rail guides on the centering
pad with the slots between the
compact cover and the motor adapter
on the motor base (See Figure C).
4. Put the centering pad in place on the
motor base in the proper alignment.
(See Figure D).
Note: The centering pad MUST be used
on the motor base during use to keep
the twist lock compact cover in place.
DO NOT use the machine without the
centering pad.
5. From the back of the motor base
working towards the front, apply
pressure on the centering pad to push
it into position on the motor base,
making sure that the centering pad
is completely seated under the drive
socket. (See Figure E).
FIGURE D
FIGURE C
FIGURE F
FIGURE G
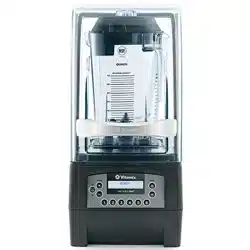
6. To reinstall the cover door, gently
spread the sides of the door and place
the door hinge cutouts over the round
hinges. (See Figures F and G).
Twist Lock Compact Cover FAQ’s
Q: My blender has a dierent type of sound cover. Can I use the new twist
lock cover?
A: If your blender has the locking tab motor adapter design you can use
a twist lock cover. The twist lock cover requires the centering pad shown
in Figure E. The centering pad can be ordered using Vitamix Item Number
067791.
Q: I have a new blender with a twist lock cover, can I use my old magnetic
style cover on this machine?
A: No, the older blenders had magnets in the blender base that held the
cover in place. The new twist lock motor bases do not include magnets.
Q: My twist lock blender does not have an isolation gasket. Do I need one?
A: No, with the new twist lock cover the isolation gasket is not needed.
Q: I have a blender with a twist lock motor adapter plate, an isolation gasket
and a magnetic style cover, can I switch to the new twist lock design?
A: Yes, you can use either type of cover on this design.
Q: I have several older units with magnetic sound covers. I purchased a new
blender and it has the twist lock cover. I would like to switch all my blenders
to the twist lock design.
A: Vitamix is currently not oering an upgrade package to convert your old
motor base to twist lock design.
Q: My blender was repaired and it was returned it has a twist lock motor
plate. Can I still use my magnetic cover and isolation gasket?
A: Yes, you can still use your magnetic style sound cover or you can upgrade
to the new twist lock sound cover and eliminate the isolation gasket.
Two-Piece Lid (Figure A)
48 oz. / 1,4 L Advance® Container
The two-piece lid is easy to clean and easy to put on,
take o and seal.
• To remove a fully latched lid, lift the two tabs and
pull upward and o.
• Twist the center lid plug to fasten or remove.
• To secure lid plug, rotate it so one tab locks
between the notches on top of rubber lid.
FIGURE A
Blade Assembly
Blade Agitator Assembly: The blade assembly includes a precision-hardened
stainless steel blade with enclosed double sealed steel ball bearings for maximum
durability. The rugged blade assembly literally explodes molecules of food and ice
in the container, helping every batch to homogenize more eectively. The blades
do not need to be removed for normal cleaning.
Drive Spline: Inserts into drive socket on the motor base to turn the blade. Note:
Removing and replacing your container while the drive socket is still rotating will
strip the drive spline “teeth.” (This part is NOT removable.)
Retainer Nut: Must be tight.
FIGURE B
One-Piece Lid (Figure B)
48 oz. / 1,4 L Advance® Container
The one-piece lid is easy to clean and easy to put on,
take o and seal.
• There is no lid plug for this lid.
• Ingredients can be added through port on top.
Loading ...
Loading ...
Loading ...