Loading ...
Loading ...
Loading ...
51
MIU menu
The MIU (Multi Information processing Unit) is a function to
support the Network features and PC-LESS Presentation.
Consult with your network administrator before connecting to
an existing access point on your network. Incorrect network
settings on this projector may cause trouble on the network.
Select “MIU” from the main menu to access the following
functions.
Select an item using the ▲/▼ cursor buttons on the projector or remote control, and
press the ► cursor button on the projector or remote control, or ENTER button on the
remote control to execute the item. Then perform it according to the following table.
See the User’s Manual - Network Guide for details of MIU operation.
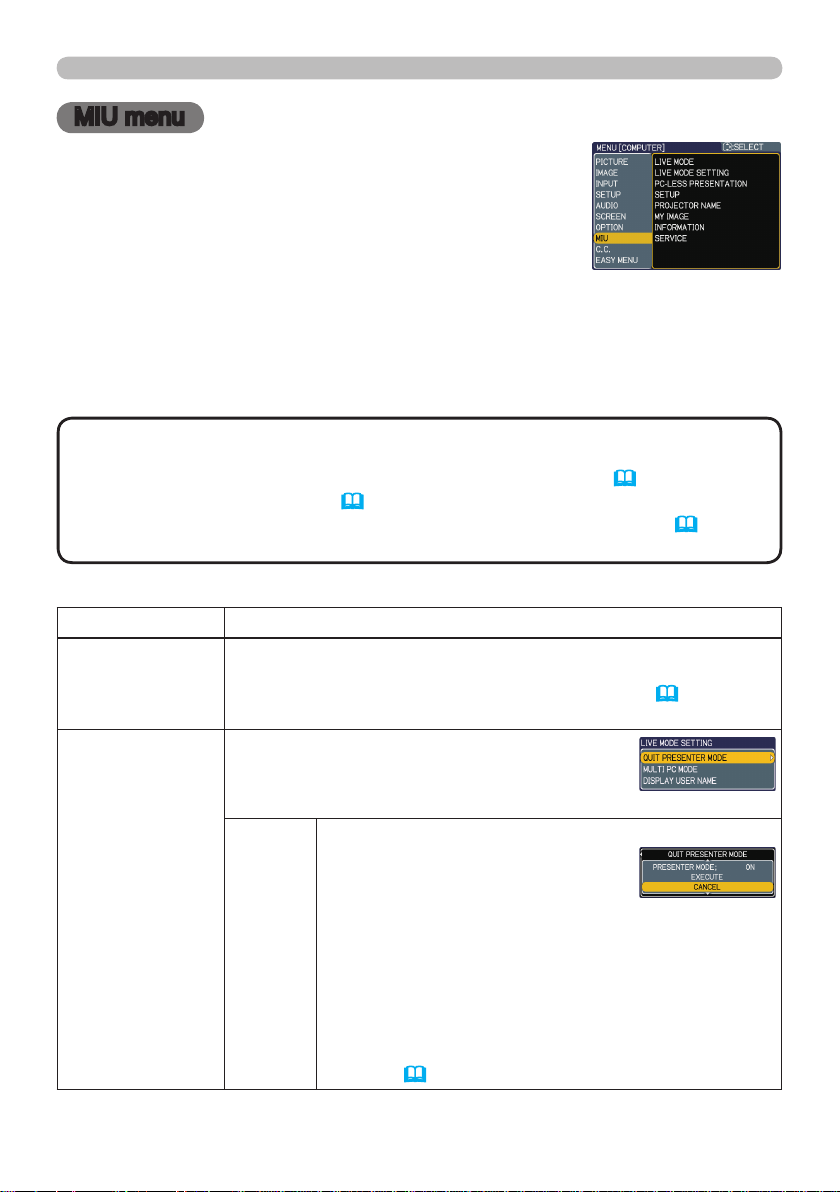
Item Description
LIVE MODE
Selecting this item sets the projector onto the “Live Mode”.
On the “Live Mode”, the projector displays the images from the PC
via Network, supported by “Live Viewer 3” software. (
1.1 Live
Mode of the User’s Manual - Network Guide)
LIVE MODE
SETTING
Selecting this item displays the LIVE MODE
SETTING menu.
Use the ▲/▼ buttons to select an item, and
the ► or ENTER button to perform the item.
QUIT
PRESENTER
MODE
The Presenter Mode that is set in the "Live Viewer 3" software
installed into your PC can be turned to off.
A message, QUIT PRESENTER MODE, will
be displayed in about 3 seconds when the
function is performed. The function is available only when the
Presenter Mode is set to on in the the "Live Viewer 3" software.
The current setting of the Presenter Mode is shown in the menu.
•
The Presenter mode is a function that allows the projector
to display an image sent by 1 PC only, even though the
MIU feature on this projector support Multi PC mode.
•
If the projector is required to display an image sent by
other PC, execute the QUIT PRESENTER MODE function.
• See the
User’s Manual – Network Guide for details.
(continued on next page)
MIU menu
• The factory default setting for DHCP is TURN OFF. If your network
has DHCP enabled, and needs to set IP ADDRESS, SUBNET MASK and
DEFAULT GATEWAY automatically, please set DHCP to ON (54).
• If you are not utilizing SNTP (4.1.8 Date/Time Settings of the User’s
Manual - Network Guide), then you must set the DATE AND TIME (55)
during the initial installation.
NOTE
Loading ...
Loading ...
Loading ...