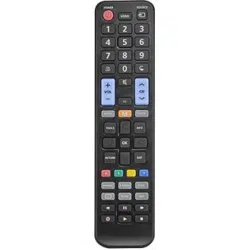
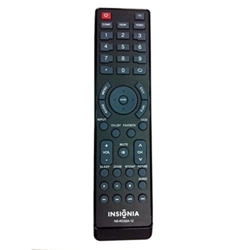
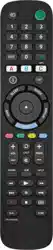
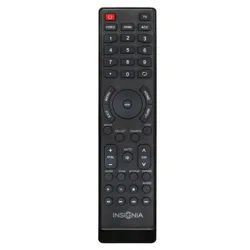
Documents: Go to download!
Installation Instruction
- Installation Instruction - (English, French)
User Gudie Insignia NS-RMTSAM17 Remote Control
PACKAGE CONTENTS
- Replacement Remote Control for Samsung® TVs
- Quick Setup Guide
INSTALLING BATTERIES
- Insert two AAA batteries not included) into the remote. Make sure that the + and – symbols match the + and – symbols in the battery compartment.
Note:
- To set up your remote, follow the setup steps below, in order, and STOP as soon as your remote works correctly.
SETTING UP YOUR REMOTE
- Your remote should work with most newer Samsung TVs without requiring any setup. After you install the batteries, test your remote. If the buttons work correctly, your remote is ready to use.
- If the buttons do not work, complete the following steps:
Make sure that your TV is on and not in standby mode.
- On your remote, press and hold the red A and blue D buttons until the POWER button blinks twice.
- Point your remote towards the TV, then press and hold
- POWER until your TV turns off. You have three seconds to release the button before your remote sends a different signal (code) to your TV.
As soon as your TV turns off, immediately release the button. The POWER button blinks twice.
- Use your remote to turn on your TV, then test the other buttons. If the buttons work, your remote is ready to use
- If some of the buttons still do not work, complete the following steps:
- Make sure that your TV is on and not in standby mode.
- On your remote, press and hold the red A and blue D buttons until the POWER button blinks twice.
- Point your remote towards your TV, then press and hold one of the buttons (such as MENU) that is not working correctly. You have three seconds to release the button before your remote sends a different signal (code) to your TV.
- As soon as the correct function (in this example, MENU) appears on your TV screen, immediately release the button. The POWER button blinks twice.
- Test the rest of the buttons. If the buttons work, your remote is ready to use
- If some of the buttons still do not work, repeat the above steps for another non-working button, then test the rest of the buttons. Repeat until all the buttons work.
LEARNING FUNCTIONS
- Your remote can learn any function from your original remote as long as the original remote works.
- Place both remotes on a flat surface with the infrared eyes facing each other.
Note:
- If you have difficulty with the learning function, install new batteries in both remotes and try the process again.
- Make sure that the remote control “eyes” are pointing at each other and are 1-2 inches (2.5 - 5 cm) apart.
- On your new remote, press and hold the green B and yellow C buttons until the POWER button blinks twice.
On your new remote, press 975. The POWER button blinks twice.
- On your new remote, press the button you want to learn a new function (for example, VOL+).
- On the original remote control, press the button with the function you want to teach to the button you pressed in Step 4.
- If the POWER button blinks twice, your new remote learned the function.
- You can repeat steps 4 and 5 to add another function to your new remote. If the POWER button blinks one long blink, your new remote did not learn the function. Repeat steps 4 and 5.
- After you teach your new remote all the functions you want it to learn, press and hold OK for three seconds until the POWER button blinks twice.
DELETING A LEARNED FUNCTION
- Press and hold the green B and yellow C buttons until the POWER button blinks twice.
- Press 976.
- Press the button you want to reset twice for example, VOL+). The POWER button blinks twice and the button is reset to its original function.
See other models: NS-RMTSNY17 NS-RMTEXB17 NS-RMTVIZ17 NS-RMTLG17 NS-24FTV