Loading ...
Loading ...
Loading ...
24
• Freezer light (where fitted)
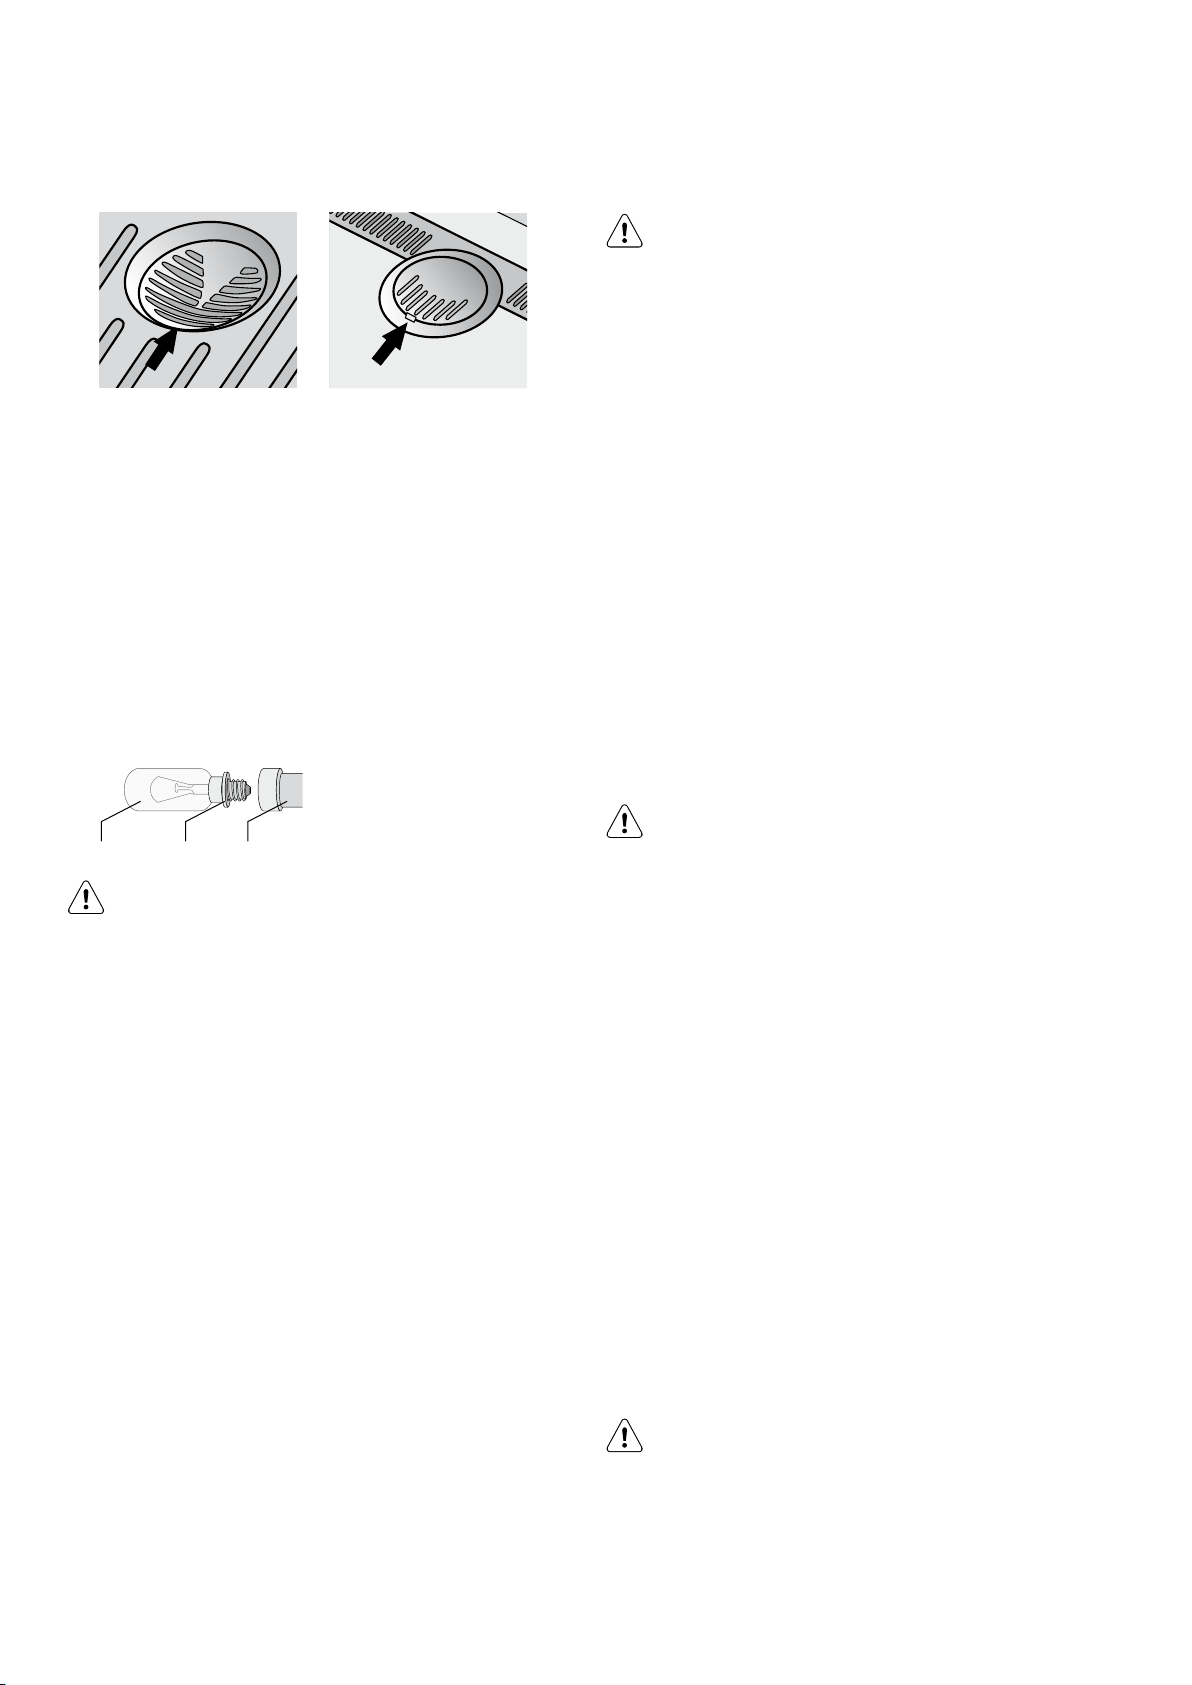
Top freezer model
(electronic models only)
Single door all freezer and
built-in freezer model
1. Switch off the power at the power point and remove
the refrigerator’s power cord from the power point.
2. Carefully unclip the light cover. You do this by pulling
the light cover tab at the rear towards the front of the
cabinet.
3. Unscrew the light bulb and replace it with a bulb that
is the same as the original. If, when you remove the
light bulb the small rubber “O” ring comes out with the
bulb, fit the “O” ring over the new bulb and screw bulb
into the socket (see diagram below).
Ensure the ‘O’ ring is in place before replacing the bulb.
light bulb “O” ring light socket
WARNING!
Never insert your finger into the light bulb socket to
check for the presence of the “O” ring.
4. Replace the light cover by hooking the light cover lugs
into the front of the housing and pressing the rear of
the cover up until it clips in.
5. Wait 5 minutes to ensure pressures in the refrigeration
system are equalized. Then reconnect and turn the
refrigerator on at the power point.
LED lighting - Electronic models
Your refrigerator is fitted with long life LED lighting. In the
unlikely event the LED lights should fail, then the LED lights
should be serviced by the manufacturer, it’s service agent
or similarly qualified technician. Refer to the warranty page
for contact details.
Cleaning the appliance
WARNING!
BEFORE CLEANING: Turn appliance off at the power point,
then remove power cord from socket. This will make sure there
is no chance of getting an electric shock.
• Doors and exterior – stainless steel
Your stainless steel appliance is manufactured from
a mark resistant stainless steel. This stainless steel
has a special advanced protective coating that eases
the removal of marks such as finger prints and water
spots. To keep your stainless steel appliance looking at
its best, you should clean it regularly. You should only
clean the stainless steel doors with luke-warm soapy
water and a soft cloth, rinsing with clean water and
then wipe the surface with clean water and a soft clean
cloth to remove soap residue.
It is important to wipe in the direction of the grain of the
stainless steel to avoid undue marking of the surface.
• Doors – surface hardened acrylic
You should only clean the acrylic doors with lukewarm
soapy water and a soft cloth, rinsing with clean water
and the wipe the surface with clean water and a soft
clean cloth to remove soap residue.
CAUTION!
Do not use stainless steel cleaners, abrasive pads or other
cleaners as they are likely to scratch the surface. Damage to
this product after delivery is not covered by your warranty.
• Interior
You should clean the appliance interior regularly. It will
be easiest to clean when the food supply is low. Wash
the interior with a soft cloth and use an unscented mild
soap with lukewarm water. Thoroughly dry all surfaces
and removable parts. Avoid getting water on appliance
controls. If you have taken out any removable parts,
replace them and switch the power on before re-
stocking the appliance with food. Naturally, you
should keep the interior of your appliance hygienic by
promptly and thoroughly wiping up any food spills.
Don’t use a steam cleaner. If live components come
into contact with condensing steam, they may short-
circuit or cause an electric shock.
• Door seals
Take care to keep door seals clean. Sticky food and
drink can cause seals to stick to the cabinet and
tear when you open the door. Wash seal with a mild
detergent and warm water. Rinse thoroughly and dry.
CAUTION!
Never use hot water, solvents, commercial kitchen cleaners,
aerosol cleaners, metal polishes, caustic or abrasive cleaners,
or scourers to clean this appliance, as they will damage
it. Many commercially available cleaning products and
detergents contain solvents that will damage your refrigerator.
When cleaning, use only a soft cloth with an unscented mild
soap and lukewarm water.
CARE AND MAINTENANCE
Loading ...
Loading ...
Loading ...