Loading ...
Loading ...
Loading ...
Function
17
PICTURE Menu Options
1. Press the MENU button. Then, move to PICTURE with
the ∧, ∨, <, > buttons and press the ◉OK button.
2. Press the ∧, ∨ buttons to move to a desired function
and press the ◉OK button.
3. Press the <, > buttons to make a desired adjustment
and then press the ◉OK button.
• You can set image values differently for each input and Picture Mode.
• Saving after making adjustments will display (User) in adjusted Picture
Mode. (except Expert 1/2)
• Execute Reset for Picture Mode to restore back to default factory settings.
• Press the MENU or RETURN button to exit the menu screen.
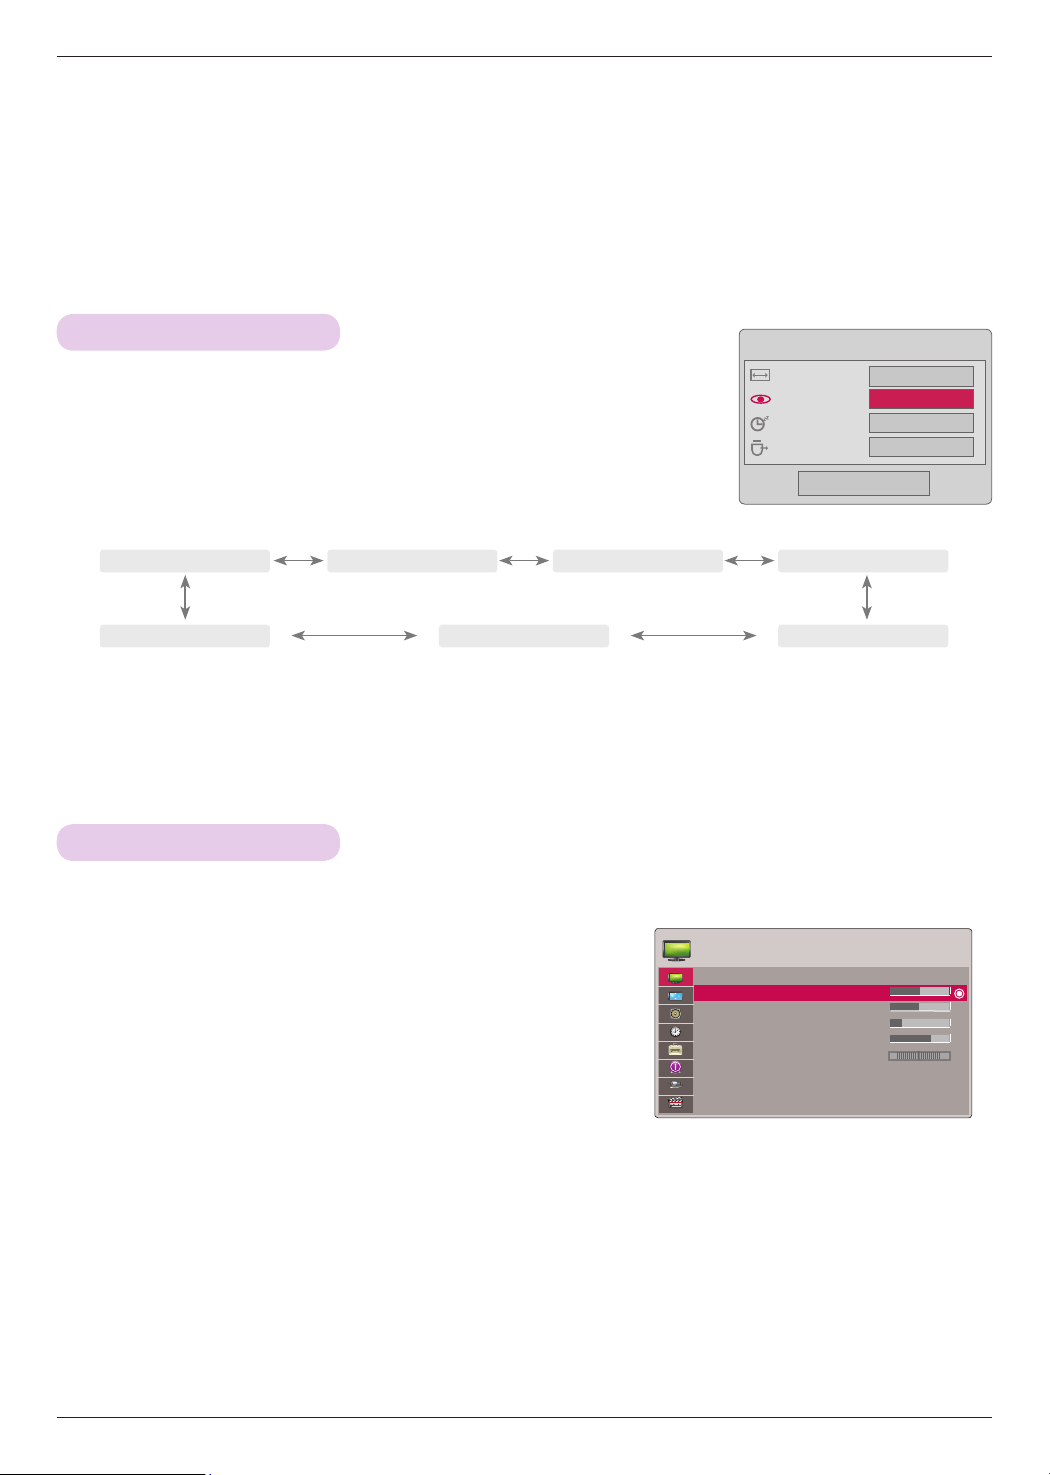
Adjusting Picture Mode
Function
* The On-Screen Display (OSD) in this manual may be slightly different from your projector.
* This operating guide explains operation of RGB(PC) mode mainly.
1. Press the Q.MENU button on the remote control.
2. Press the ∧, ∨ buttons to move to Picture mode.
3. Press the <, > button to toggle through the preset picture settings.
Picture mode
* Use the Picture mode function to set the projector for the best picture appearance.
• You can use this function through the MENU button.
• To exit the menu display, press the RETURN button.
PICTURE
Picture Mode : Standard
• Contrast 50
• Brightness 50
• Sharpness 5
• Color 70
• Tint 0
• Advanced Control
• Reset
R G
Q-Menu
Close
16:9
◄ Vivid ►
Off
Eject
Aspect Ratio
Picture Mode
Sleep Timer
Eject USB
◄ Vivid ► ◄
Standard ► ◄
Cinema ► ◄
Sport ►
◄
Expert2 ► ◄
Expert1 ► ◄
Game ►
ꔂMove ꔉOK
Loading ...
Loading ...
Loading ...