Loading ...
Loading ...
Loading ...
65
WARNING:
THIS APPLIANCE MUST BE EARTHED
IMPORTANT: Fitting a Different Plug:
The wires in the power cord are colourcod-
ed as follows:
Green and Yellow – Earth
Blue – Neutral
Brown – Live
If you fit your own plug, the colours of these
wires may not correspond with the identify-
ing marks on the plug terminals.
Proceed as follows:
1.Connect the green and yellow (Earth)
wire to the terminal in the plug marked
‘E’ or with the symbol ( ), or coloured
green or green and yellow.
2.Connect the blue (Neutral) wire to the ter-
minal in the plug marked ‘N’ or coloured
black.
3.Connect the brown (Live) wire to the ter-
minal marked ‘L’, or coloured red.
The extractor hood may be connected
to a correctly installed earthed socket only.
Attach the earthed socket near the extrac-
tor hood in an accessible position.
K The earthed socket should be connec-
ted via its own power circuit.
If appliances do not feature the OFF
delay function, the indicator may start flas-
hing when the extractor hood has been
switched off for several hours via a separate
switch, even though the grease filters are
not yet saturated.
(See Filters and maintenance).
Electrical specifications:
These can be found on the rating plate
inside the appliance following removal of
the filter frames.
Before carrying out repairs, always
isolate the appliance.
Electrical connection
Length of the connection cable: 1.30 m.
If permanent connection is required:
The extractor hood may only be con nected
by an electrician registered with the local
electricity board.
A disconnecting device must be provided
on the installation side. Switches with a
contact opening of more than 3 mm and
all-pole disconnection are regarded as dis-
connecting devices. These include LS
switches and contactors.
If the connecting cable for this applian-
ce is damaged, the cable must be replaced
by the manufacturer or his customer service
or a similarly qualified person in order to
prevent serious injury to the user.
This extractor hood complies with EU regu-
lations on interference suppression.
Installation
Please note: A wall hanging set can be
obtained from your dealer (see section on
special accessories) for fastening the hood
(e.g. at the end of the row of kitchen units).
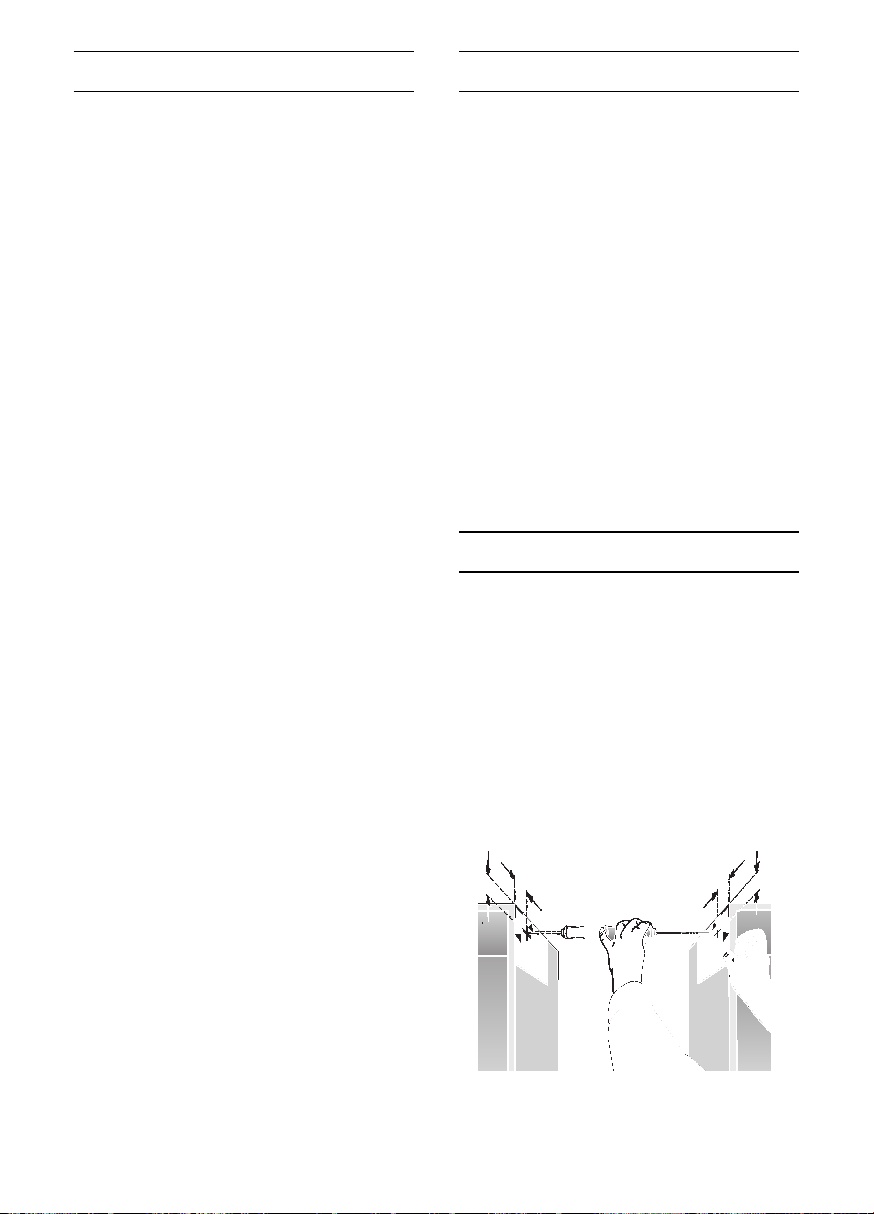
The extractor hood is designed for
installation between two wall cabinets.
1.Remove grease filter
(see Filters and maintenance)
2.Using the enclosed template mark the
positions of the screws on the side pan-
els of the neighbouring cabinets.
34
34
20
20
Loading ...
Loading ...
Loading ...