Loading ...
Loading ...
Loading ...
22
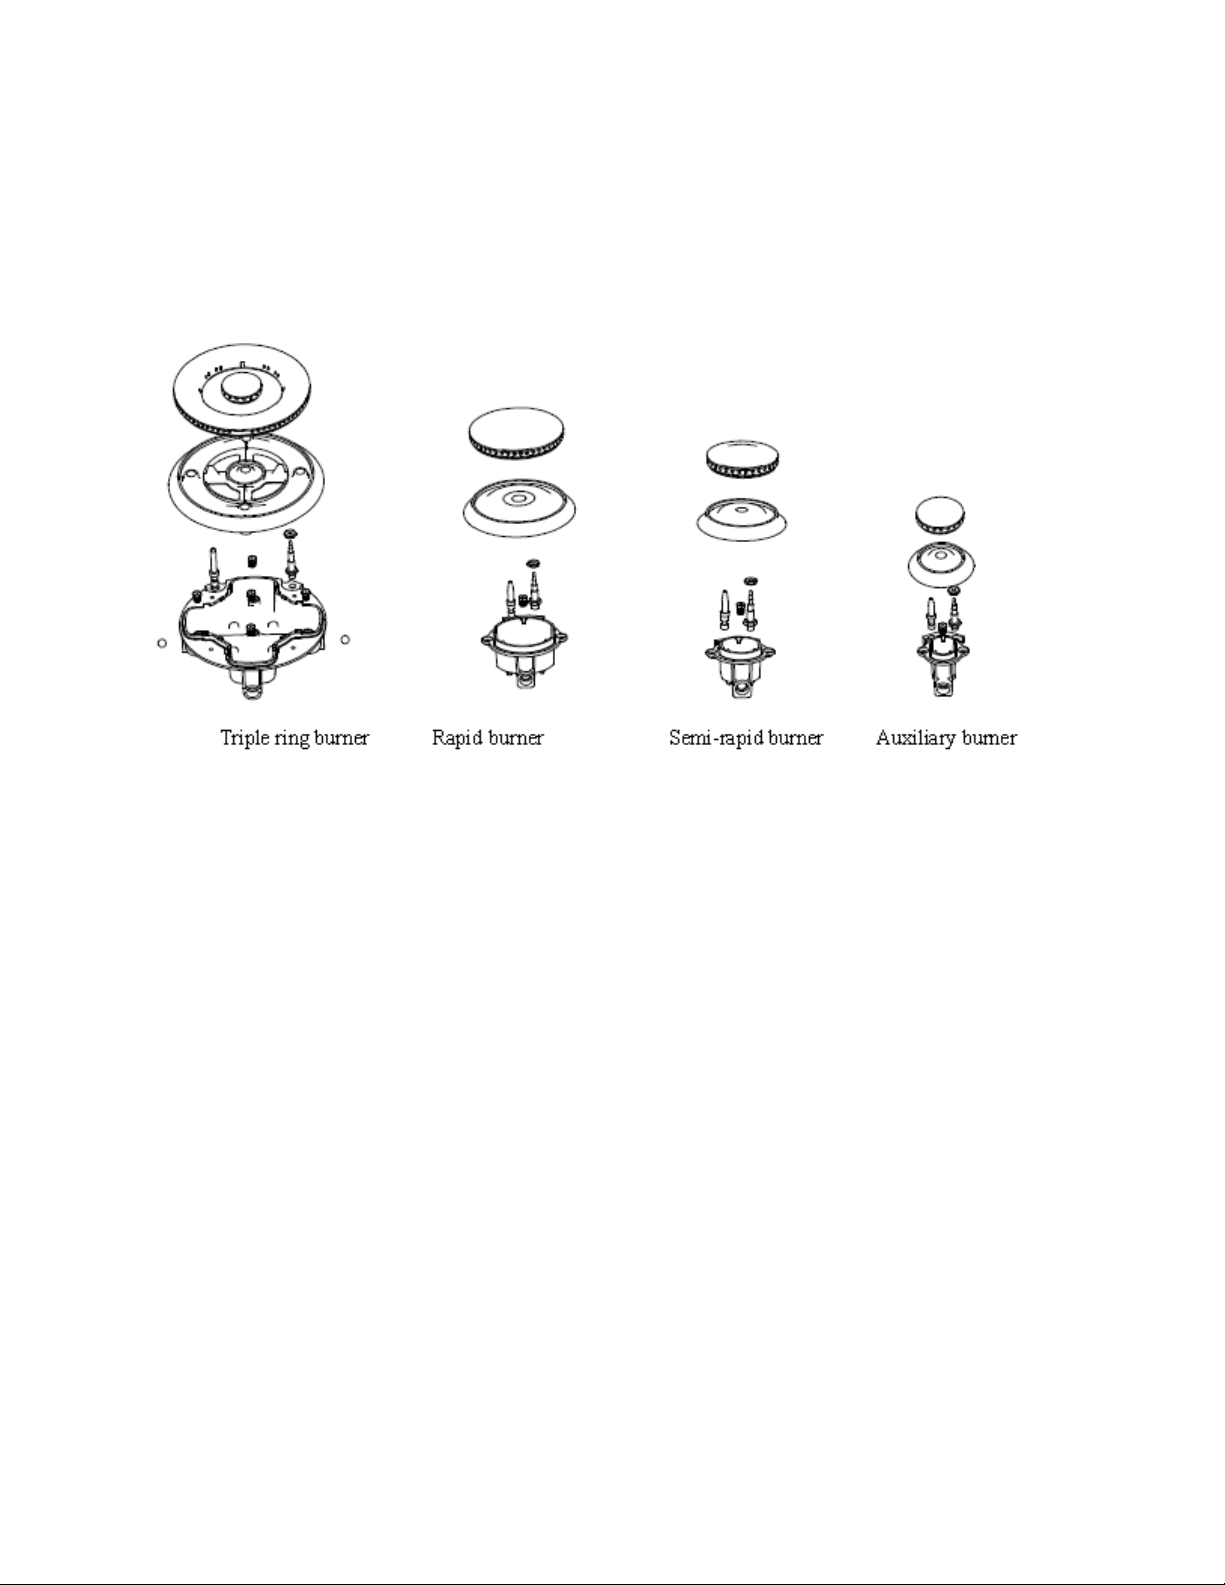
A.Remove the burner grates, burner caps and burner heads.
B.Using a 7mm nut driver, remove the top burner orifices. There are two orifices per burner.
The main orifice is located low in the center of the burner, while the simmer orifice is located higher beside
the center of the burner.
IMPORTANT: Orifices must be located exactly as shown. Carefully read and observe each orifice label
for correct location.
C. Install the proper orifices in the exact locations as noted in the illustrations above.
D. Return the natural gas orifices to the bracket and reattach the bracket and the instruction sheet
to the pressure regulator using the screw removed previously.
E.Replace the burner bases, heads, caps and top grates.
3) ADJUST BURNER FLAMES
A.Turn all burners on highest setting and check the flames. They should be blue in color and may have
some yellow tipping at the ends of the flame when using LP gas. Foreign particles in the gas line may
cause an orange flame at first, but this will soon disappear.
B.Turn the cooktop burner knob to “LO” while observing the flame.
Adjust the setting of the upper row of flames using the valve bypass screw as follows:
Adjustments must be made with two other burners in operation on a medium setting. This prevents the
upper row of flames from being set too low, resulting in the flame being extinguished when other burners
are turned on.
C.To adjust the flame, remove the knobs. Insert a screwdriver through the access hole in valve shaft as
shown:
Loading ...
Loading ...