Loading ...
Loading ...
Loading ...
Care and Cleaning
Icemaker
Light bulb
replacement
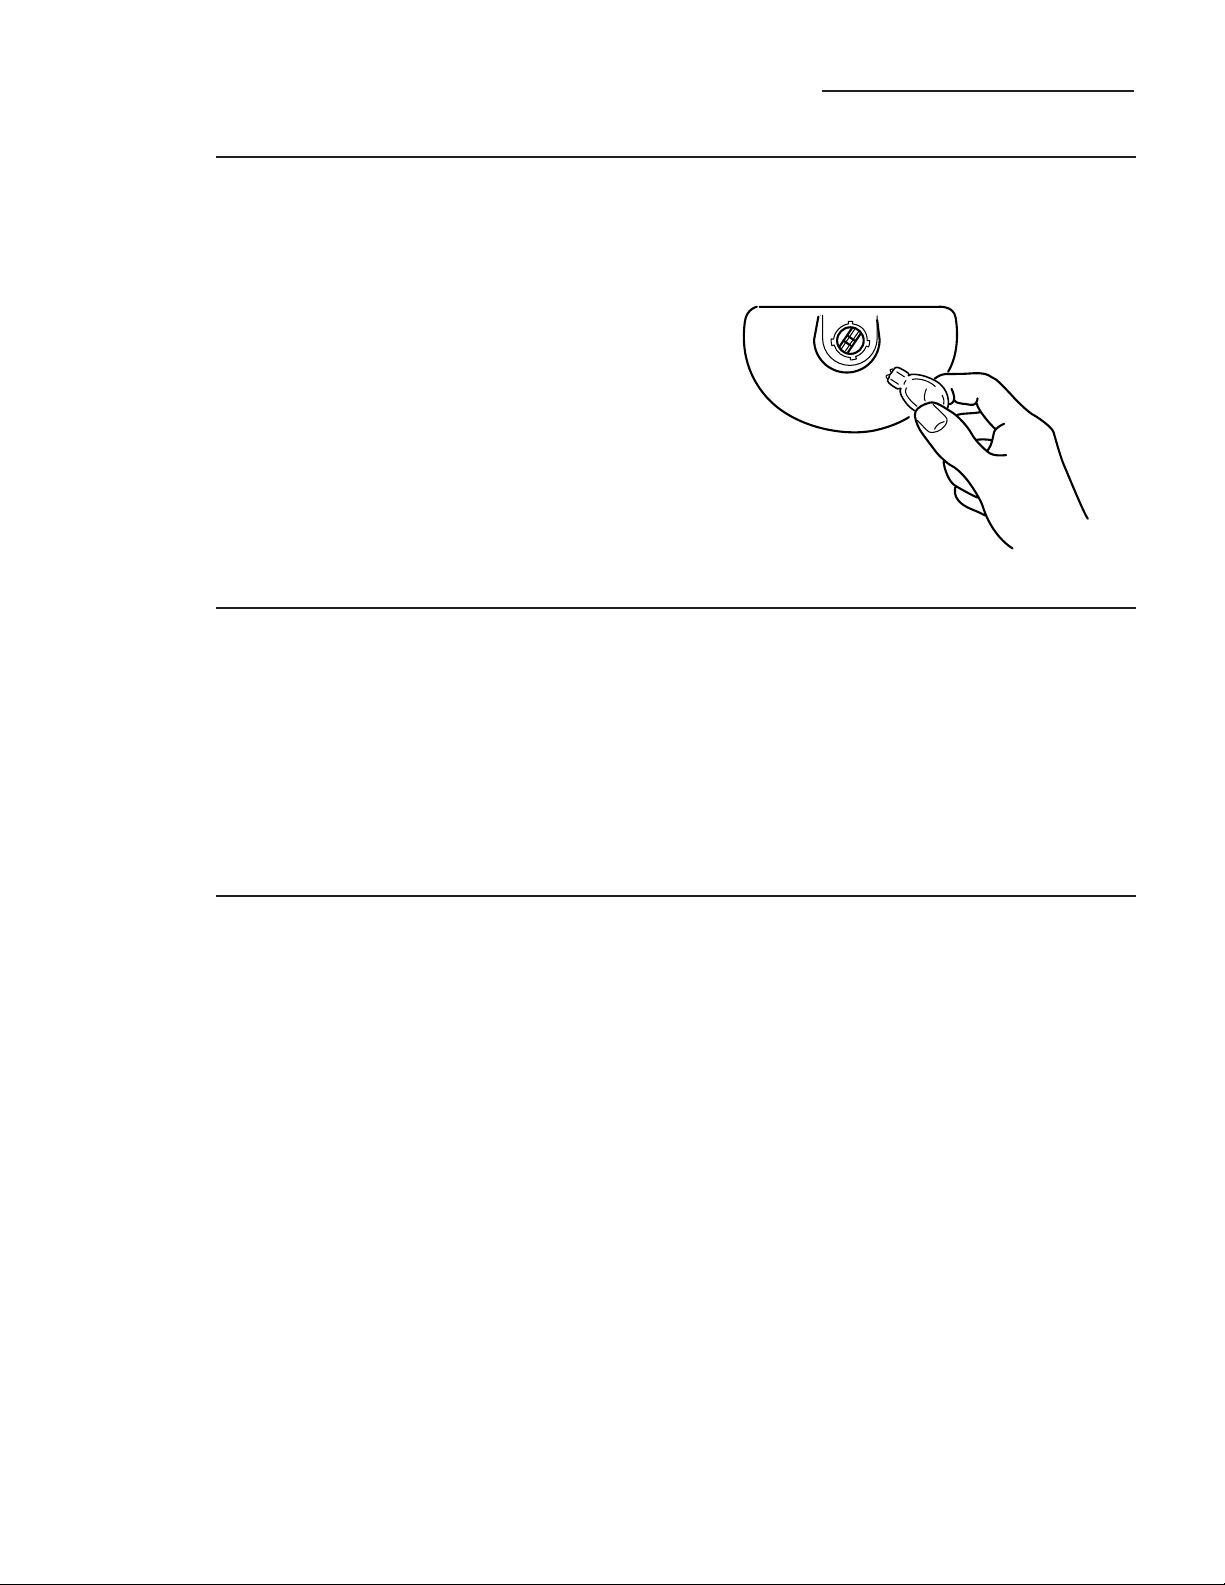
The icemaker has a light bulb in the top of the
storage bin. To replace it, open the bin door and
follow these instructions:
1. Unplug the icemaker or disconnect power.
2. Remove the 2 screws that hold the cutter grid
cover in place. Reach behind the control panel
and pull the light bulb down.
3. Replace with a 12-volt wedge base-type
bulb (automotive #917). Locate the light bulb
receptacle at the top behind the control
panel. Align the flat edge of the light bulb
with the receptacle and snap the bulb
into place.
4. Replace the cutter grid cover with the
2 screws.
5. Plug in the icemaker or reconnect power.
Vacation
and moving
To shut down the icemaker:
1. Unplug the icemaker or disconnect power.
2. Remove all ice from the storage bin.
3. Shut off the water supply.
4. Before using again, clean the icemaker
and storage bin.
5. Plug in the icemaker or reconnect power.
Reverse
Osmosis
system
IMPORTANT: The performance of the icemaker
may be affected when connected to a Reverse
Osmosis system. An RO system may also reduce
water pressure and affect the fill cycle, which is
dependent on time and flow. The reduced water
pressure may cause the reservoir not to fill and
flush properly during the ice making cycle.
The pressure of the water supply coming out
of a reverse osmosis system going to the water
inlet valve of the icemaker needs to be between
30 and 120 psi.
If a reverse osmosis water filtration system is
connected to your cold water supply, the water
pressure to the reverse osmosis system needs
to be a minimum of 40 psi. The reverse osmosis
system must provide 1 gal. of water per hour
to the icemaker for proper icemaker operation.
Do not use copper tubing when the icemaker is
connected to a Reverse Osmosis water system.
13
Loading ...
Loading ...
Loading ...