Loading ...
Loading ...
Loading ...
43
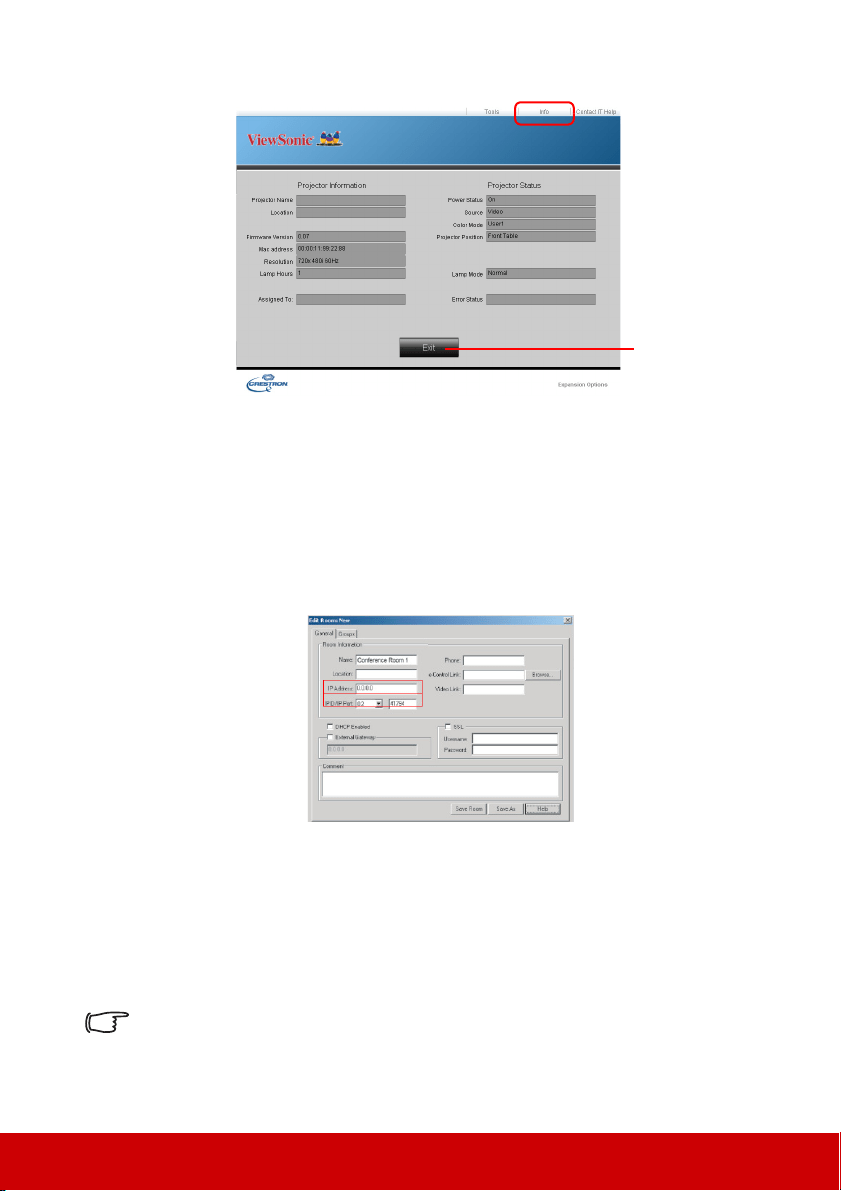
3. The info page displays the information and status of this projector.
4. After pressing the button “Contact IT Help”, the HELP DESK window will appear in
the upper right corner of the screen. You will be able to deliver messages to
RoomView™ software administrators/users who connect to the same local area
network.
For more information, visit http://www.crestron.com & www.crestron.com/getroomview.
**Crestron RoomView
On the “Edit Room” page, enter the IP Address (or hostname) as shown on the projector’s
on-screen display (OSD) menu, and “02” for IPID, “41794” for the reserved Crestron
control port.
About Crestron RoomView™ setting and command method, please access below website to
get RoomView™ User Guide and more information:
http://www.crestron.com/products/roomview_connected_embedded_projectors_devices/
resources.asp
PJLink™, SNMP, AMX and Xpanel formats supported
This projector is PJLink™, SNMP V.1, AMX or Xpanel V1.10 compliant. For details,
please follow its user guide or website respectively to control and manage projectors.
Turn on Active VGA Out in the Standby Settings menu and Wake On Lan in the LAN Control
Settings menu before using Extron integration system in standby mode.
Press Exit to
go back to the
remote network
operation page.
Loading ...
Loading ...
Loading ...