Loading ...
Loading ...
Loading ...
English
9
VQT5F44
Turning on the Flash
Attach a flash to the camera, and then turn the camera on.
Press the [ON/OFF] button.
≥
The control panel display will turn on.
≥
To turn the flash off, press the [ON/OFF] button again.
≥
Replace the batteries if the [TEST/CHARGE] lamp does not light after:
≥
If the [TEST/CHARGE] lamp and [AUTO CHECK] lamp blink simultaneously, batteries are
running low. Replace the batteries.
Using a considerably exhausted battery may result
in malfunction.
≥
The flash will enter sleep mode whenever the camera enters sleep mode.
≥
If no operations are performed for approximately 60 minutes, the flash will turn off
vautomatically. Press the [ON/OFF] button to turn it on.
≥
Oscillating sound may be output while charging the flash, but this is not malfunction.
Shooting
1 Use camera controls to choose the flash mode.
See the camera operating instructions for details.
2 Choose a flash mode.
“Flash Mode” (P10)
• The camera and flash will exchange shooting information and the flash working range
will be displayed in the control panel.
3 Press the shutter button halfway.
• Flash working range varies with camera settings (ISO sensitivity, aperture, and lens focal length).
4 Press the shutter button the rest of the way down to take the picture.
The unit emits light in proper exposure if [AUTO CHECK] lamp flashes for approximately
5 seconds.
≥
When using a flash, flash light may be blocked by the lens body, lens hood, etc.
≥
Use the wide panel to prevent overexposure at ranges of less than 1 m (3.3 feet) (P14).
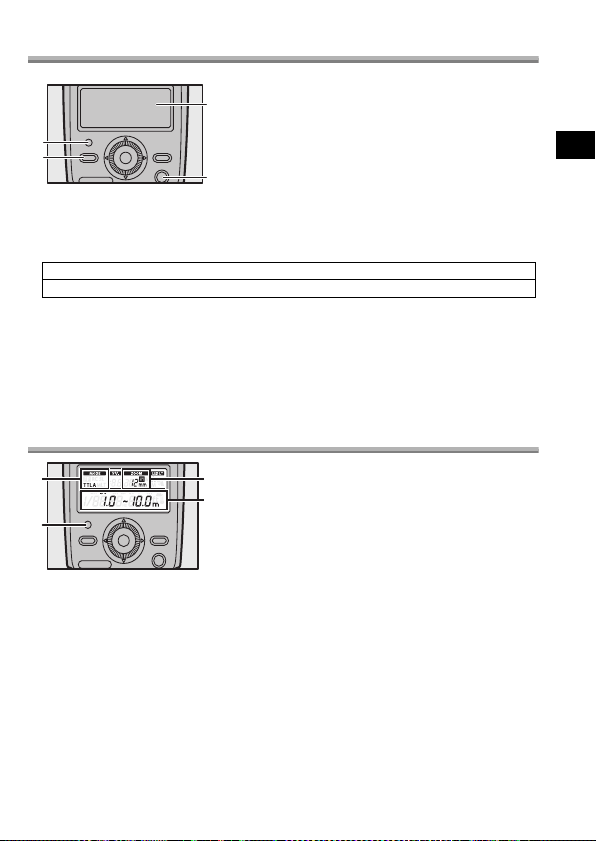
1
[AUTO CHECK] lamp
2
[TEST/CHARGE] lamp
3
Control panel
4
[ON/OFF] button
30 seconds (Alkaline dry batteries)
10 seconds (Rechargeable nickel metal hydride batteries)
1
Flash mode
2
Lighting angle
Displayed according to the focal length of the lens.
3
[AUTO CHECK] lamp
4
Flash working range
VQT5F44_ENG.fm 9 ページ 2014年2月17日 月曜日 午後2時22分
Loading ...
Loading ...
Loading ...