Loading ...
Loading ...
Loading ...
8
Home Canning
When canning for long periods, alternate the use of surface
cooking areas, elements or surface burners between batches.
This allows time for the most recently used areas to cool.
■ Center the canner on the grate or largest surface cooking
area or element. Canners should not extend more than ½"
(1.25 cm) outside the cooking area.
■ Do not place canner on 2 surface cooking areas, elements or
surface burners at the same time.
■ On ceramic glass models, use only flat-bottomed canners.
■ On coil element models, the installation of a Canning Unit Kit
is recommended. If a kit is not installed, the life of the coil
element will be shortened. See “Assistance or Service” for
ordering instructions.
■ For more information, contact your local U.S. Government
Agricultural Department Extension Office. In Canada, contact
Agriculture Canada. Companies that manufacture home
canning products can also offer assistance.
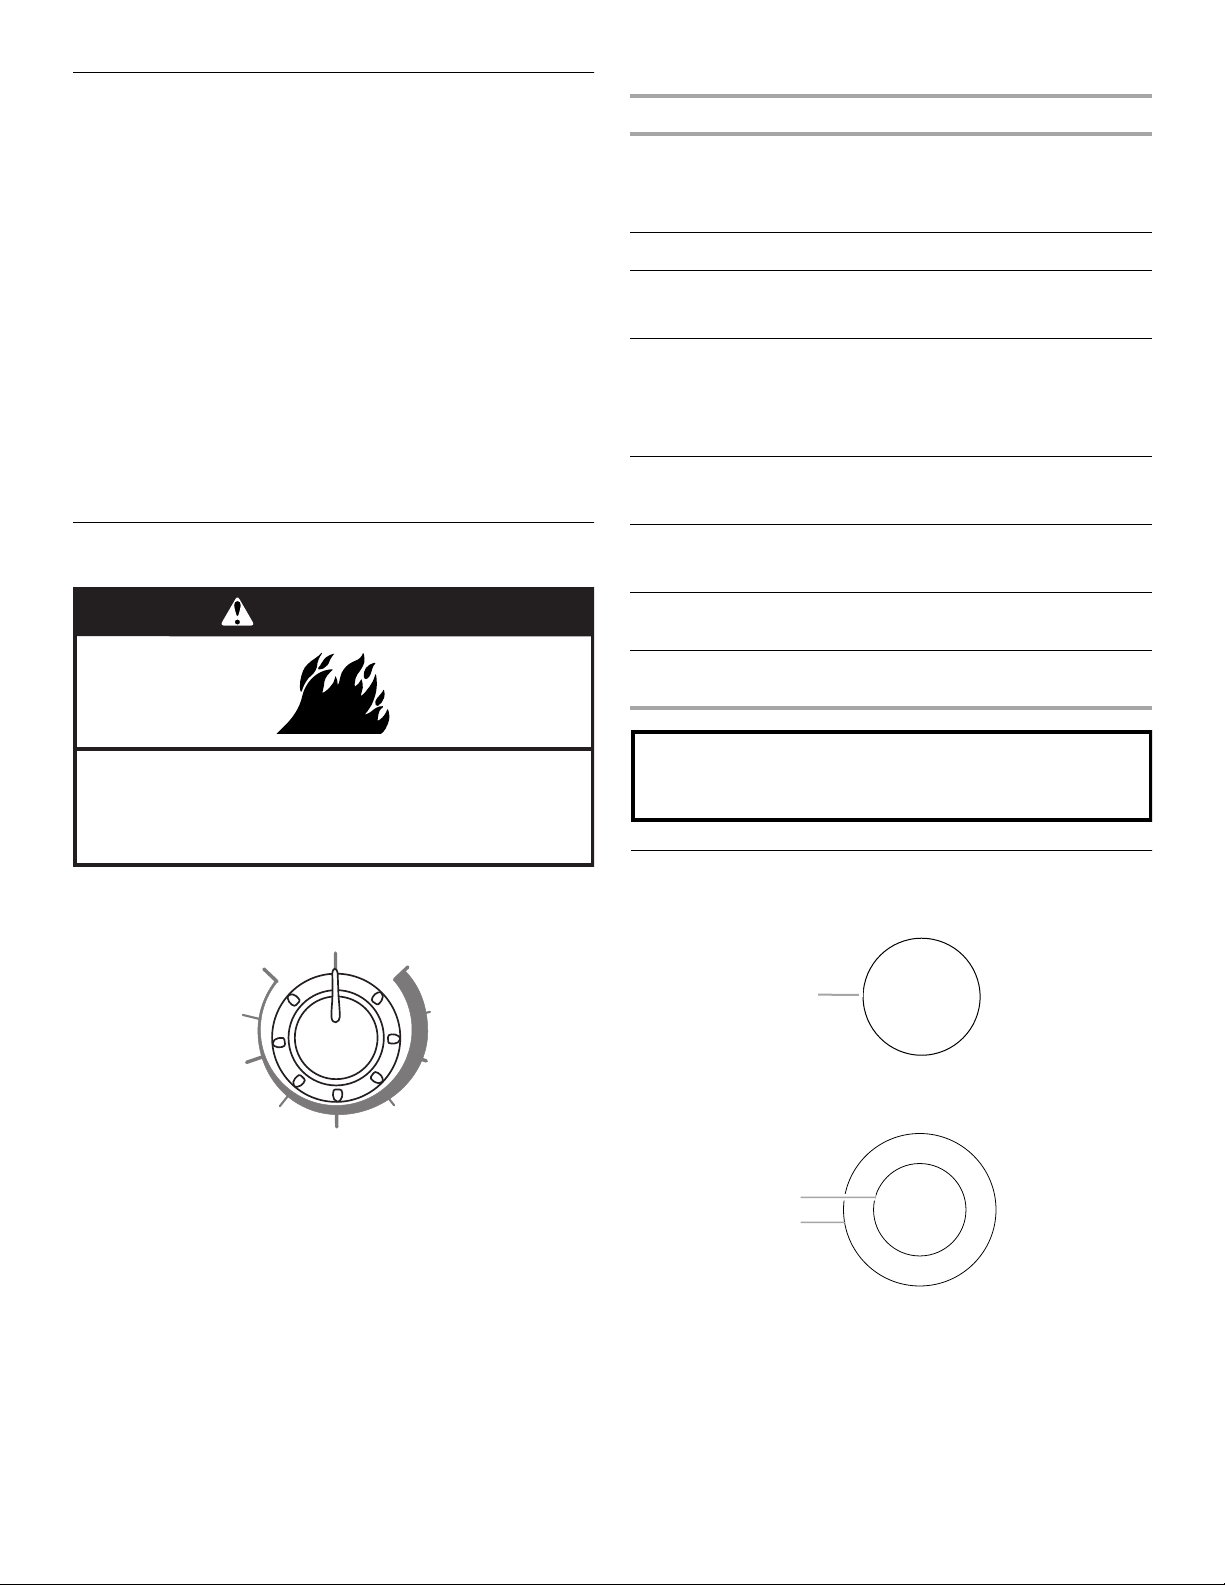
Cooktop Controls
The cooktop controls can be set to anywhere between HI and
LO. Push in and turn to setting.
Use the following chart as a guide when setting heat levels.
Single and Dual-Size Elements
(on ceramic glass models)
WARNING
Fire Hazard
Turn off all controls when done cooking.
Failure to do so can result in death or fire.
Lo
Hi
OFF
Med
Lo
Med
Hi
Med
SETTING RECOMMENDED USE
Dual-Size Element
■ Large-diameter cookware.
■ Large quantities of food.
■ Home canning.
HI
■ Bring liquid to a boil.
MED- HI
■ Hold a rapid boil.
■ Quickly brown or sear food.
MED
■ Maintain a slow boil.
■ Fry poultry or meat.
■ Cook pudding, sauce, icing or
gravy.
MED- LO
■ Stew or steam food.
■ Simmer.
LO
■ Keep food warm.
■ Melt chocolate or butter.
SIMMER Switch
(on some models)
■ Precise simmer control.
WARM ZONE
Element Switch
■ Keep cooked foods warm.
A. Single size
A. Single size
B. Dual size
REMEMBER: When range is in use or (on some models)
during the Self-Cleaning cycle, the entire cooktop area may
become hot.
A
A
B
Loading ...
Loading ...
Loading ...