Loading ...
Loading ...
Loading ...
10
NS-MW16SS8
www.insigniaproducts.com
Setting up your microwave oven
1 Remove the oven and all materials from the carton and oven cavity.
2 Examine the oven for any damage, such as dents or a broken door. Do
not install or use the oven if any damage is found.
3 Remove any protective film from the microwave oven cabinet surface,
the door, and the control panel.
4 Place the oven on a level surface that provides enough open space for
the intake and outlet vents.
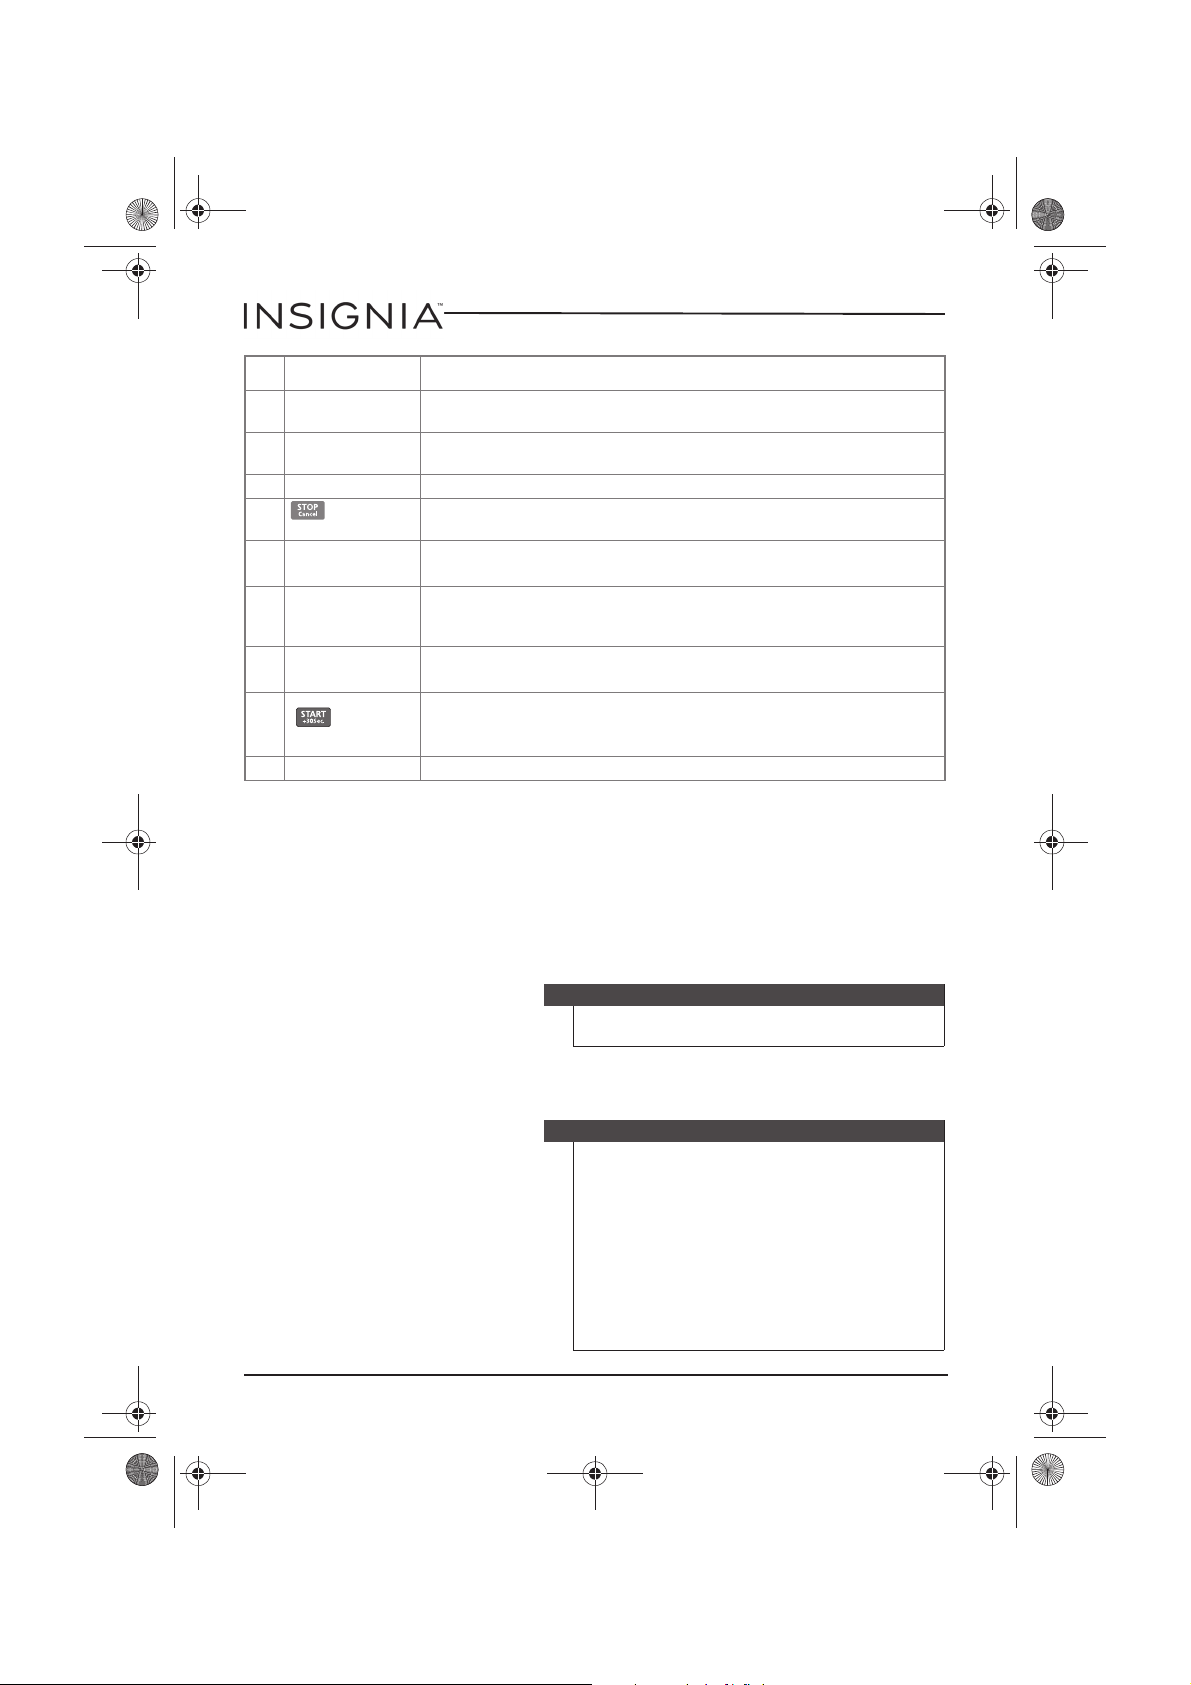
3 Sensor buttons
Press the button for the type of food you want to cook with the
sensor. See “Using Sensor cooking” on page 15.
4Number buttons
Press to enter cook time, defrost time, clock time, and other
information.
5 Kitchen Timer Press this button, then enter the time you want to count down.
6
(
Stop/
Cancel)
Press to stop the cooking process. Press again to cancel the cooking
operation.
7 Clock
Press to set the clock, then press the number buttons to enter the
current time.
8 Easy Set buttons
Press button 1, 2, or 3 to begin cooking immediately for one to three
minutes, respectively
.
See “Cooking quickly with Easy Set” on page
13.
9 Cook Time
Press to set the cooking time, then press the number buttons to enter
the time.
10
(Start/+30
sec)
In standby mode, press this button to begin cooking.
While cooking, press this button to add 30 seconds to the cooking
time.
11 Favorite Press this button to set up to three memorized procedures.
Note
Do not remove the light brown mica cover in the
oven cavity. This cover protects the magnetron.
Notes
• A minimum clearance of 3.0 inches (7.5 cm) is
required between the oven and any adjacent
walls. One side must be open.
• Leave a minimum clearance of 12 in. (30 cm)
above the oven.
• Do not remove the legs from the bottom of the
oven.
• Blocking the intake and/or outlet openings can
damage the oven.
• Place the oven as far away from radios and TVs as
possible. Operation of the microwave oven may
cause interference to your radio or TV reception.
#ITEM DESCRIPTION
NS-MW16SS8_17-0351_MAN_V1_ENG.fm Page 10 Wednesday, July 5, 2017 10:55 PM
Loading ...
Loading ...
Loading ...