Loading ...
Loading ...
Loading ...
5
g
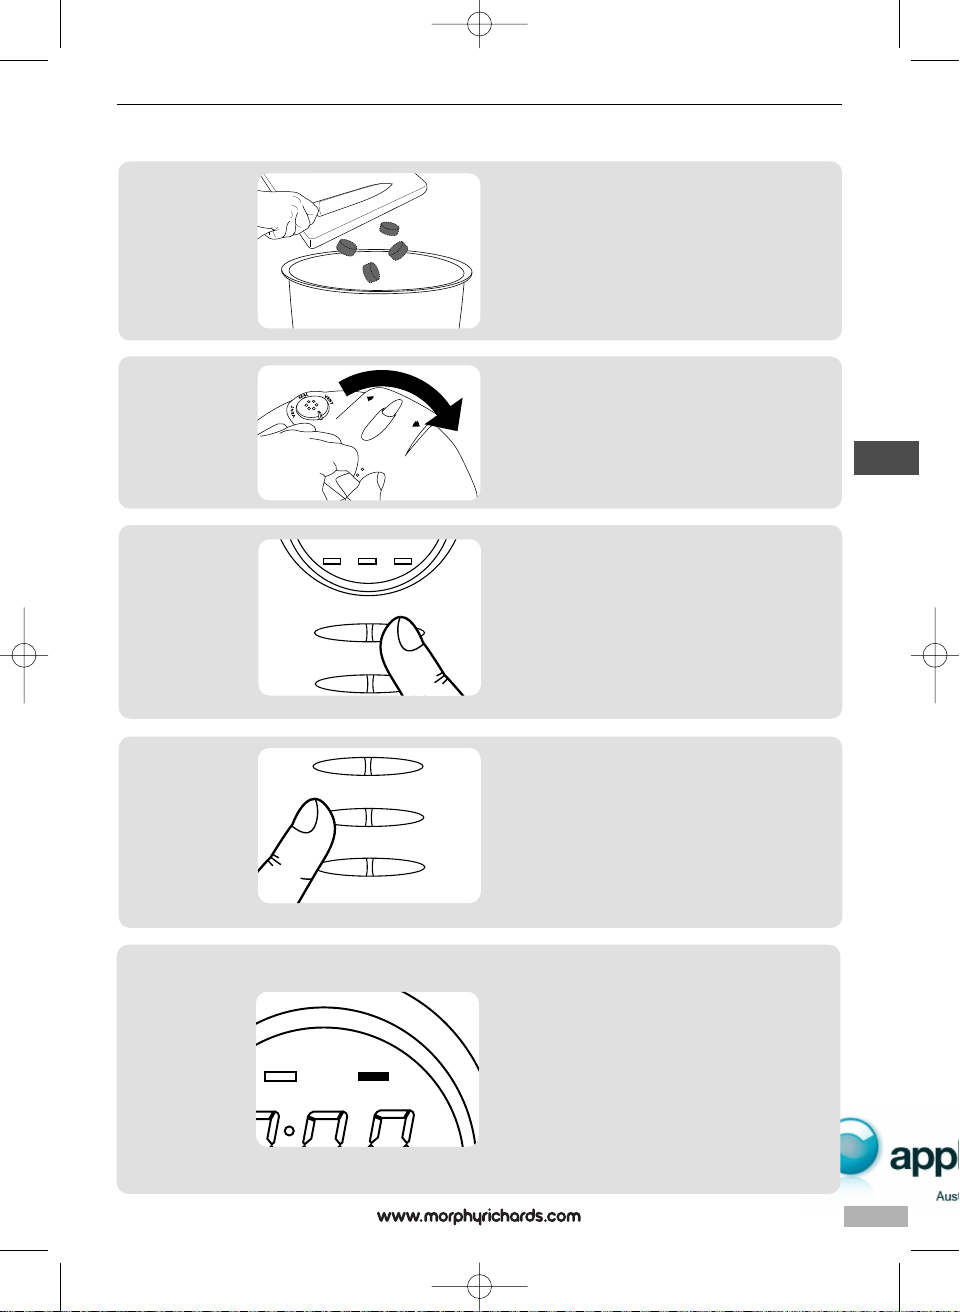
When the sealing / browning process is complete,
add your remaining ingredients, ensuring you keep to
the min quantity (defined by the 1/5 point on the
scale marked inside the pan) and the max quantity
(defined by the 3/5 – point, also marked on the scale
inside the pan.)
4
Then place the lid on as directed, and turn clockwise
to lock in place. Ensure the valve is in the ‘SEAL’
position
5
OPEN
CLOSE
6
Function
T
41-90 Delay Time Time
At the end of the cooking process the product will
beep and automatically switch to keep warm. Keep
warm will last for up to two hours, but you cancel this
at any time by pressing the Standby button ‚. Then
release any excess pressure still contained within the
cooker, by putting on oven gloves and moving the
release valve to the ‘VENT’ position. This will allow
steam to escape under pressure from the vent
.
WARNING: you must keep your face well away from
the valve when releasing excess pressure, and only
do this when you are wearing protective oven
gloves.
8
Heat
Warm
B
Press the Function button fl the appropriate number
of times to select the desired cooking time.
Press 2 times: 1-10 mins
Press 3 times: 11-20 mins
Press 4 times: 21-40 mins
Press 5 times: 41-90 mins
For each range, the Rapid Cook will select the lowest
value (e.g. 11 minutes in the 11-20 mins range)
To select a longer value within the selected range,
press the Time button ‡ to increase the cooking
time within the selected range. For example, to select
a 27 minute cooking time after selecting the 21-40
mins range (as instructed above), press the Time
button ‡ six times, until 0:27 displays on the timer.
The Rapid Cook will then start to heat up and the
cooking process will begin.
7
Function
Time Delay Time
Keep Warm Cancel
H
To use the Normal Cooking function
48815MEE Rev1 +GreekQ7:9225 47507 MEE pump - Jon 5/8/10 17:23 Page 5
Loading ...
Loading ...
Loading ...