BEFORE USE
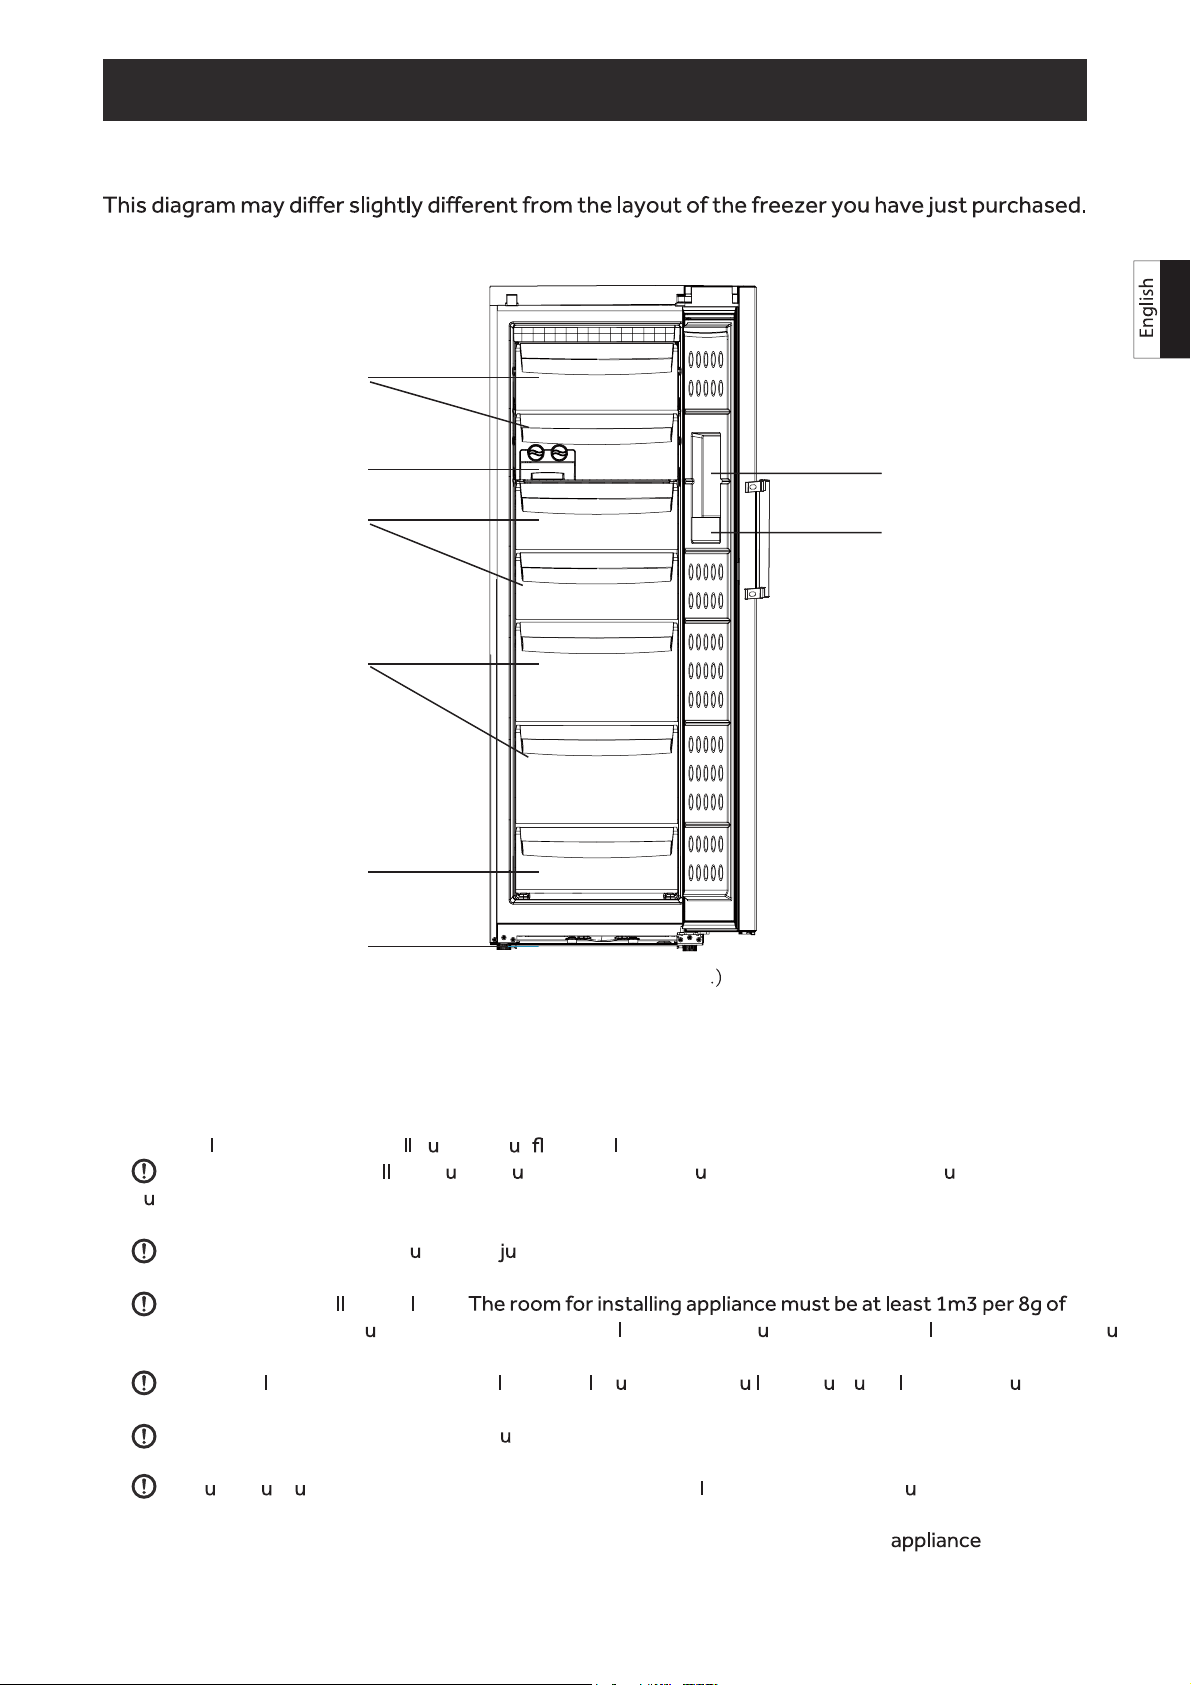
Description
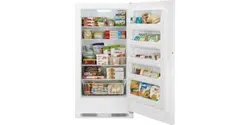
Drawers can be removed to increase freezer storage space.
6
R600aREFRIGERANT
Thisapp iancecontainsasma q antityb t ammab e,non-syntheticR600arefrigerant:
Uponopeningandinsta ingyo rprod ct,checkthatthet bingoftherefrigerantcirc itisnotdamaged
d ringtransportation.
Leakingrefrigerantmayca seeyein riesorignite.
Theroomforinsta ingapp iance
refrigerant.Theamo ntofrefrigerantintheapp iancecanbefo ndontheratingpatethebackofthe nit.
Keepventi ationopeningsintheapp ianceenc os reorintheb it-instr ct recearofobstr ction.
Donotdamagetherefrigerationcirc it.
Ifyo rare ns reoftherefrigeranttypechecktheratingpateonthebackofthe nit.
Ð×ÆÆß ÞÑÈ
ÚÎÑÆÛÒóÚÑÑÜ
ÝßÔÛÒÜßÎ
Ô×Ü
×ÝÛ ÓßÕÛÎ
ø±°¬·±²÷
ÜÎßÉÛÎ
ÍÓßÔÔÜÎßÉÛÎ
ÍËÐÛÎÍÌÑÎÛ
ßÜÖËÍÌ ÚÛÛÌ
ø¬®¿-°±®¬ ¹®·°- ¿¬ º®±²¬ô¬®¿-°±®¬½¿-¬±®- ¿¬ ¾¿½µ÷
LID
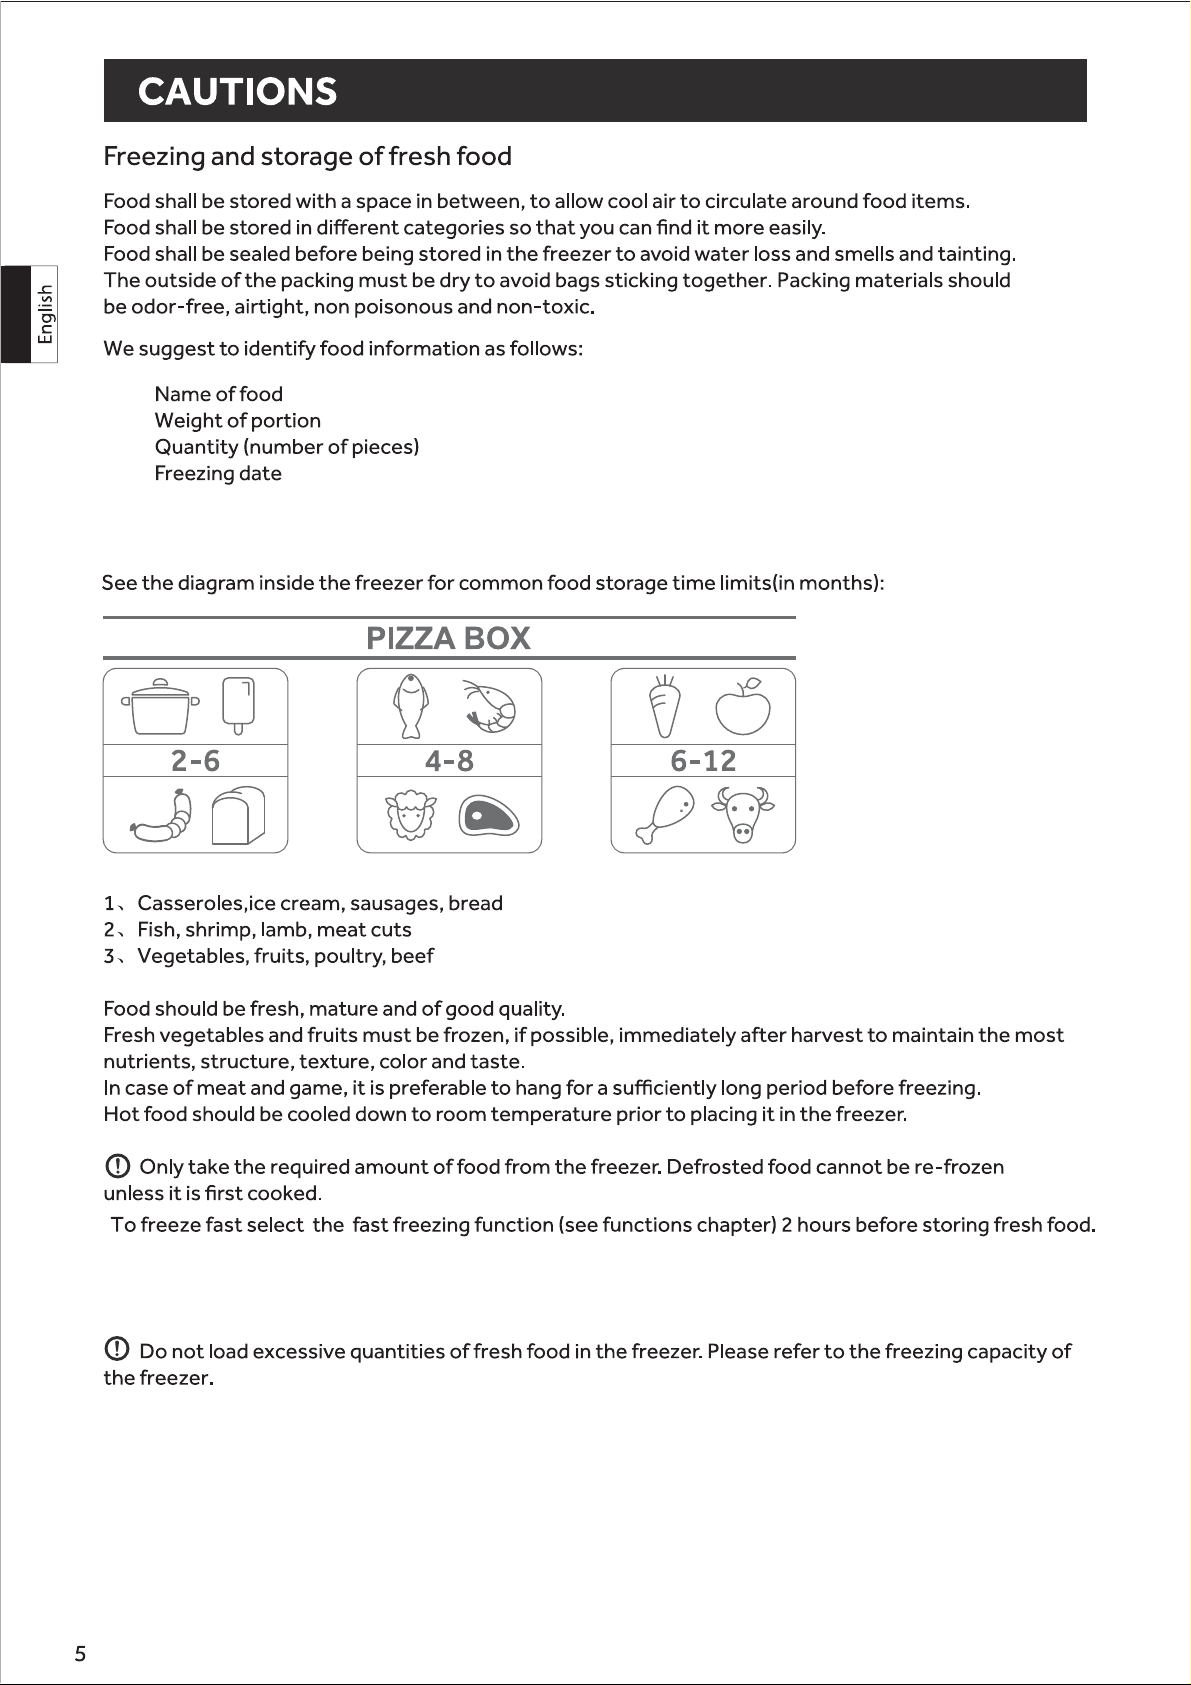
PIZZA BOX
FROZEN-FOOD
CALENDAR
ICE MAKER
(option)
DRAWER
SUPER STORE
SMALL DRAWER
ADJUSTABLE FEET
(Adjustable feet at the front, with casters at the back
It is hazardous for anyone other than an Authorised Service Person to service this .
In Queensland-the authorized Service Person MUST hold a Gas WorkLicence or Authorisation for
hydrocarbon refrigerants,to carry out Servicing or repairs which involve the removal of covers.