Loading ...
Loading ...
Loading ...
EN5
Energy saving tips
• Switch ON the hood at minimum speed when you start cooking and kept it running for few minutes after cooking is
nished.
• Increase the speed only in case of large amount of smoke and vapour and use boost speed(s) only in extreme
situations.
• Replace the charcoal lter(s) when necessary to maintain a good odour reduction eciency.
• Clean the grease lter(s) when necessary to maintain a good grease lter eciency.
• Use the maximum diameter of the ducting system indicated in this manual to optimize eciency and minimize
noise.
INSTALLATION
After unpacking the appliance, check for any transport damage. In the event of problems, contact the dealer or your
nearest After-sales Service. To prevent any damage, only remove the appliance from its polystyrene foam packaging at
the time of installation.
PREPARING FOR INSTALLATION
WARNING:
this is a heavy product; the hood should only be lifted and installed by two or more people.
The minimum distance between the support of the cooking pans on top of the cooker and the bottom of the hood must
not be less than 50 cm for electric cookers and 70 cm for gas or mixed cookers. Before installation also check the
minimum distances stated in the manual of the cooker.
If the installation instructions for the cooker specify a greater distance between cooker and hood, this distance must be
observed.
ELECTRICAL CONNECTION
Make sure the power voltage specied on the appliance rating plate is the same as the mains voltage.
This information may be found on the inside of the hood, under the grease lter.
Power cable replacement (type H05 VV-F 3 x 0,75 mm²) must be carried out by a qualied electrician. Contact an
authorized service centre.
If the hood is tted with an electric plug, connect the plug to a socket complying with current regulations, located in an
accessible place after installation. If no plug is tted (direct wiring to the mains), or if the socket is not located in an
accessible place, install a standardised double pole power switch that will enable complete isolation from the mains in
case of category III overvoltage conditions, in accordance with installation rules.
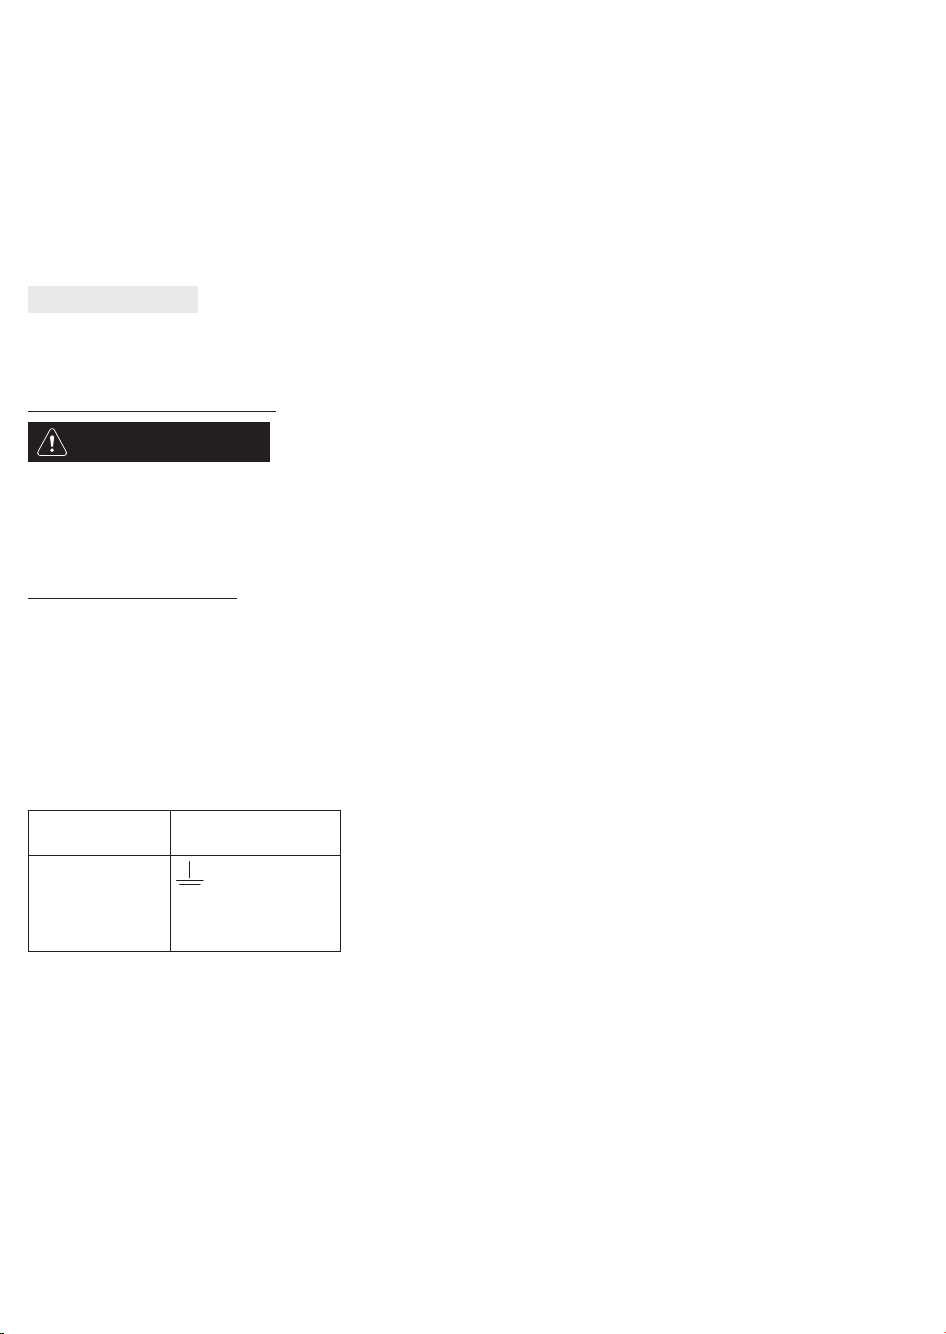
If the cable is not tted with a plug, connect the wires according to the following table:
Mains voltage
and frequency
Wire connection
220-240V
50-60Hz
: yellow/green
N : blue
L : brown
Loading ...
Loading ...
Loading ...