Loading ...
Loading ...
Loading ...
18
INSTALLATION
ENGLISH
Connecting the Water Line
Before You Begin
This water line installation is not covered by the refrigerator war-
ranty. Follow these instructions carefully to minimize the risk of
expensive water damage.
Water hammer (water banging in the pipes) in house plumbing
can cause damage to refrigerator parts and can lead to water
leakage or flooding. Call a qualified plumber to correct water
hammer before installing the water supply line to the refrigera-
tor.
CAUTION
To prevent burns and product damange, only con-
nect the refrigerator water line to a cold water
supply.
If you use your refrigerator before connecting the
water line, make sure the icemaker power switch is
in the OFF (O) position.
CAUTION
Do not install the icemaker tubing in areas where
temperatures fall below freezing.
Water Pressure
A cold water supply. The water pressure must be between 20
and 125 psi on models without a water filter and between 40
and 125 psi on models with a water filter.
If a reverse osmosis water filtration system is connected to
your cold water supply, this water line installation is not covered
by the refrigerator warranty. Follow the following instructions
carefully to minimize the risk of expensive water damage.
If a reverse osmosis water filtration system is connected to your
cold water supply, the water pressure to the reverse osmosis
system needs to be a minimum of 40 to 60 psi (2.8 kgf/cm
2
~ 4.2
kgf/cm
2
, less than 2.0~3.0 sec. to fill a cup of 7 oz capacity).
If the water pressure from the reverse osmosis system is
less than 21 psi or 1.5 kgf/cm
2
(takes more than 4.0 sec to
fill a cup of 7 oz capacity):
Check to see if the sediment filter in the reverse osmo-
y
sis system is blocked. Replace the filter if necessary.
Allow the storage tank on the reverse osmosis system to
y
refill after heavy usage.
If the issue concerning water pressure from reverse
y
osmosis remains, call a licensed, qualified plumber.
All installations must be in accordance with local plumb-
y
ing code requirements.
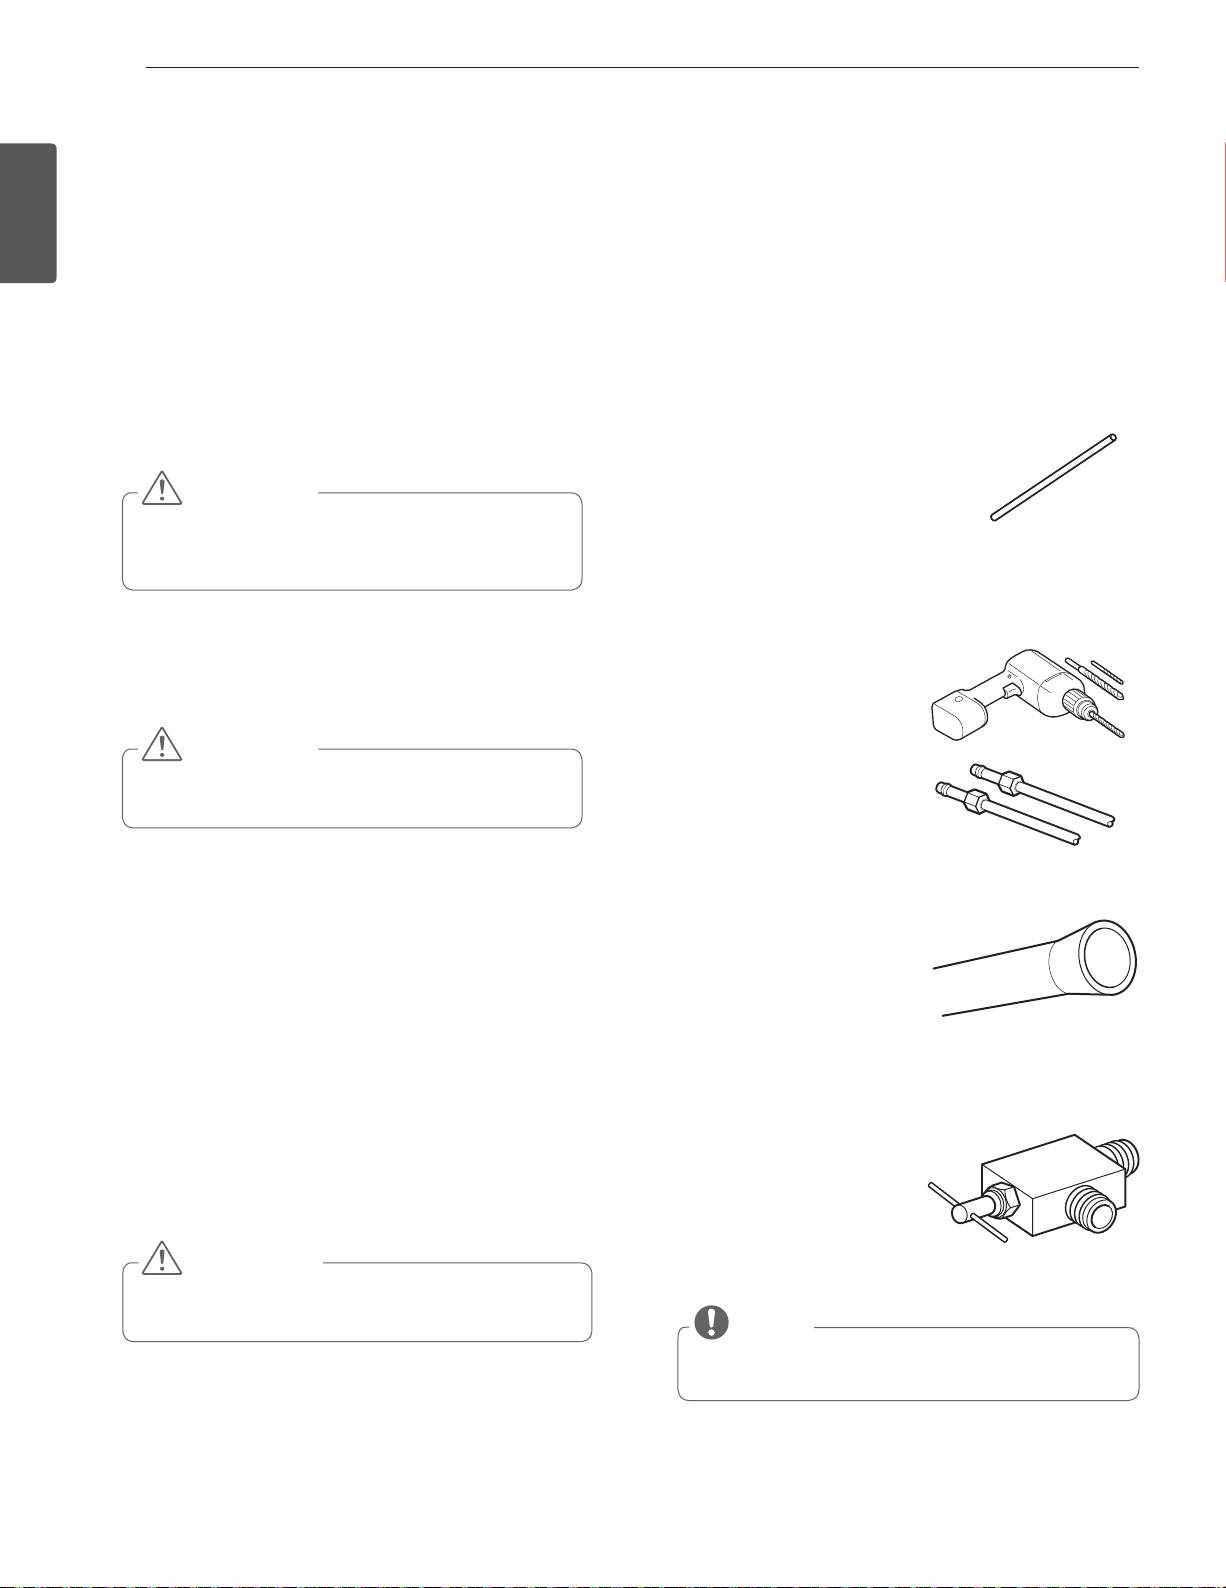
What You Will Need
Copper Tubing, ¼ in. outer diameter, to connect the
y
refrigerator to the water supply. Be sure both ends of the
tubing are cut square.
To determine how much tubing you
y
need: measure the distance from the
water valve on the back of the refrig-
erator to the water supply pipe. Then, add 8 feet (2.4 m).
Be sure there is sufficient extra tubing (about 8 feet [2.4 m]
coiled into 3 turns of about 10 in. [25 cm] diameter) to al-
low the refrigerator to move out from the wall after instal-
lation.
Power drill.
y
½ in. or adjustable wrench.
y
Flat blade and Phillips head
y
screwdrivers.
Two ¼ in. outer diameter
y
compression nuts and 2 ferrules
(sleeves) to connect the copper
tubing to the shutoff valve and
the refrigerator water valve.
If your existing copper water line has a flared fitting at the
y
end, you will need an adapter
(available at plumbing supply
stores) to connect the water line
to the refrigerator OR you can
cut off the flared fitting with a
tube cutter and then use a compression fitting.
Shutoff valve to connect to the cold water line. The shutoff
y
valve should have a water inlet with a minimum inside di-
ameter of 5/32 in. at the point of connection to the COLD
WATER LINE. Saddle-type
shutoff valves are included in
many water supply kits. Before
purchasing, make sure a saddle-
type valve complies with your
local plumbing codes.
CAUTION
Wear eye protection during installation to prevent
injury.
NOTE
A self piercing saddle type water valve should not be
used.
Loading ...
Loading ...
Loading ...