Loading ...
Loading ...
Loading ...
6
Time setup / Lithium battery
Time setup
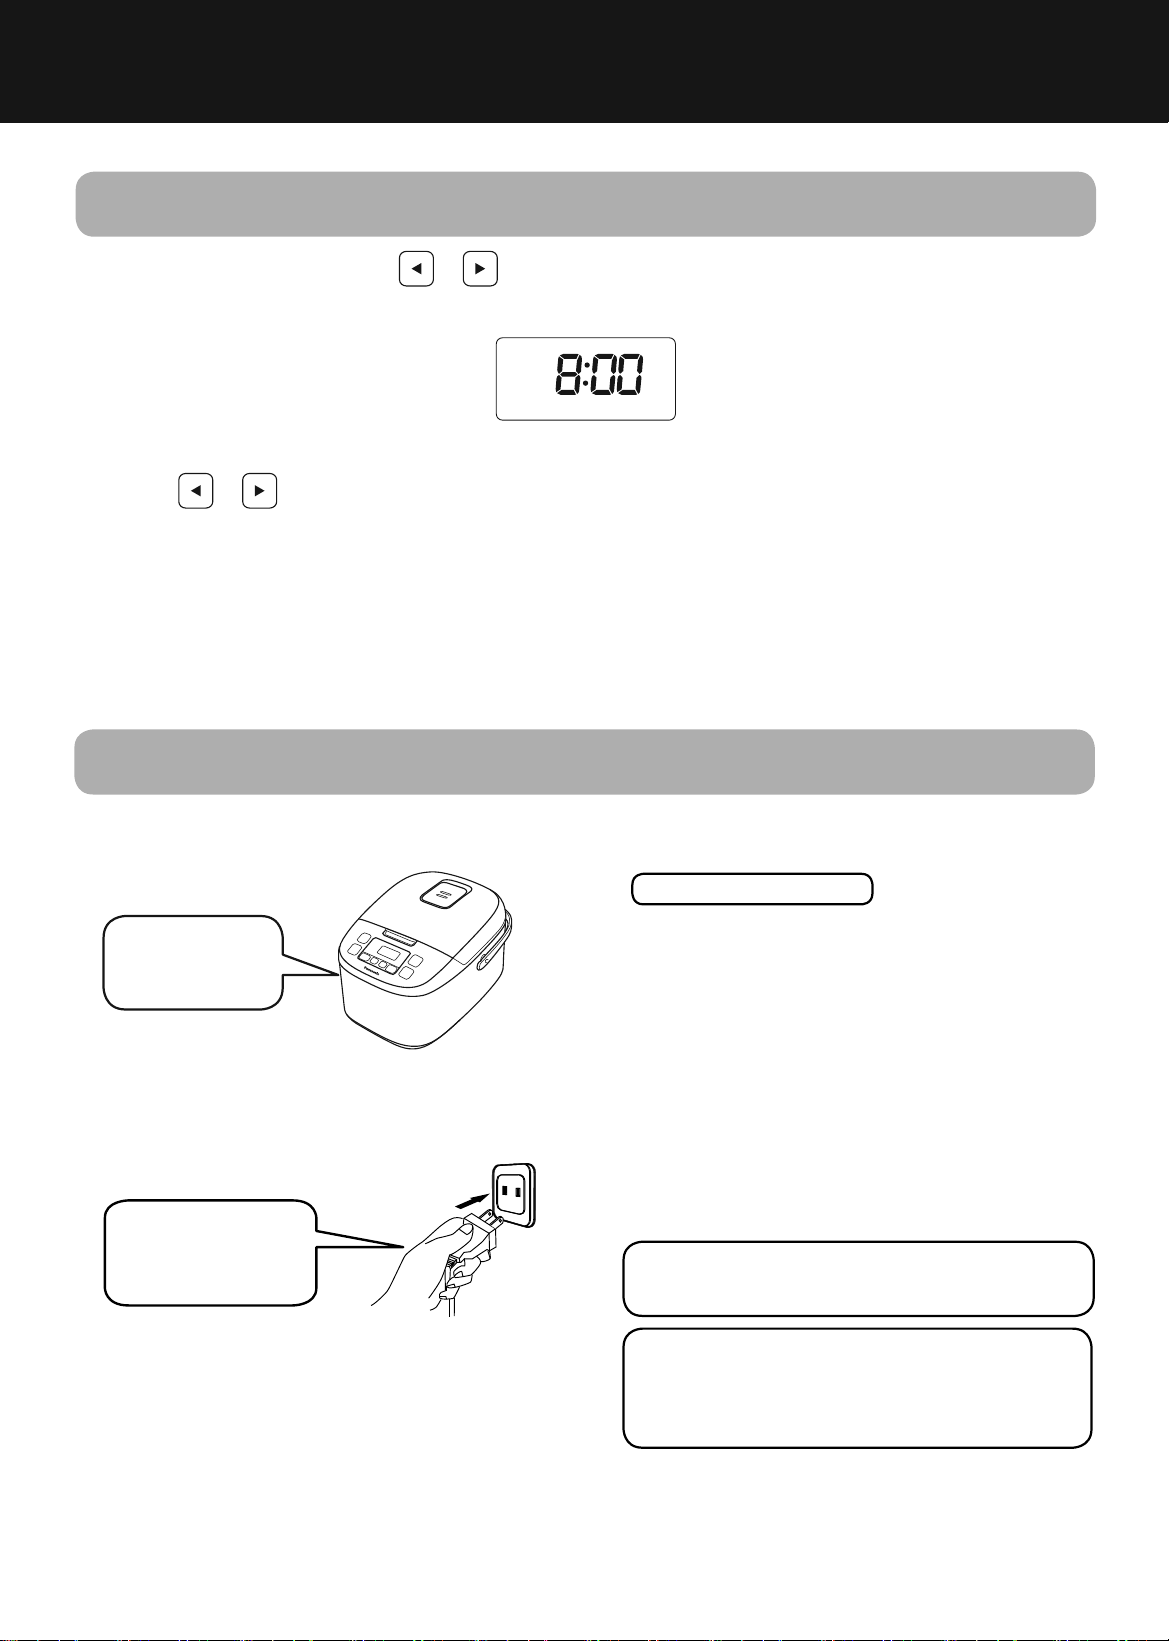
1
Connect the power plug. Press or button for more than one second, then release the button after a
beep sound. The time shows in the LCD starts to blink.
Press
or button to set the time (1 minute increment).
Keeping the button pressed will make setting faster.
• 24:00 is replaced by 0:00.
• Error may occur in the Timer function if the current time has not been set properly.
• The time cannot be setup during operating state.
2
The time will be automatically set after leaving about 5 seconds. (LCD stops blinking).
3
Lithium battery
Power source for the clock
When unplugged
The internal
lithium battery is
fully utilized.
Battery Replacement
If lithium battery is fully utilized, please contact
authorized service center for replacement.
The life time of battery is around 5 years (At
20°C room temperature and plugged in 12 hours
each day).
When the battery is consumed, the following
phenomenon will happen:
When plugged
The power supply
source is fully
utilized.
Note: Do not put the lithium battery into the fi re, do
not recharge, disassemble or heat the battery, etc.
• The clock becomes vague or disappears.
• Memory of preset time is lost.
• The clock can be used again when power plug
is connected.
(The clock resetting is required).
This product contains a CR Coin Cell Lithium
Battery which contains Perchlorate Material
– special handling may apply.
See www.dtsc.ca.gov/hazardouswaste/perchlorate
SR-ZX_ZG185_105_OIB_US_EN__cover modified_2210.indd 6SR-ZX_ZG185_105_OIB_US_EN__cover modified_2210.indd 6 10/28/2015 7:17:48 PM10/28/2015 7:17:48 PM
Loading ...
Loading ...
Loading ...