Loading ...
Loading ...
Loading ...
BEFORE EMBROIDERING
146
g
gg
g
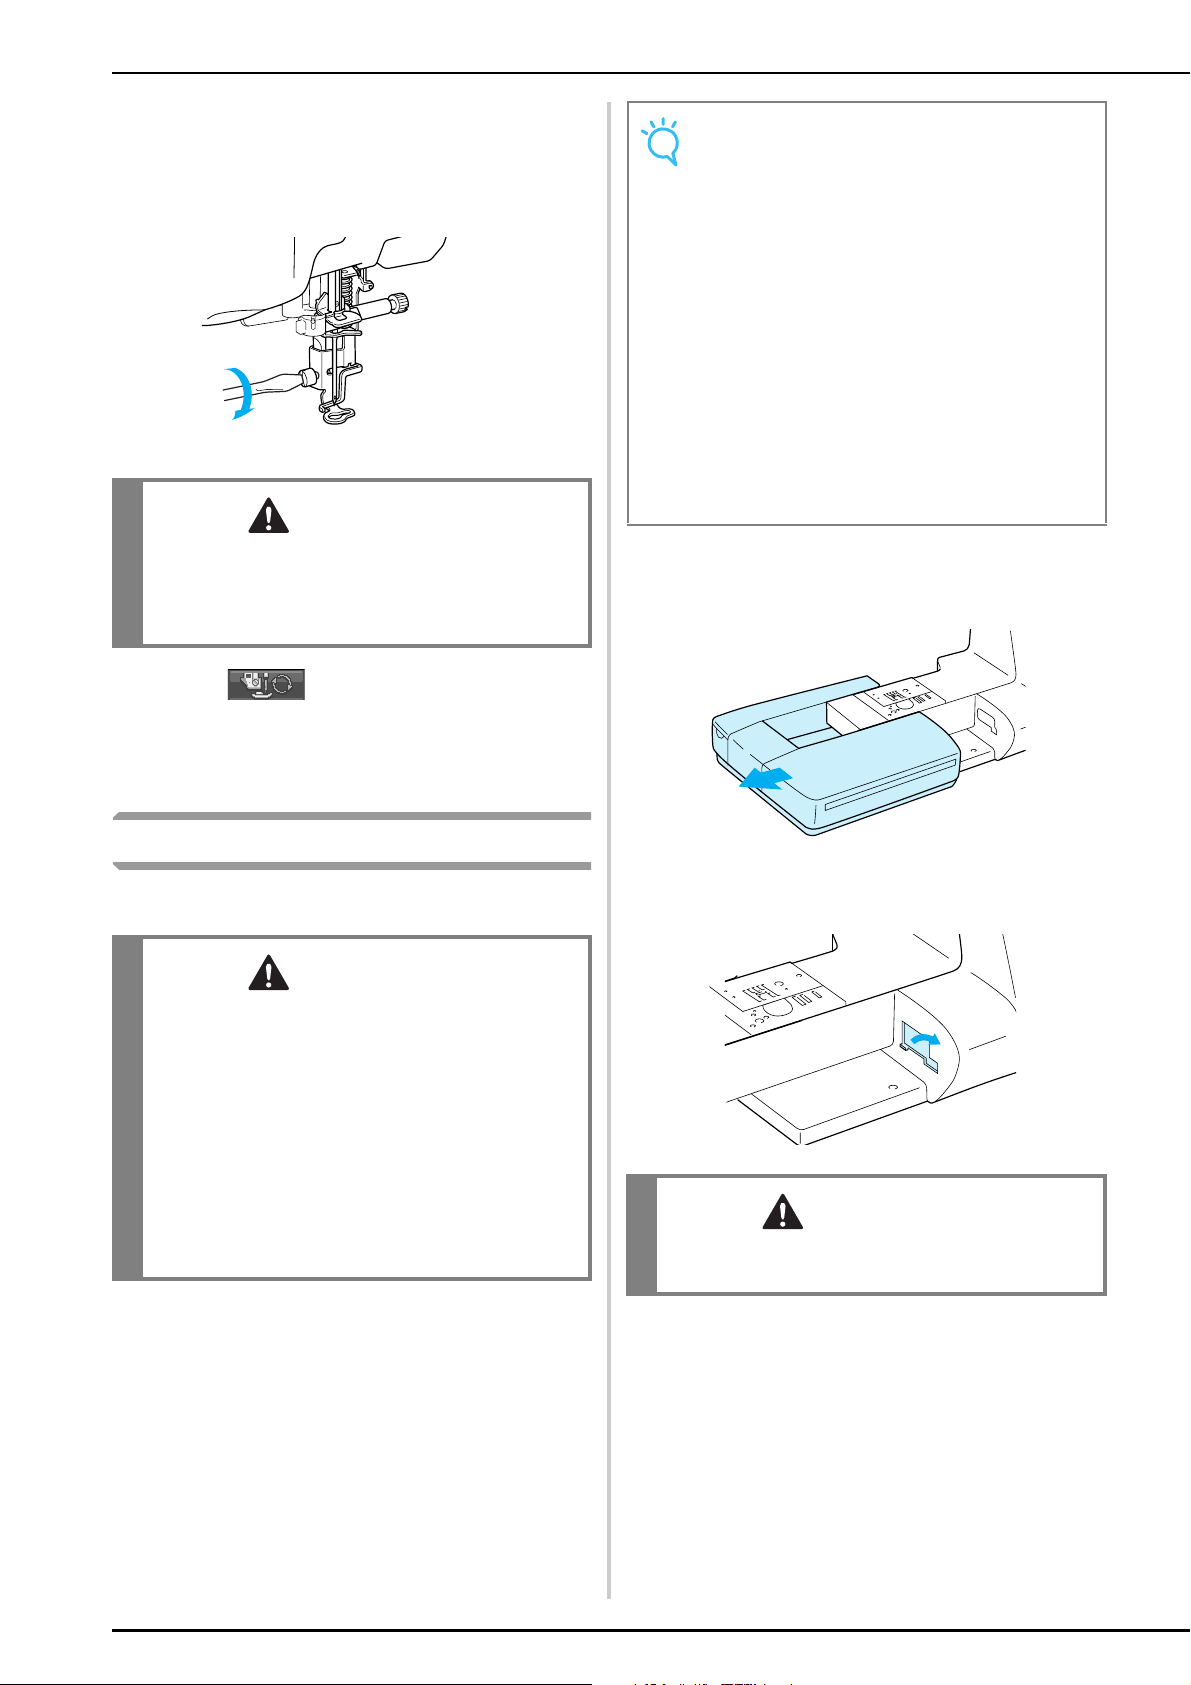
Hold the embroidery foot in place with
your right hand, and then use the included
screwdriver to securely tighten the presser
foot holder screw.
h
hh
h
Press to unlock all keys and
buttons.
→ All keys and operation buttons are unlocked, and
the previous screen is displayed.
Attaching the Embroidery Unit
■ About the Embroidery Unit
a
aa
a
Turn the main power to OFF, and remove
the flat bed attachment.
b
bb
b
Open the cover of the connection port.
CAUTION
• Use the included screwdriver to firmly tighten
the screw of the presser foot holder. If the
screw is loose, the needle may strike the
presser foot and possibly cause injury.
CAUTION
• Do not move the machine with the
embroidery unit attached. The embroidery
unit could fall off and cause injury.
• Keep your hands and foreign objects away
from the embroidery carriage and frame when
the machine is embroidering. Otherwise,
injury may result.
• If the embroidery unit could not be initialized
correctly, a buzzer will sound. If this happens,
go through the initialization process again.
This is not a malfunction.
Note
• You can also sew utility/decorative stitches
with the embroidery unit attached. Set the
feed dog position switch on the embroidery
unit to the appropriate setting.
• Be sure to turn off the power before install-
ing the embroidery unit. Otherwise, the
machine may be damaged.
• Do not touch the inner connector of the
embroidery unit. The pins on the embroidery
unit connection may be damaged.
• Do not apply strong force to the embroidery
unit carriage or pick up the unit by the car-
riage. Otherwise, the embroidery unit may
be damaged.
• Store the embroidery unit in the proper stor-
age case.
CAUTION
• Be sure to replace the cover when the
embroidery unit is not installed.
Loading ...
Loading ...
Loading ...