Loading ...
Loading ...
Loading ...
48
EN
Basic operations
5
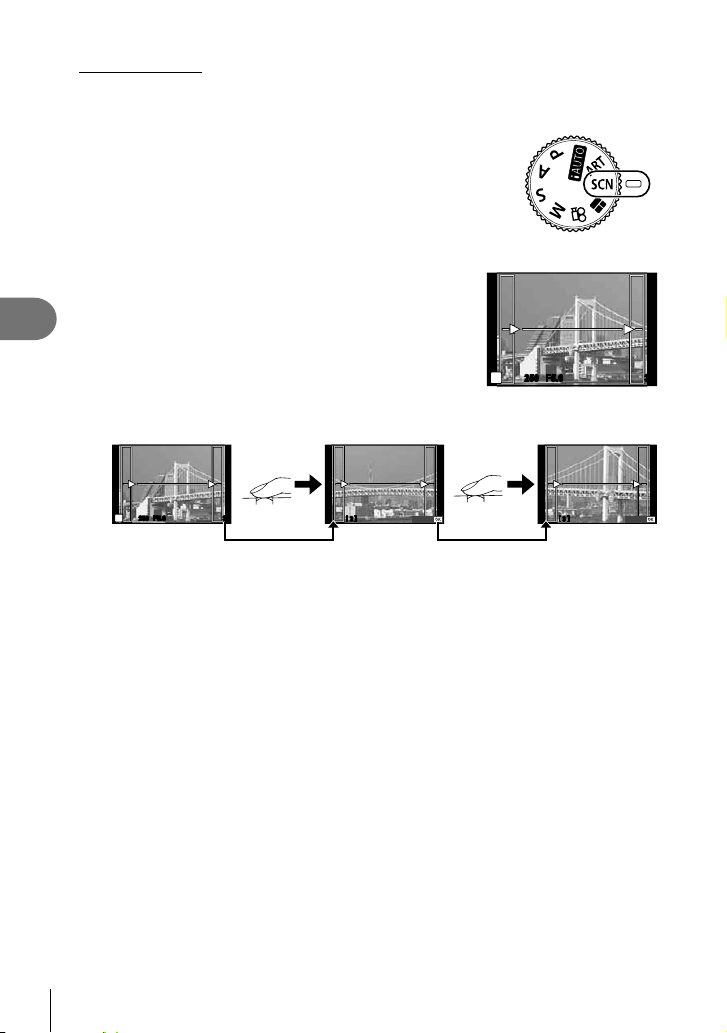
Taking panoramas
If you have installed the supplied computer software, you can use it to join pictures together
to form a panorama. g “Connecting the camera to a computer and a printer” (P. 111)
1
Rotate the mode dial to SCN.
2
Select [Panorama] and press Q.
3
Use FGHI to choose a pan direction.
4
Take a picture, using the guides to frame the shot.
• Focus, exposure, and other settings are fi xed at the
values for the fi rst shot.
250250 F5.6 38
M
5
Take the remaining images, framing each shot so that the guides overlap with
the previous picture.
[
2
]
250250 F5.6 38
M
[
3
]
Exit Exit
• A panorama may include up to 10 images. A warning indicator (g) is displayed after
the tenth shot.
6
After taking the last shot, press Q to end the series.
# Cautions
• During panorama shooting, the image previously taken for position alignment will not be
displayed. With the frames or other markers for display in the images as a guide, set the
composition such that the edges of the overlapping images overlap within the frames.
$ Notes
• Pressing Q before shooting the fi rst frame returns to the scene mode selection menu.
Pressing Q in the midst of shooting ends the sequence of panorama shooting, and allows
you to continue with the next one.
Loading ...
Loading ...
Loading ...