Loading ...
Loading ...
Loading ...
9
ELELCTRICAL
Install a 1/2” conduit from the service panel long enough to reach the hood once it is installed.
Branch circuit requirement is 120V, 60Hz, 15A(minimum).
INFRARED LAMP AND PANEL KIT
Optional infrared lamp and panel kit can be ordered separately and mounted into your vent hood.
Models available: IR30, IR36 and IR48. See instructions supplied with kit for assembly to your hood.
WARNING
To avoid any electrical shock the installation of the IR lamp should be done
by a qualified electrician and before starting the installation of the hood.
DUCTING
Hood models: ES30, ES36, VS30, VS36 are supplied with a starting collar and backdraft damper on top
of the hood for connection to 8”round duct. Models: VS1236 and VS48 are supplied with a 10” round
transition with damper and is assembled as shown in Fig. 3.
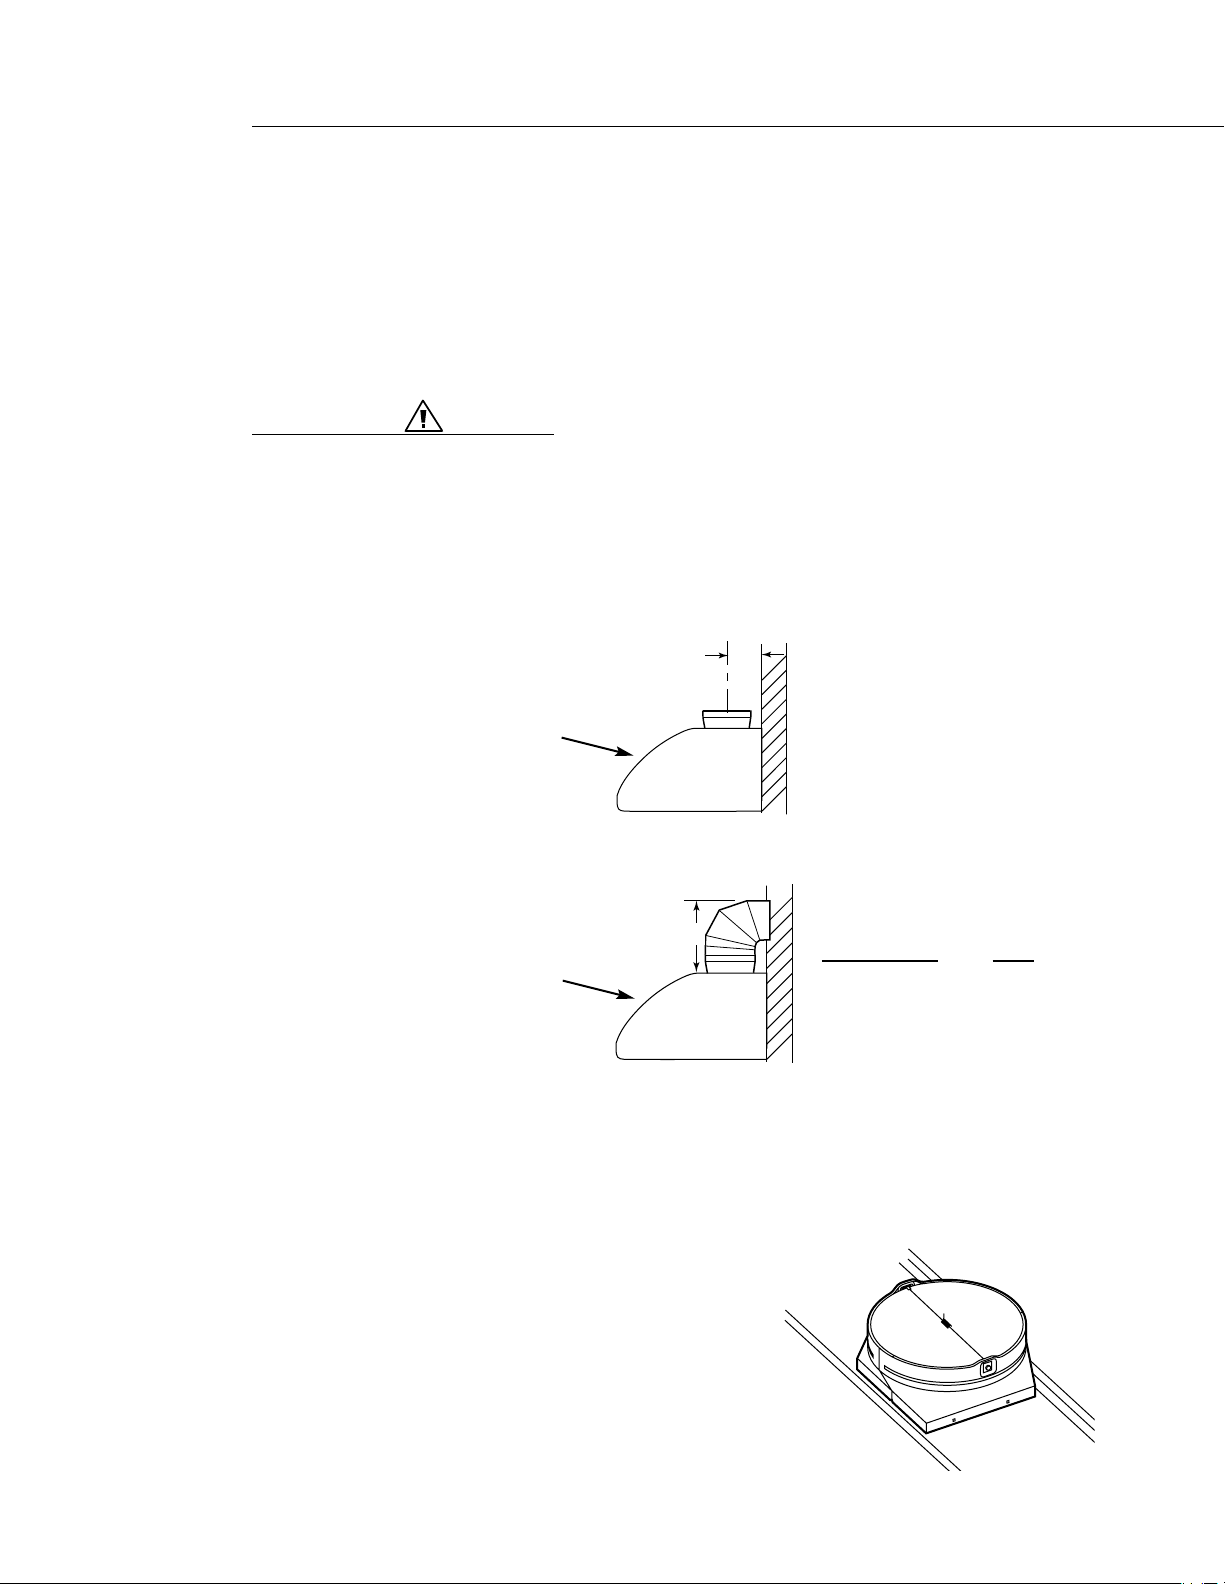
Vertical Discharge Figure
Horizontal Discharge Figure
Install ducting long enough to reach the transition once the hood is installed plus 1-1/2 inch to
connect ductwork.
ASSEMBLE TRANSITION TO HOOD (VS1236 and VS48 hoods only)
The transition supplied with the hood mounts to the top of the
hood, Figure 3.
1. Place the transition piece over the hood exhaust and
secure with 4 screws provided (Figure 3).
2. Duct tape connection between transition and hood.
3. Remove tape holding damper
FIG. 3
BEFORE INSTALLING HOOD
6"
FIG. 1
FIG. 2
canopy
canopy
A
FOR 90
0
ELBOW A
10” 16”
8” 11”
Loading ...
Loading ...
Loading ...