Loading ...
Loading ...
Loading ...
en
17
Ice maker
When the freezer compartment has reached its freezing
temperature, water flows into the ice maker and freezes
into ice cubes. When the ice cubes are ready, they are
automatically discharged into the ice bucket.
Turning off the ice maker
The ice maker can be turned off to save water and
energy, if no ice is needed.
Press the “ice on/off” button to turn on or off the ice
maker. Display
(ice off) is illuminated, when the
ice maker is turned off.
Note:
“ice on/off” only concerns the ice maker, not
the dispenser.
Emptying the ice bucket
If you do not dispense ice for a long period, ice may
clump in the ice bucket. If this occurs, please remove
and empty the bucket
(~ chapter “ Cleaning the appliance”).
Dispensing ice
1. 2.
1. Press button
or to activate dispenser mode
“cubed ice” or “ crushed ice” .
Corresponding display
or will illuminate, when
selected mode is active.
2. Press a suitable receptacle against the dispenser
lever.
Remove the receptacle from the dispenser lever
when it is approx. half full. Ice in the discharge
may cause the receptacle to overflow or block the
discharge.
Do not immediately remove your glass from under
the dispenser after dispensing ice. Wait for 2 or
3 seconds to prevent spills.
Notes
Ø After switching over from dispensing cubed ice to
crushed ice, the dispenser may still contain whole
ice cubes or pieces of ice cube. These will be
dispensed with the first portions of crushed ice.
Ø After switching over from dispensing crushed ice
to cubed ice, a small amount of crushed ice may
be dispensed with the first portions of cubed ice.
Ø Do not dispense ice continualy more than one
minute during normal use to avoid excessive
temperatureontheicecrushermotor.
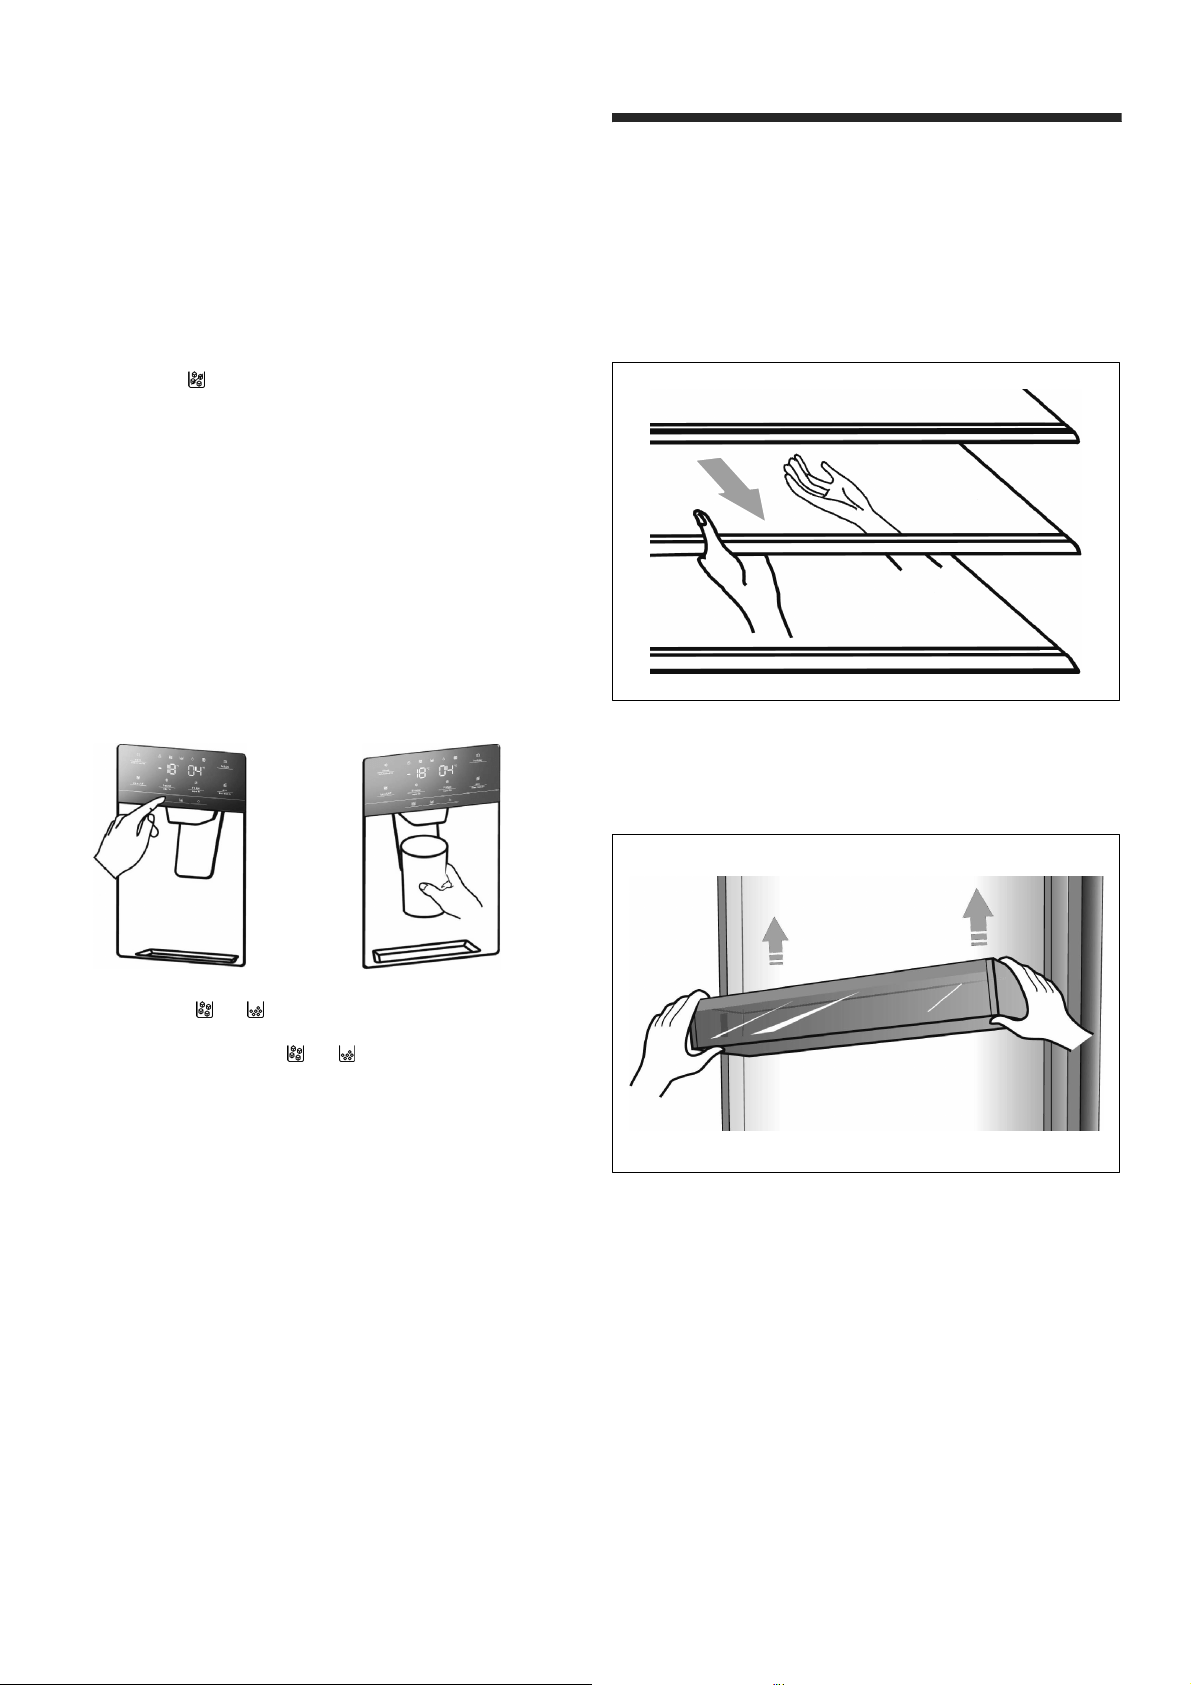
Variable interior design
The refrigerator compartment is provided with 5 glass
shelves and several different door racks, which are
suitable for the storage of eggs, canned liquid, bottled
drinks and packed food. They can be placed at
different heights according to your needs.
Before removing the door racks please remove all food
items to avoid spillage.
Ø When you remove the shelves, gently pull them for
ward until the shelf comes clear of t he shelf guides.
Ø When you return the shelves, make sure there is no
obstacle behind and gently push the shelf back into
the position.
Ø Lift the door racks and remove.
Loading ...
Loading ...
Loading ...