Loading ...
Loading ...
Loading ...
> If the transfer is complete the following screen will appear.
Note! If the ‘Philips FunCam’ screen does not appear you can start ‘Philips Photo Manager’ and click
on the 'Get Photo' icon. Select your camera (Philips FunCam) to start the transfer.
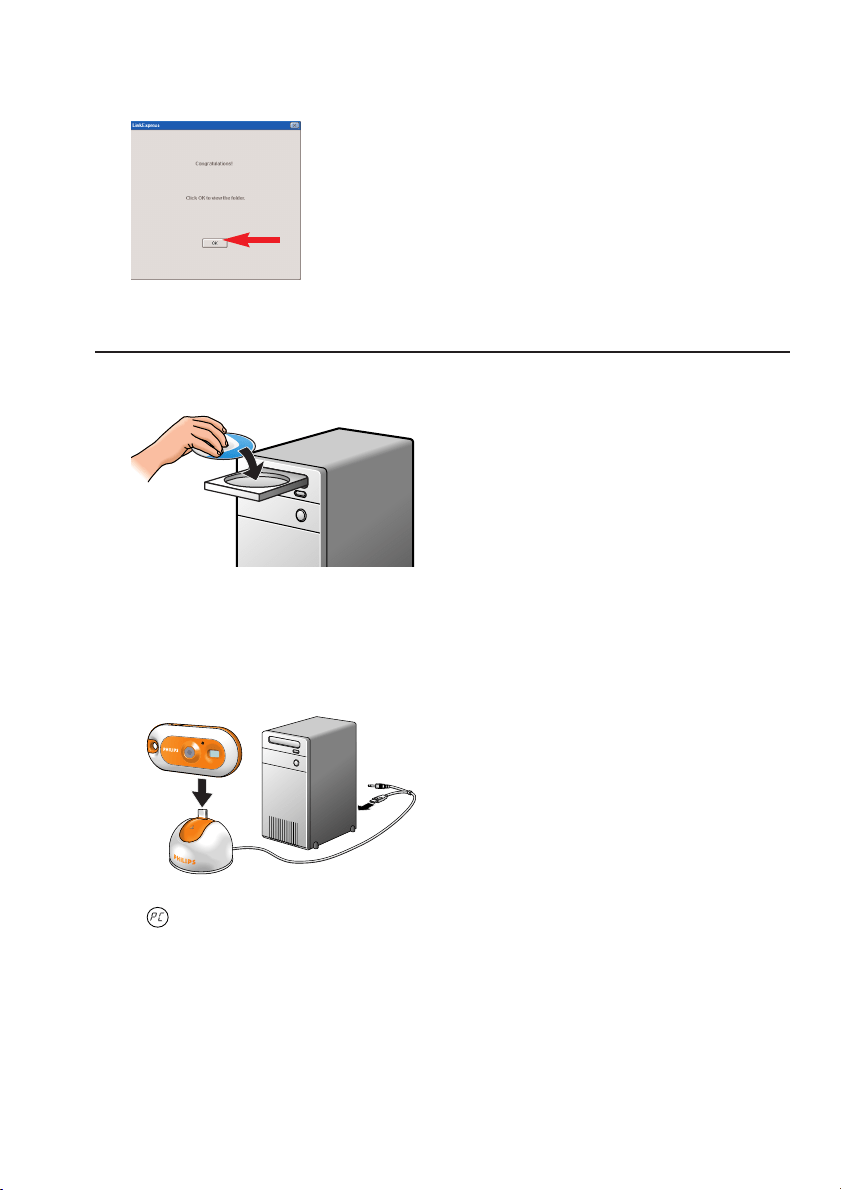
Using the camera as PC-camera (webcam)
1 Be sure to run the installation CD first, before connecting the camera to the PC.
2 Turn on the PC.
3 Connect the desktop stand to the PC:
• Connect the USB plug of the USB/Microphone cable to the USB port of the PC.
• Connect the 3.5 mm jack plug the USB/Microphone cable to the audio input of the PC.
4 Place the camera’s USB connector on the USB connector in the desktop stand. Push it
down gently until it clicks into position.
> You will hear a beeping sound and the Power LED lights up blue.
> appears on the display and the camera turns on automatically.
> The camera can now be used as a PC-camera (webcam) and photos and video clips can
be transferred to the PC.
See chapters ‘Transferring/viewing photos and video clips’, ‘NetMeeting’ and ‘Philips
VRecord’.
Note! The Philips FunCam works with Microsoft
®
MSN Messenger and Yahoo!
®
Messenger.
ENGLISH 23
DMVC300K_Fun_01 Eng.1.qxd 25-03-2004 12:44 Pagina 23
Loading ...
Loading ...
Loading ...