1
To prevent possible SERIOUS INJURY or DEATH:
• Disconnect ALL electric and battery power BEFORE
performing ANY service or maintenance.
The garage door MUST be in the fully closed position during
installation.
ALWAYS wear protective gloves and eye protection when
changing the battery or working around the battery
compartment.
MODELS 041D1739-1, 041D1624-1
AND 041D8006-1
INTRODUCTION
The images throughout these instructions are for reference and
your product may look different.
You will need:
• 1/4" magnetic nut driver
• Long-nosed pliers
• 5/16" long-shafted magnetic nut driver and socket
• Flathead screwdriver
INSTALLATION
1. Close the garage door. Unplug the garage door opener. Disconnect the battery (if applicable).
2. Disengage the door by pulling the emergency release handle. Loosen the chain/belt tension by loosening the nut.
3. For belt, remove the sprocket cover by removing the screws. Remove the belt from the sprocket.
For chain, remove the sprocket cover by squeezing the sides then pulling up. Remove the chain from the sprocket.
4. Use a flathead screwdriver to remove the C-clip from the motor shaft, then remove the sprocket from the motor shaft (set the
sprocket and C-clip aside to reinstall later).
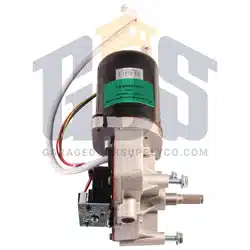
Motor Kit for DC Garage Door Openers
Nut
Nut
BELT - Trolley Type A
CHAIN - Trolley Type A
BELT - Trolley Type B
CHAIN - Trolley Type B
Nut
Nut
BELT CHAIN
Sprocket
Cover
Sprocket
Cover
C-Clip
Sprocket
Battery
Emergency
Release Handle
Emergency
Release Handle
Emergency
Release Handle
Emergency
Release Handle
WARNING: This product can expose you to chemicals including
lead, which are known to the State of California to cause cancer
or birth defects or other reproductive harm. For more information
go to www.P65Warnings.ca.gov
Loading ...
Loading ...
Loading ...
