Loading ...
Loading ...
Loading ...
19
To retract and extend the front section of the shelf:
1. To retract the front-section of the shelf, slightly lift up on the
front edge and push the adjustable portion of the shelf back
toward the rear of the refrigerator.
2. Extend the front of the shelf by pulling the retracted portion of
the shelf outward until it is fully extended.
Crisper Drawers
To remove and replace the drawers:
1. Grasp the handle at the bottom of the drawer and slide the
drawer straight out to the stop. Lift the drawer off the bottom
guide.
2. Replace the drawer by placing it on the bottom drawer guide
and pushing it past the drawer stop into position.
To remove the crisper(s) cover:
1. Remove crisper drawers.
2. Holding the glass insert firmly with one hand, press up in
center of glass insert until it rises above the plastic frame.
Gently slide the glass insert forward to remove.
3. Lift the cover frame up and remove it.
To replace crisper(s) cover:
1. Fit back of cover frame into supports on side walls of the
refrigerator and lower the front of the cover frame into place.
2. Slide rear of glass insert into cover frame and lower front into
place.
3. Replace crisper drawers.
EasySlide Bin
A shallow storage compartment with glass lids which slide from
side to side is located below and in front of the crisper drawers.
NOTE: This compartment is not temperature or humidity
controlled, so it is not recommended for storing leafy vegetables.
To remove EasySlide bin:
1. Remove all three crisper drawers.
2. Hold the upper sliding lid near the trim and lift up to remove.
Remove the lower lid.
3. Grasp the front of the bin with both hands, and lift up on the
front to remove.
To replace EasySlide bin:
1. Slightly tilt the rear of the bin upward.
2. Align the center rib and tabs on the EasySlide bin with the ribs
and slots in the cabinet.
3. Lower the bin into place.
Temperature Controlled Exterior Drawer
IMPORTANT: This control sets the temperature for this drawer
only.
Use the full-width drawer to store large party platters or deli trays,
or use a drawer organizer to store smaller items such as yogurt,
juice boxes and lunch meat for easy access.
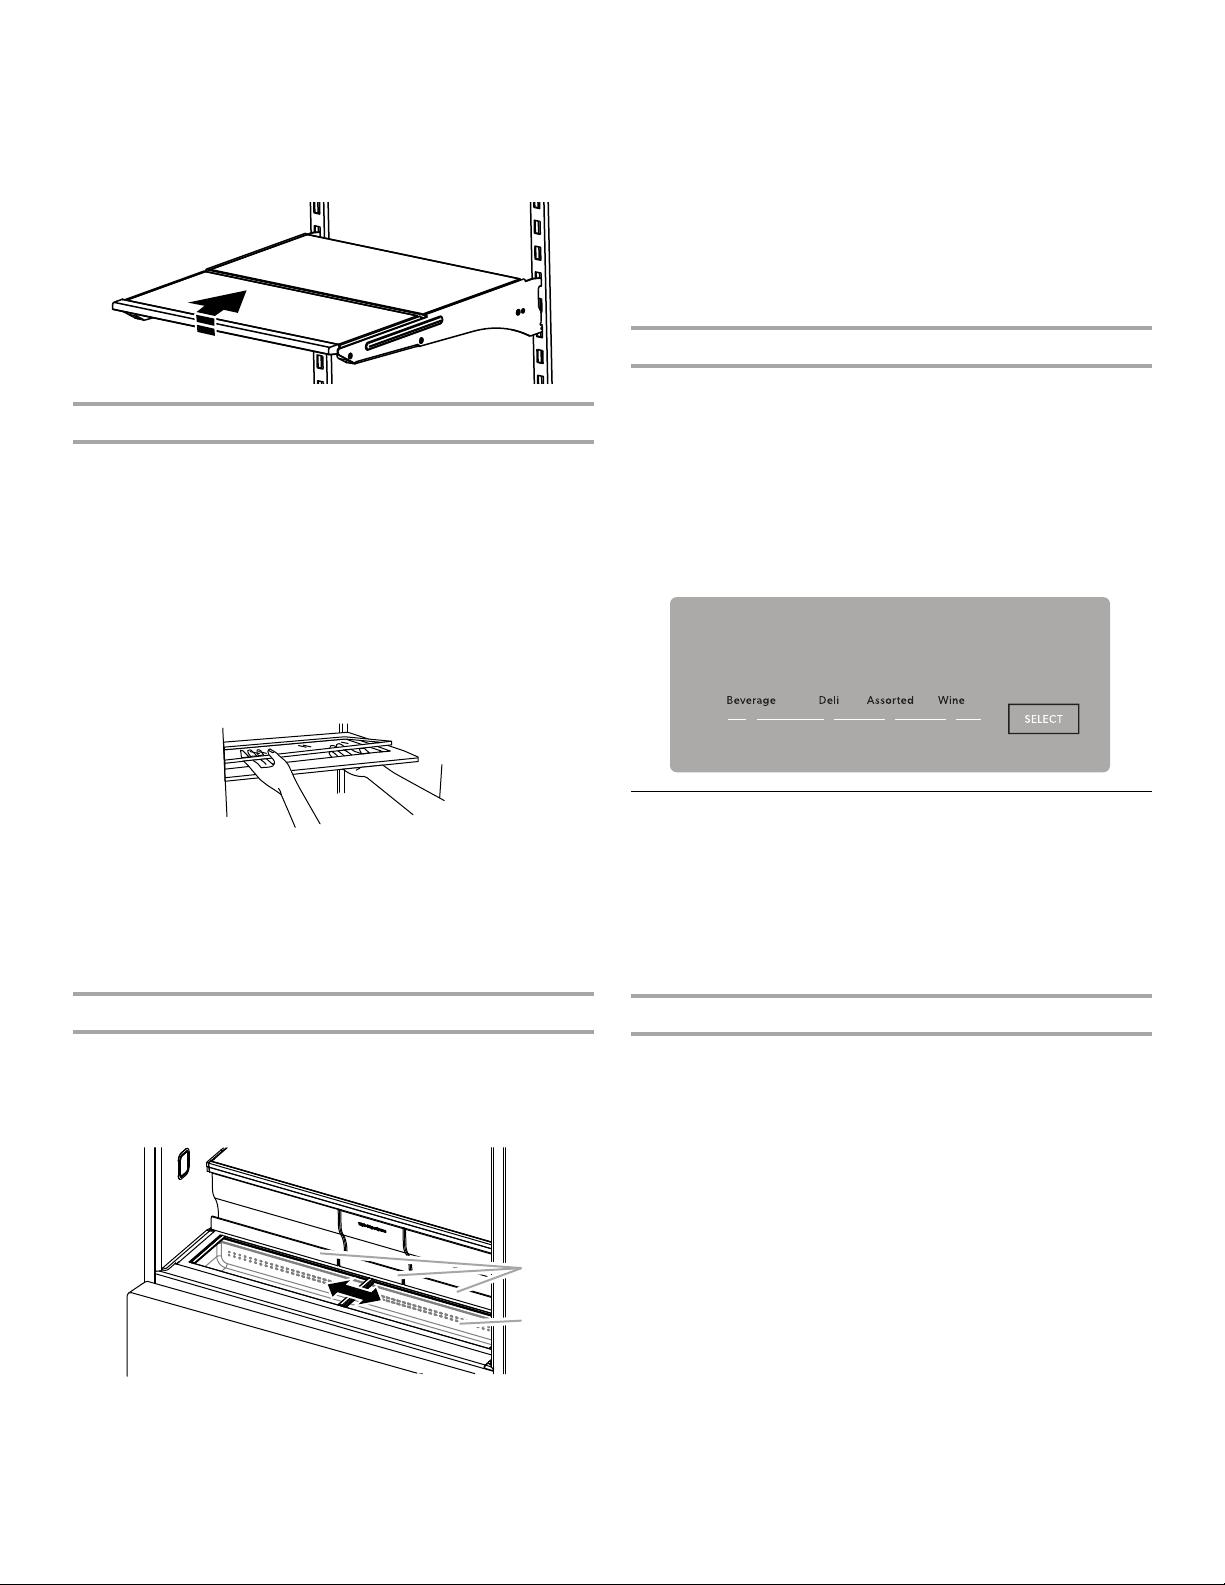
Temperatures have been preset for the storage of: Beverages,
Deli, Assorted Items and Wine. These preset temperatures cannot
be adjusted.
Press SELECT to toggle through the temperature settings. The
triangular indicator lights will tell you which setting is selected.
Water and Ice Dispensers
IMPORTANT:
■ Allow 3 hours for the refrigerator to cool down and chill water.
■ Allow 24 hours to produce the first batch of ice. Discard the
first three batches of ice produced.
■ The dispensing system will not operate when either the
refrigerator door or freezer drawer is open.
Flush the Water System
Air in the water dispensing system can cause the water dispenser
to drip. After connecting the refrigerator to a water source or
replacing the water filter, flush the water system.
Flushing the water dispensing system forces air from the water
line and filter and prepares the water filter for use. Additional
flushing may be required in some households.
NOTE: As air is cleared from the system, water may spurt out of
the dispenser.
1. Using a sturdy container, depress and hold the water
dispenser paddle for 5 seconds.
2. Release the dispenser paddle for 5 seconds. Repeat steps 1
and 2 until water begins to flow.
3. Once water begins to flow, continue depressing and releasing
the dispenser pad (5 seconds on, 5 seconds off) until a total of
3 gal. (12 L) has been dispensed.
A. Crisper drawer handles
B. EasySlide bin
A
B
Loading ...
Loading ...
Loading ...