Loading ...
Loading ...
Loading ...
8
ENGLISH
COOKING INSTRUCTIONS
The IEC Power Output rating is an internationally standardised rating, so all
microwave manufacturers now use the same method of measuring power
output.
If food packaging gives cooking instructions based on IEC Power ratings,
set cooking times according to the IEC Power of your oven.
For example :
If the cooking instructions are based on a 650W oven, then you will need to
reduce
some cooking time for the MW87L (850W) Ready meals are now very
convenient and popular. These are meals which are already prepared and
cooked by the food manufacturer, and then frozen, chilled or vacuum
sealed for long life.
Increasingly, heating times for such ready meals are being based on the
Heating Categories A, B, C, D and E.
On this instance, simply match the heating category of your oven to the
instructions on the food package, and set your timer accordingly.
For example : If the heating instructions are 3 minutes on HIGH for a D
category oven, then you will need to set your timer for less than 3 minutes
on HIGH for the CM1929 (E category).
Always remember that cooking instructions are intended only as a guide.
If you have followed the instructions and the food is still not piping hot
throughout, simply return it to the oven and cook it until it is.
COOKING/REHEATING
One-stage cooking
Make sure the oven is plugged into a properly earthed electrical outlet
and “ON” appears in the display window.
Open the door(The oven lamp will be turned on.).
Put the food into a suitable container, place it in the centre of the oven and
then close the door securely (The oven lamp will go off.).
1. Select the desired power level by pressing the
Power Level Selector pad.
Result : The selected power level will be
displayed in the display window.
2. Set the desired heating time by pressing the
NUMBER pads.
Result : The selected time is displayed in the
display window.
SETTING THE TIME
Your microwave oven has an inbuilt clock. When power is supplied, “:0”,
“88:88” or “12:00” is automatically displayed on the display.
Please set the current time. The time can be displayed in either the 24- hour
or 12-hour notation. You must set the clock:
• When you first install your microwave oven
• After a power failure
Do not forget to reset the clock when you switch to and from summer
and winter time.
Auto energy saving function
If you do not select any function when appliance is in the middle of
setting or operating with temporary stop condition, function is canceled
and clock will be displayed after 25 minutes.
Oven Lamp will be turned off after 5 minutes with door open condition.
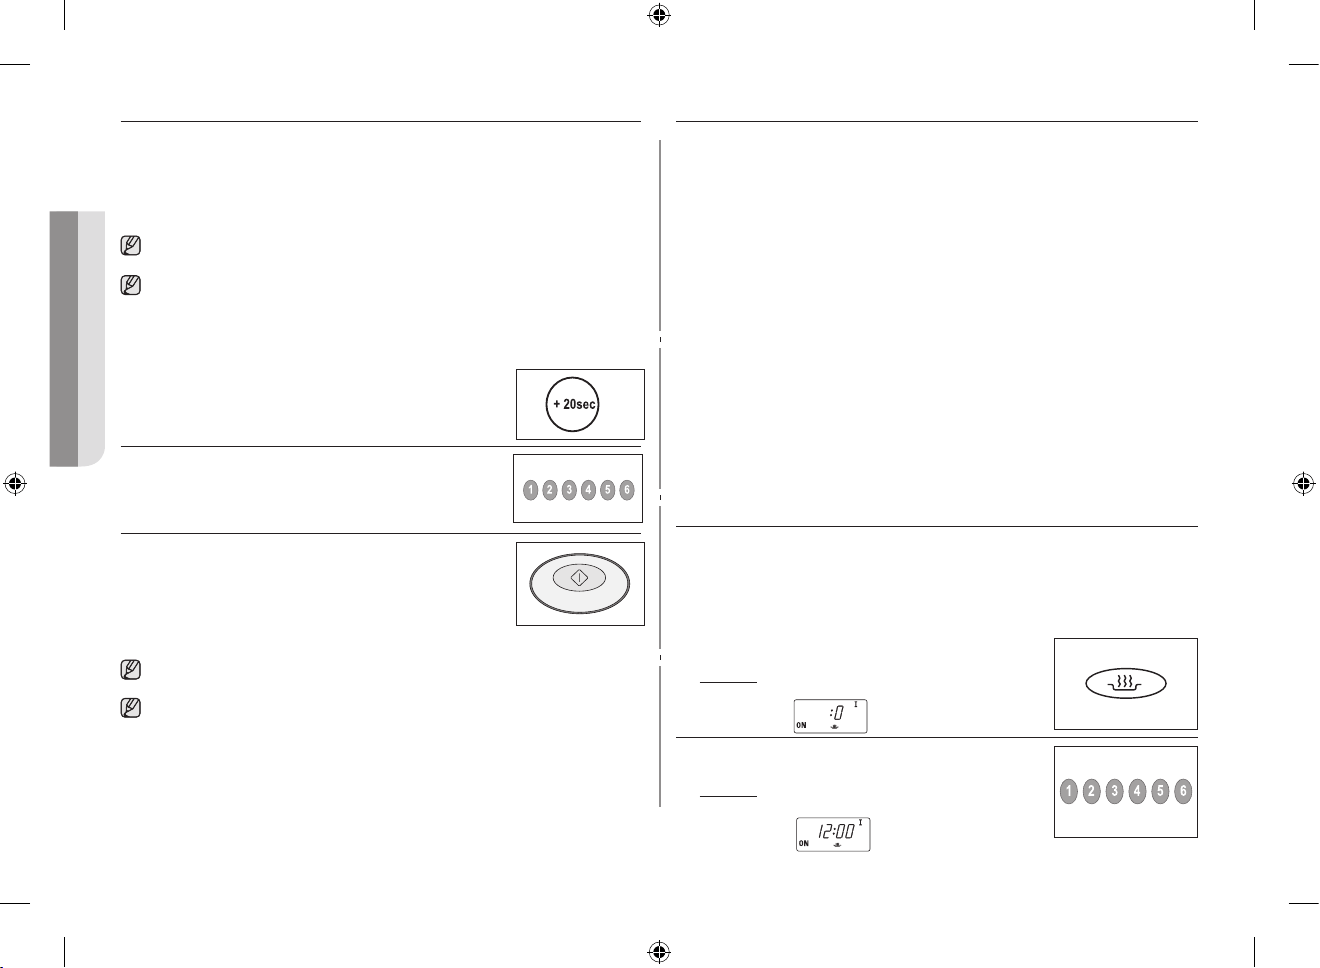
1. To display the time in the...
Then press ‘+20sec’
24-hour notation
12-hour notation
Once
Twice
2. Use NUMBER PADS button to enter the current
time. You must press at least three numbers to set
the clock. If the current time is 5:00 enter, 5,0,0.
3. When the right time is displayed, press the START
BUTTON to start the clock. The clock sets by itself
within 10 seconds.
If you don’t want to setting the time, press the CANCEL PAD before
starting your cooking.
If you want to change or reset the time setting, plug your oven again.
CM1529_XEU_04030A-03_EN.indd 8 2017-08-24 12:55:25
Loading ...
Loading ...
Loading ...