Loading ...
Loading ...
Loading ...
EX9200 Pro
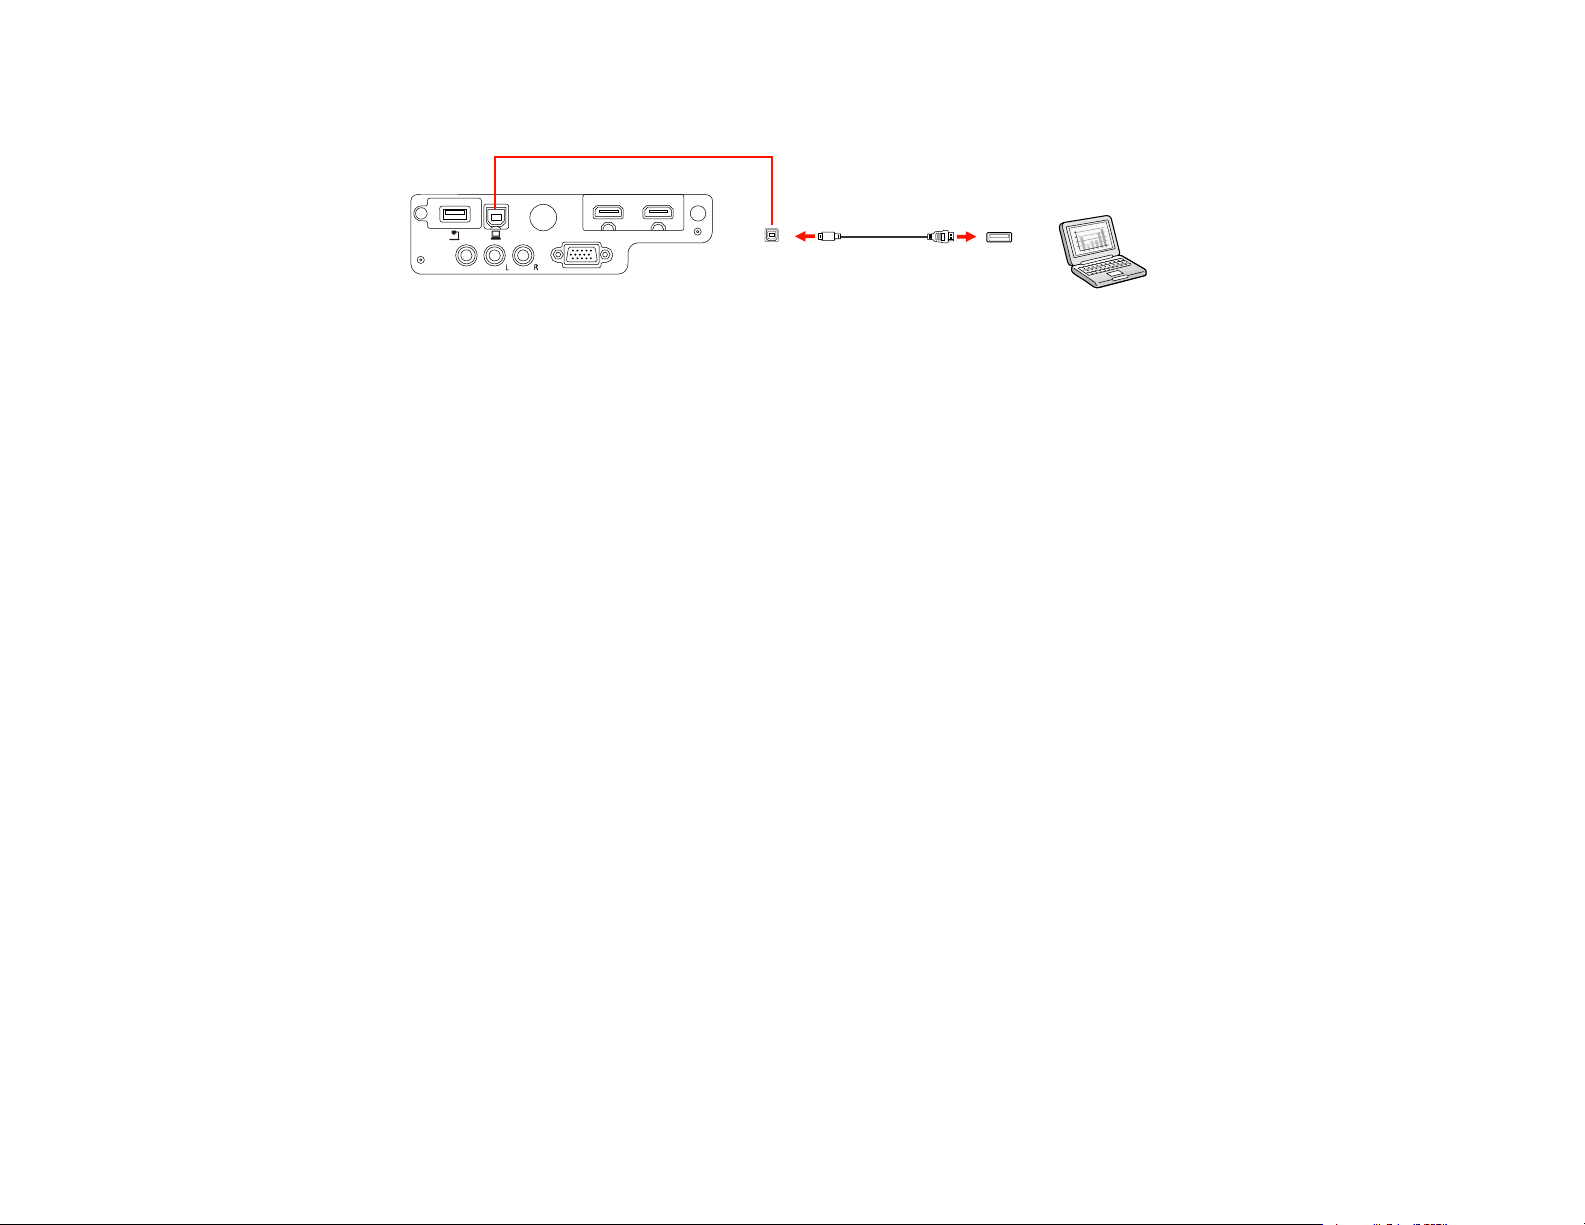
4. Connect the other end to any available USB port on your computer.
5. Do one of the following:
• Windows 10/8.x: Click EPSON_PJ_UD when it appears on the desktop, then select Run
EMP_UDSE.EXE in the dialog box that appears to install the Epson USB Display software.
• Windows 7/Windows Vista: Select Run EMP_UDSE.EXE in the dialog box that appears to
install the Epson USB Display software.
• Windows XP: Wait as messages appear on your computer screen and the projector installs the
Epson USB Display software on your computer.
• OS X: The USB Display setup folder appears on your screen. Select USB Display Installer and
follow the on-screen instructions to install the Epson USB Display software.
Follow any on-screen instructions. You need to install this software only the first time you connect
the projector to the computer.
Note: If you are using Windows XP and you see a message asking if you want to restart your
computer, select No.
The projector displays the image from your computer's desktop and outputs sound, if your presentation
contains audio.
Parent topic: Connecting to Computer Sources
Related references
USB Display System Requirements
Related tasks
Connecting to a Computer for HDMI Video and Audio
34
Loading ...
Loading ...
Loading ...