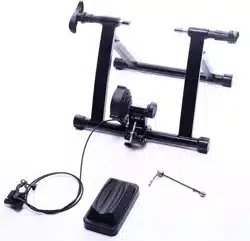
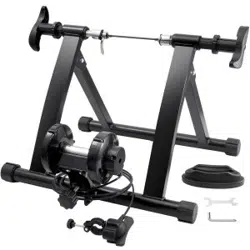
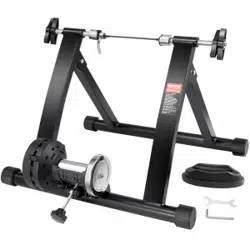
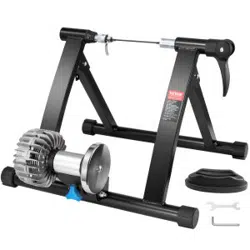
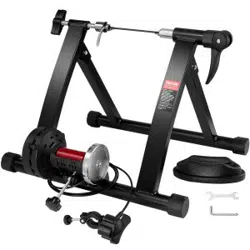
User Manual Bicycle Exercise
Explosion Drawing
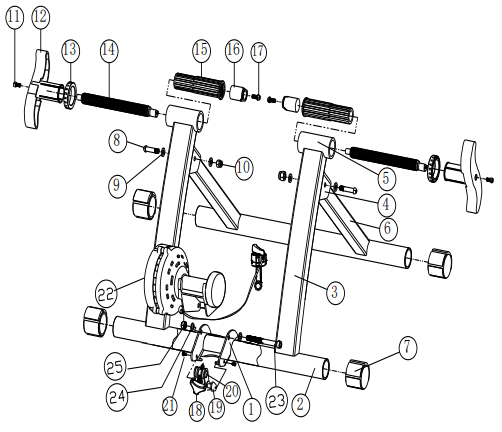
Part List
| NO. |
Description |
Qty. |
Note |
| 1 |
Resistance wheel rack |
1 |
|
| 2 |
Base Leg |
2 |
|
| 3 |
Upright frame |
2 |
|
| 4 |
Frame connector |
2 |
|
| 5 |
Sleeve tube |
2 |
|
| 6 |
Support frame |
2 |
|
| 7 |
Rubber Cap |
4 |
|
| 8 |
Bolt 8 |
2 |
|
| 9 |
Washer |
4 |
|
| 10 |
Lock Nut |
2 |
|
| 11 |
Bolt 11 |
2 |
|
| 12 |
Tighten Handle |
2 |
|
| 13 |
Handle Cap |
2 |
|
| 14 |
Bar |
2 |
|
| 15 |
Bar Sleeve |
2 |
|
| 16 |
Sleeve Support |
2 |
|
| 17 |
Bolt 17 |
2 |
|
| 18 |
Adjusting Handle |
1 |
|
| 19 |
Bolt 19 |
1 |
|
| 20 |
Resistance Wheel Base |
1 |
|
| 21 |
Bolt 21 |
2 |
|
| 22 |
Resistance Wheel |
1 |
|
| 23 |
Bolt 23 |
1 |
|
| 24 |
Washer |
2 |
|
| 25 |
Lock Nut |
1 |
|
Assembly
Step 1
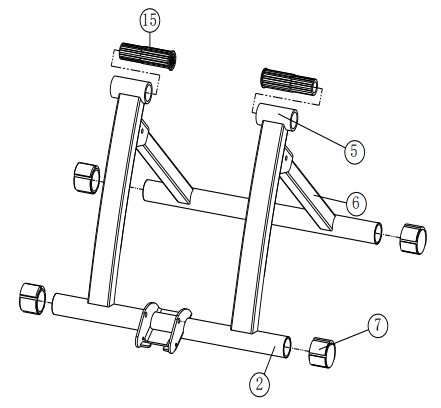
step1-1>>> Put 2x rubber caps #7 onto base leg #2 and 2x rubber caps #7 onto support frame #6.
step1-2>>> Insert 2x bar sleeves #15 into sleeve tube #5.
Step 2

Step2-1>>> Assemble bolt 8 #8, washer #9 and lock nut #10 on the product of STEP 1 as shown in above picture.
Step 3
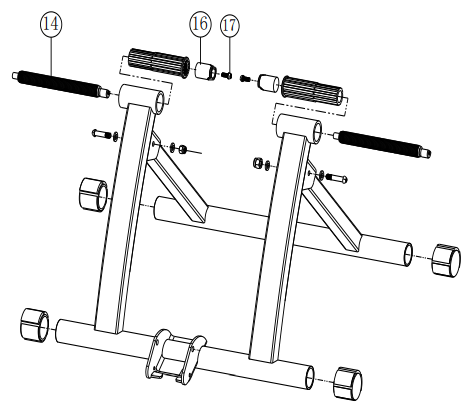
Step3-1>>> Insert bars #14 into bar sleeves #15 on the product of STEP 2.
Step3-2>>> Assemble sleeve support #16 and bolt 17 #17 as shown in above picture, tighten bolt 17.
Step 4
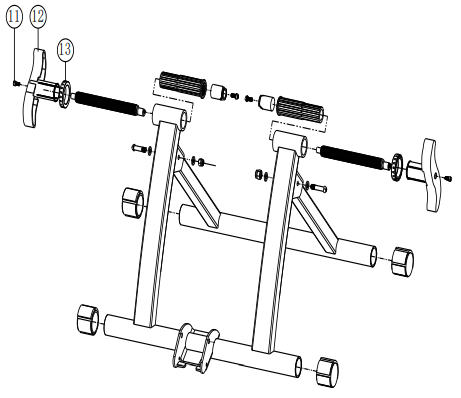
Step4>>> Attach handle cap #13, tightening handle #12 and bolt 11 #11 on the product of STEP 3 as shown in above picture.
Step 5
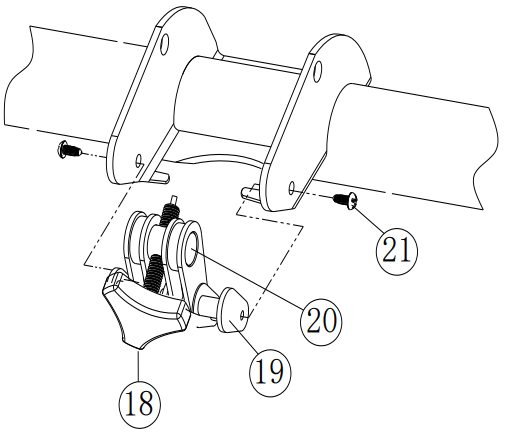
Step5-1>>> Assemble Adjusting handle #18, bolt 19 #19, Resistance wheel base #20 and bolt 21 #21 on the product of STEP 4 as shown in above picture.
Step 6

Step6-1>>> Attach resistance wheel #22 onto resistance wheel rack #1.
Step6-2>>> Insert Bolt 23 #23, washer #24 and lock nut #25.