Loading ...
Loading ...
Loading ...
GEAppliances.ca
29
How to Clean the Outside
We recommend against the use of spray
cleaners and using cleaners with ammonia or
alcohol, as they can damage the appearance
of the microwave oven. If you choose to use a
common household cleaner, first apply the cleaner
directly to a clean cloth, then wipe the soiled area.
Case
Clean the outside of the microwave with a sudsy
cloth. Rinse and then dry. Wipe the window clean
with a damp cloth.
Control Panel
Wipe with a damp cloth. Dry thoroughly. Do not
use cleaning sprays, large amounts of soap and
water,abrasivesorsharpobjectsonthepanel—
they can damage it. Some paper towels can also
scratch the control panel.
Door Panel
Before cleaning the front door panel, make sure
you know what type of panel you have. Refer
to the eighth digit of the model number. “S” is
stainless steel “B”, “W” or “C” are plastic colors.
Stainless Steel (on some models)
The stainless steel panel can be cleaned with
Stainless Steel Magic or a similar product using a
clean, soft cloth. Apply stainless cleaner carefully
to avoid the surrounding plastic parts. Do not
use appliance wax, polish, bleach or products
containing chlorine on Stainless Steel finishes.
Plastic Color Panels
Use a clean, soft, lightly dampened cloth, then
dry thoroughly.
Door Seal
It’s important to keep the area clean where the
door seals against the microwave. Use only mild,
non-abrasive detergents applied with a clean
sponge or soft cloth. Rinse well.
Bottom
Clean off the grease and dust on the bottom
often. Use a solution of warm water and
detergent.
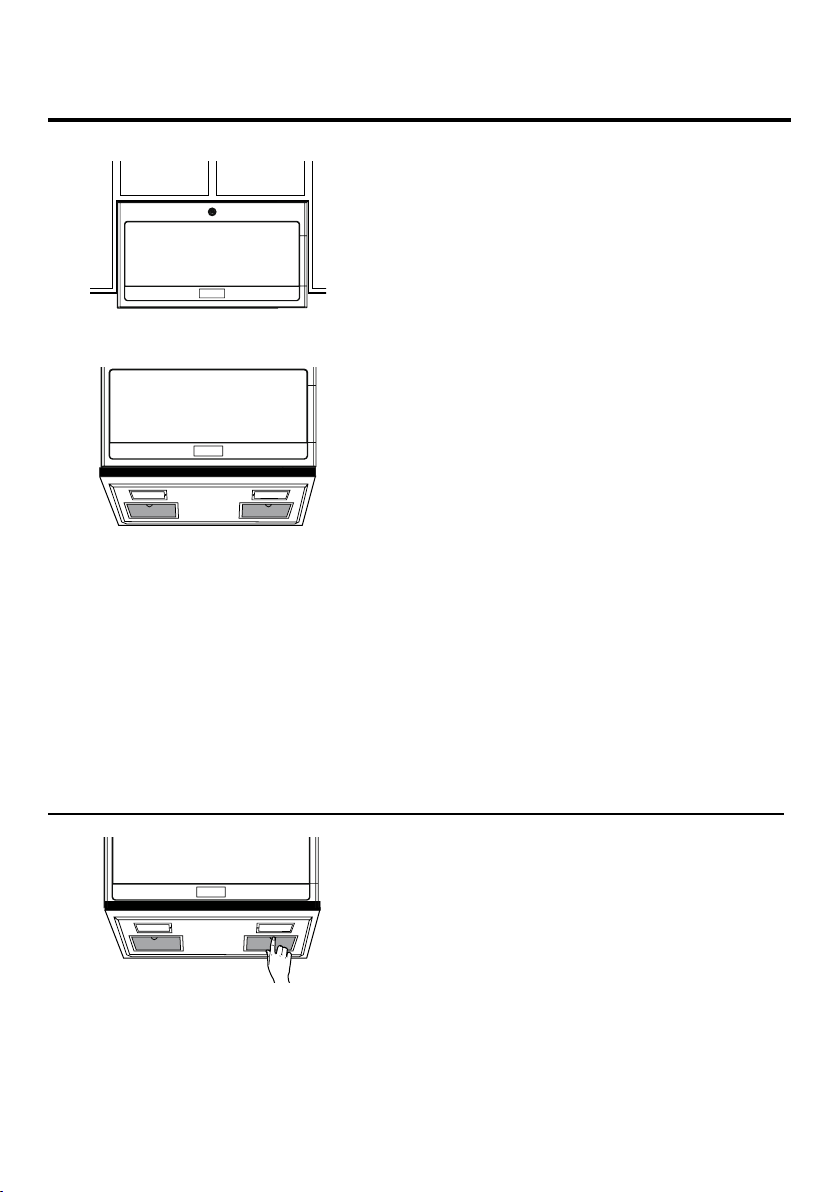
Removing and Cleaning the Filters
To remove, slide them to the rear using the tabs.
Pull down and out.
To clean the vent filters, soak them and then
swish around in hot water and detergent. Don’t
use ammonia or ammonia products because
they will darken the metal. Light brushing can be
used to remove embedded dirt.
Rinse, shake and let dry before replacing.
To replace, slide the filters into the frame slots
on the back of each opening. Press up and to the
front to lock into place.
Loading ...
Loading ...
Loading ...