Loading ...
Loading ...
Loading ...
26
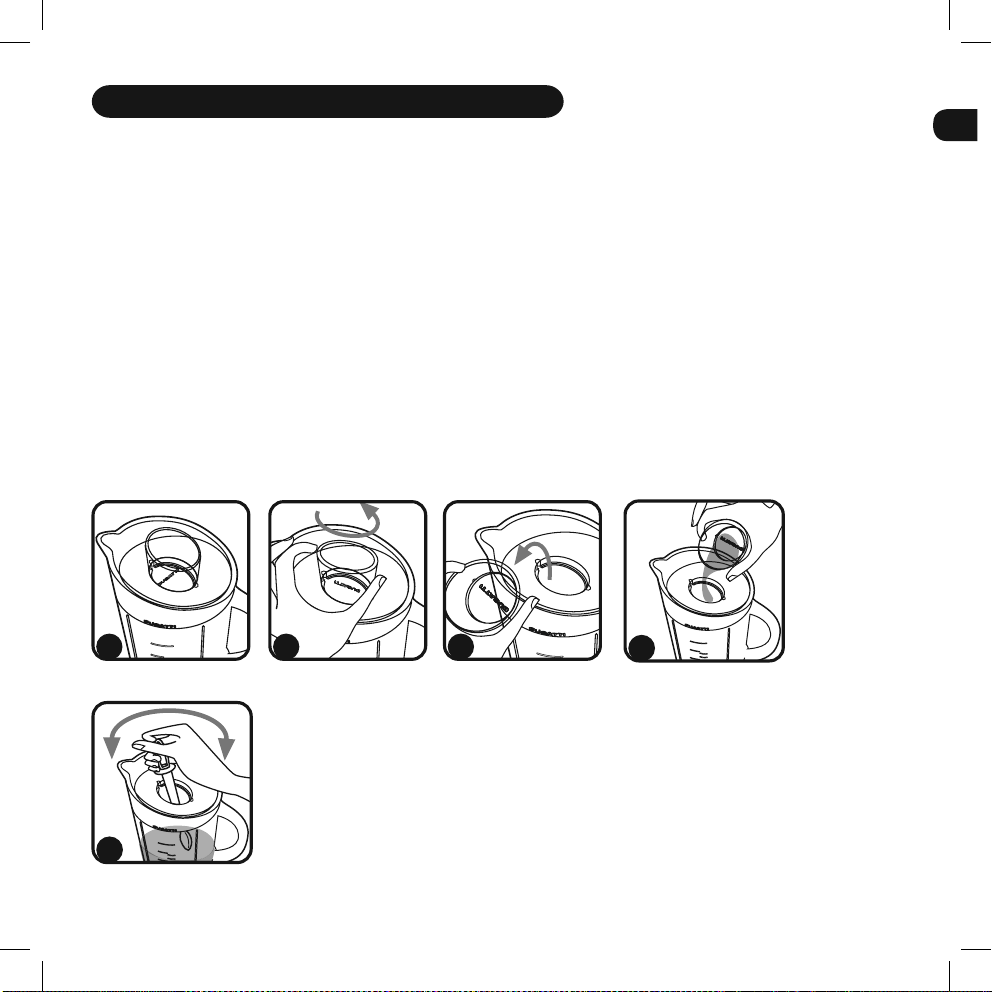
D. Using the measuring filler cup (1)
1) Remove the measuring filler cup (1) from the lid (2) to add the ingredients through the central hole in
the lid (2) only if the blender is switched off or running at low speed =1.
Advice and recommendations on use
4) Put into the jar (3) the ice cubes you intend to crush. Do not exceed the 1000ml (30 oz) level indicated
on the jar.
5) Insert the Plug (7) into the socket and turn the speed selector (12) on the ICE position. The program ICE
starts to work automatically with intermittent pulses to crush the ice.
6) WARNING: always keep a hand on top of the lid whilst the motor is running.
7) To stop the blender turn the speed selector (12) to the zero (0) position. We suggest to stop the blender
after a few seconds to check the consistency of the ice-crush
8) We suggest to add 100-150 ml of liquid together with the ice. In this way the result of the ice-crush is
optimal.
9) The ice function program has and automatic power off. After 30 intermittent pulses (on/off) the blender
stops automatically. To restart the function again turn the speed selector
(12) on zero (0). In this way the
blender can be used again on all its functions.
10) Use a spatula only when the blender is switched off and the plug (7) is unplugged from the socket (have
a look at point D. of the advice and recommendations on use)
2) When using medium =2 or high =3 speed with a full jar (1.5 litres) or hot
food/liquids, always switch off the blender before adding the ingredients.
3) The spatula could be used to push down the ingredients . Remove the measuring
filler cup (1) and introduce the spatula through the lid central hole (2), correctly
positioned into the Jar (3) as per below image. This operation should be done
with switch off. Spatula (8) should be used only with the correctly positioned lid
into the Jar
(3). In case of use without lid, make sure the blender is switched
off and the plug is removed from the wall socket. Never remove the plug from the
socket by pulling on the cable.
1 2 3
4
1
Loading ...
Loading ...