Loading ...
Loading ...
Loading ...
14
Installation Instructions
Low Voltage Connectors & Auxiliary Controls
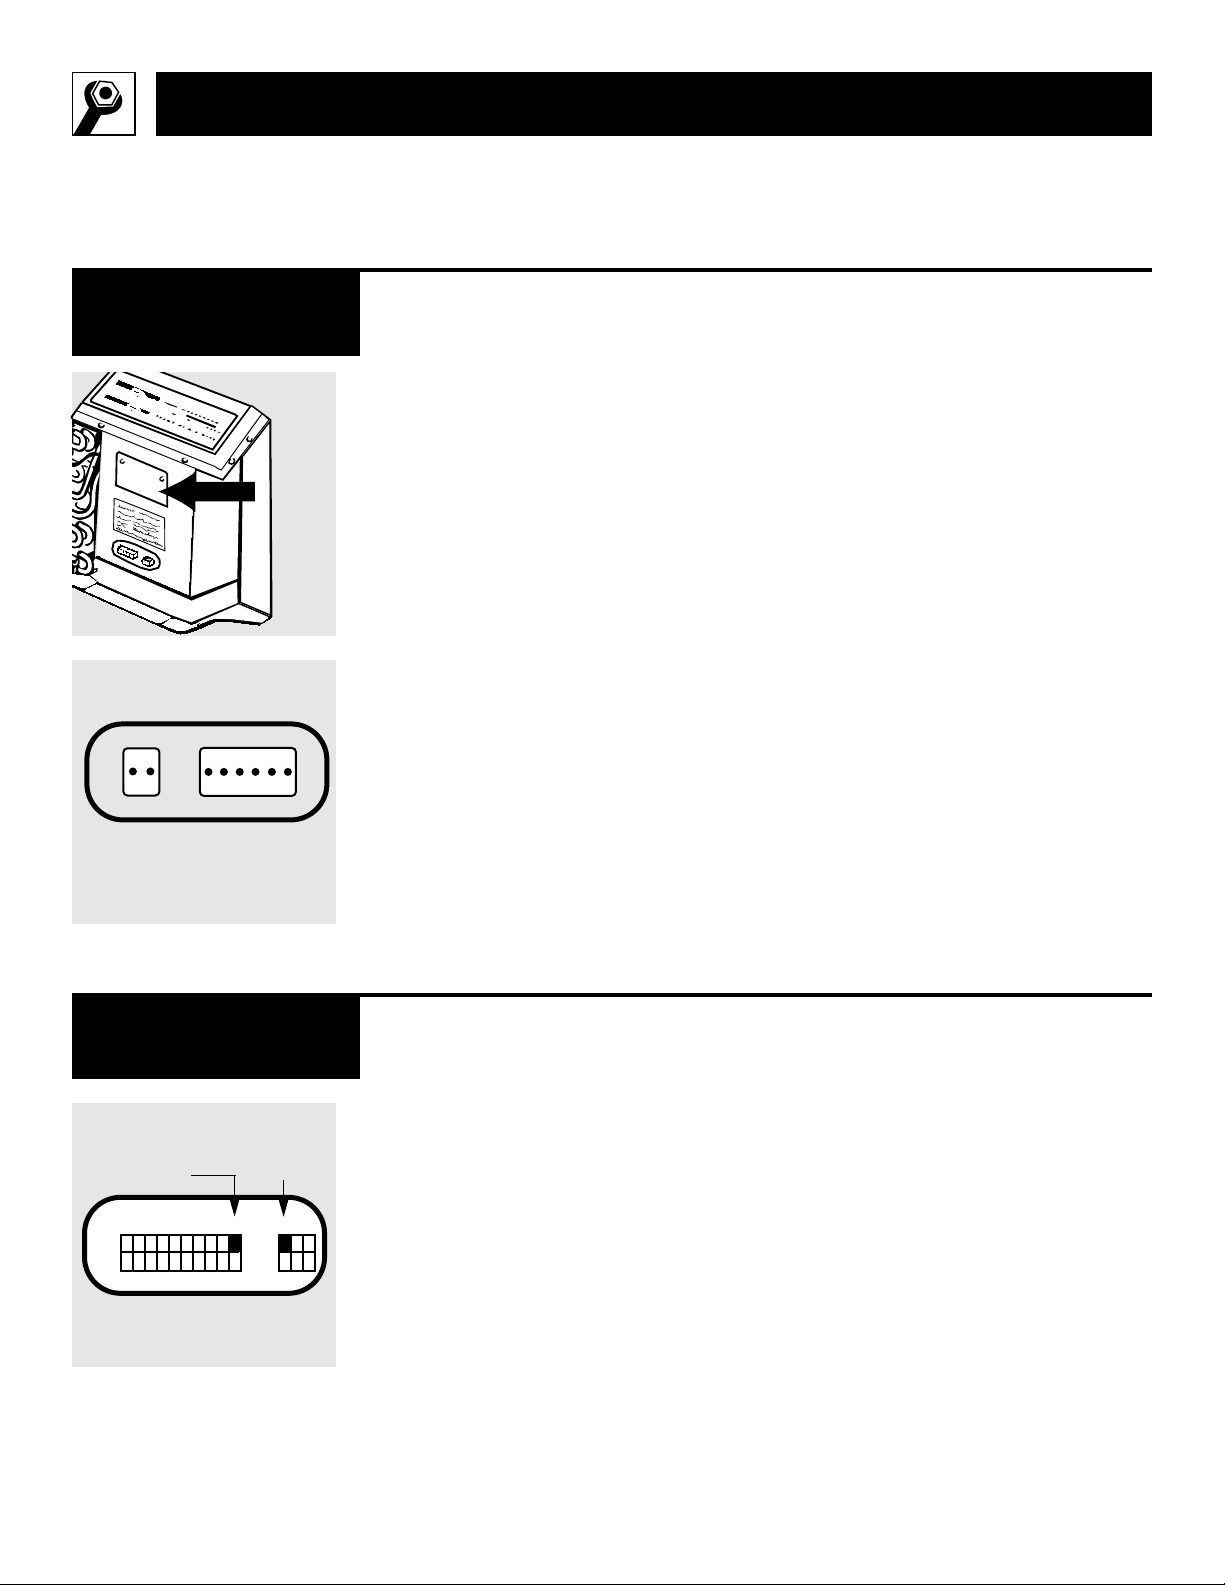
Remove the room cabinet. CDC
and remote control connectors,
with installation instructions, are
packed in a bag behind the metal
cover.
To access the connectors,
remove
the metal cover and save the screws
that hold the cover to the unit.
The connection points for the
Central Desk Control (CDC) and
the Class 2 Remote Thermostat are
also behind the metal cover.
IMPORTANT:
After the wire connections are com-
pleted, replace the cover to prevent
damage to the unit or personal injury.
Low Voltage
Connectors
The Zoneline can be controlled
by using the controls on the unit
or by a wall thermostat.
To switch to a wall thermostat con-
trol, move switch 10 to the
ON
(up)
position and connect the unit to a
4-wire Class 2 Remote Thermostat
(GE Model RAK163A or equiva-
lent), following the instructions
packed with the low voltage con-
nectors.
For some applications, it may be
desirable to operate on low fan
speed. Moving the auxiliary switch
11 to the
ON
(up) position will pro-
vide low fan speed in both heating
and cooling modes.
No external voltage should be
applied to the unit through the
Remote Thermostat terminals.
Remote Control/
Wall Thermostat
10 11
ON
OFF
ON
OFF
Class 2
Remote
Thermostat
Low fan speed
with Class 2
Remote
Thermostat
CDC
Auxiliary Controls
Class 2
Remote
Thermostat
Metal
cover
Loading ...
Loading ...
Loading ...