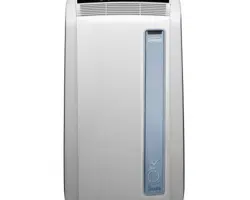
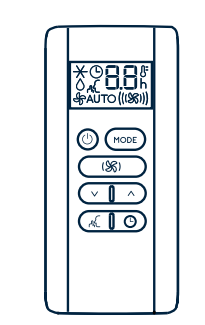
C12 - Set temperature values, programmed on / off timer
C13 - Auto ventilation speed indicator
C14 - Ventilation speed indicator (min, med, max)
SELECT THE TEMPERATURE SCALE
The temperature can be displayed in °C or °F. To change the temperature unit of measure press both the decrease(C3) and increaseC4) keys for about 3 seconds.
EASY SET UP - ALL PARTS INCLUDED
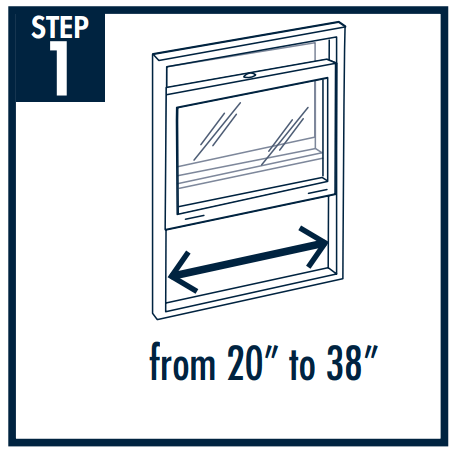
Step 1- Placement
Select the best window for the air conditioner.
You will need some clearance for the hose and a convenient 3 hole grounded electrical outlet within 5 ½ feet. Choose a window that is centrally located so it is best positioned to cool the entire room.
Do not install on same electrical circuit as other major appliances.
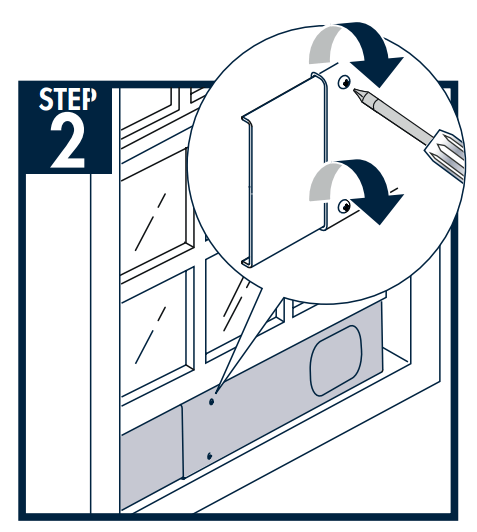
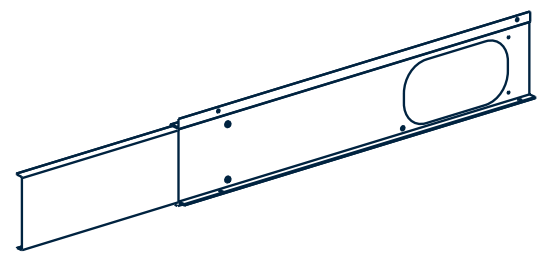
Step 2 - Window kit
Take the window kit (3) and install in selected window.
Position the extendable window bracket on the window sill and fully extend the extendable window bracket inside the window frame.
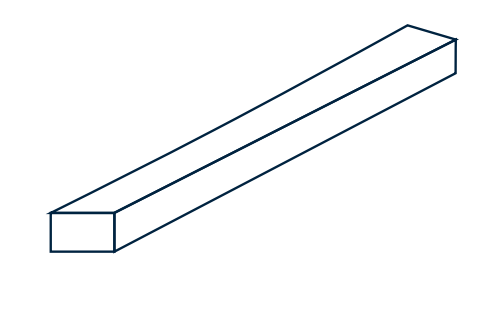
Adjust the extendable window braket and then fix the length with two screws (If the extendable window bracket is too large, it is possible to cut the plastic using a saw.
NOTE: You will need a Philips head screwdriver for this step
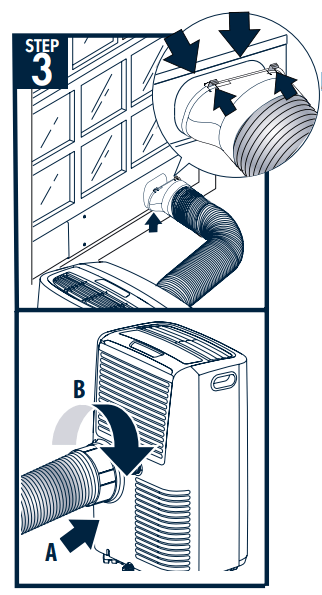
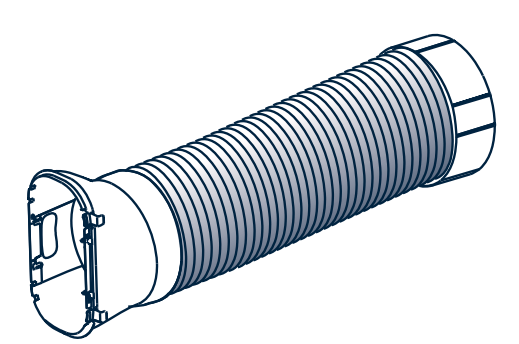
Step 3 - Hose assembly
A - Hook the adapter for extendable window to the window bracket as shown.
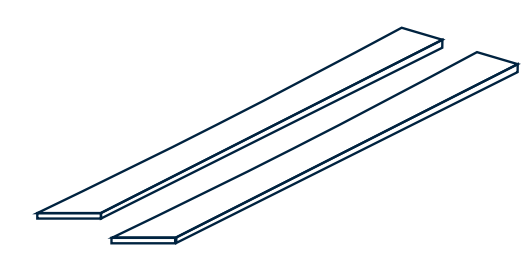
B - Fit the air exhaust hose in the relevant housing located on the rear side of the appliance
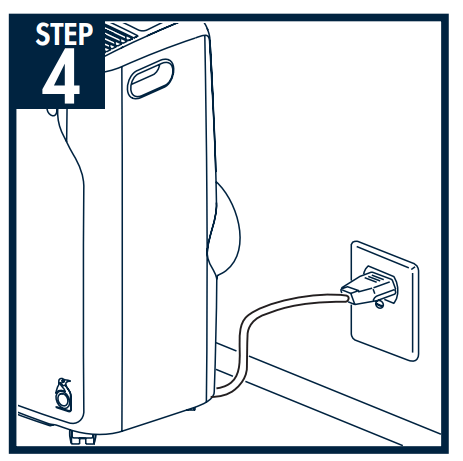
Step 4- Plug the unit in
Be sure it is a 3 hole grounded outlet within 5 ½ feet of air conditioner.
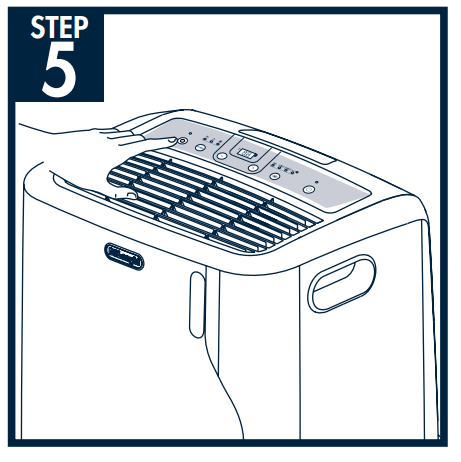
Step 5-Turn unit on and set to your desired temperature
See user manual to be able to use all functions and features of this product.
IMPORTANT NOTES TO PREVENT LEAKS:
Make sure air conditioner is on a level surface to prevent any condensate leakage.
Before you move the unit, unplug the unit from the wall, and drain any condensation from the drainage hose located on the back of the unit into container. If you are in an especially humid region, you should do this regularly to prevent potential leaking. Make sure drain cap is back on tightly before resuming use.
#1 If power outage are the settings saved and does it come back on when power is restored?
We had a power interruption recently and the unit did not turn back on. The settings appeared to have been saved after we restarted the unit.
#2 However I see nothing about draining the water. Is it evaporative or is there a water tank that needs draining?
There is a draining area on one of my Pinguinos, and the other has two, but I've never had to drain them because I don't live in a humid area. I have never had to use the dehumidifier. They are strictly for air conditioning cooling. Plus I don't have to run them 24 hours. They make my apartment livable even when it was 109 degrees.
The lowest temp is 64°f, and once it senses that temperature it shuts off. It's kind of aggravating, I wish it would switch to fan mode just to keep the air moving instead of pausing/quitting/shutting down until the temp goes above set temp. It is easy to just turn the fan mode on after the shut down while awake, but when sleeping it's rather difficult.

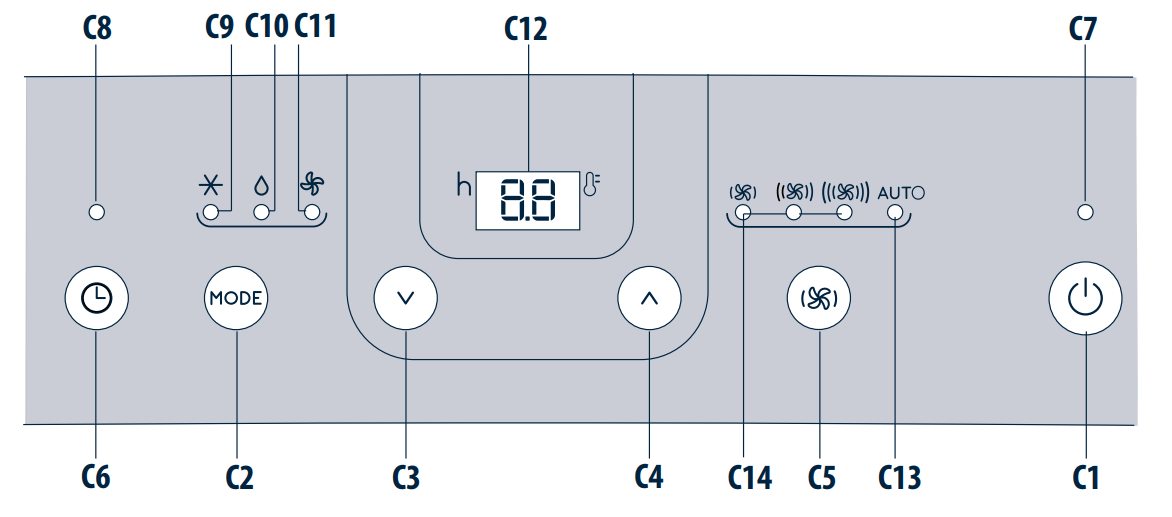
 (C3) and increase
 C4) keys for about 3 seconds.