
Product may vary slightly from the item pictured due to model upgrades.
Read all instructions carefully before using this product.
Retain this owner’s manual for future reference.
NOTE:
This manual may be subject to updates or changes. Up to date manuals are available through our
website at www.lifespanfitness.com.au
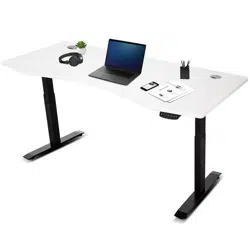
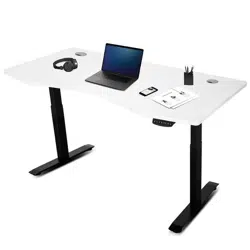
ERGO DESK
USER MANUAL


4
TABLE OF
CONTENTS
I. Important Safety Instructions . . . . . . . . . . . . . . . . . . . . . . . . . . . . . . . 05
II. Care Instructions . . . . . . . . . . . . . . . . . . . . . . . . . . . . . . . . . . . . . . . . . . . . . 05
III. Parts List . . . . . . . . . . . . . . . . . . . . . . . . . . . . . . . . . . . . . . . . . . . . . . . . . . . . . 06
IV. Assembly Instructions . . . . . . . . . . . . . . . . . . . . . . . . . . . . . . . . . . . . . . . 07
V. Exploded Diagram . . . . . . . . . . . . . . . . . . . . . . . . . . . . . . . . . . . . . . . . . . . . 09
VI. Warranty . . . . . . . . . . . . . . . . . . . . . . . . . . . . . . . . . . . . . . . . . . . . . . . . . . . . . . 10
| TABLE OF CONTENTS

5
I. IMPORTANT SAFETY
INSTRUCTIONS
WARNING: Read all instructions before using this machine.
It is important your machine receives regular maintenance to prolong its useful life. Failing to
regularly maintain your machine may void your warranty.
Please keep this manual with you at all times.
• Maximum loading weight is 80kg.
• It is important to read this entire manual before assembling and using the equipment. Safe and
effective use can only be achieved if the equipment is assembled, maintained and used properly.
PLEASE NOTE: It is your responsibility to ensure that all users of the equipment are informed of all
warnings and precautions.
• Keep children and pets away from the equipment. This equipment is designed for adult use only.
• Before using the equipment, check that the nuts and bolts are securely tightened. If you hear any
unusual noises coming from the equipment during use and assembly, stop immediately. Do not use
the equipment until the problem has been rectified.
• This equipment is designed forindoor domestic use. It is not a medical device.
• Care must be taken when lifting or moving the equipment so as not to injure your back.
• Always keep this instruction manual and assembly tools at hand for reference.
II. CARE INSTRUCTIONS
• Lubricate moving joints with grease after periods of usage.
• Be careful not to damage plastic or metal parts of the machine with heavy or sharp objects.
• The machine can be kept clean by wiping it down using dry cloth.
• All nuts and bolts are to be checked and tightened on a regular basis. This includes pedals and other
moving parts. Failure to do so may cause damage to your thread and void your warranty.
IMPORTANT SAFETY INSTRUCTIONS |
6
Hex Screw
Hex Screw
Washer
Washer
Hex Fastener
Hex Wrench
Hex Wrench
M8*55mm 4
M6*10mm 6
Φ 8 4
Φ 6 6
2
4mm 1
6mm with Screw Driver 1
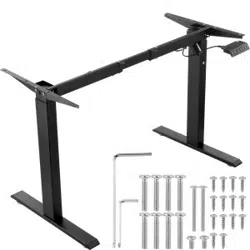
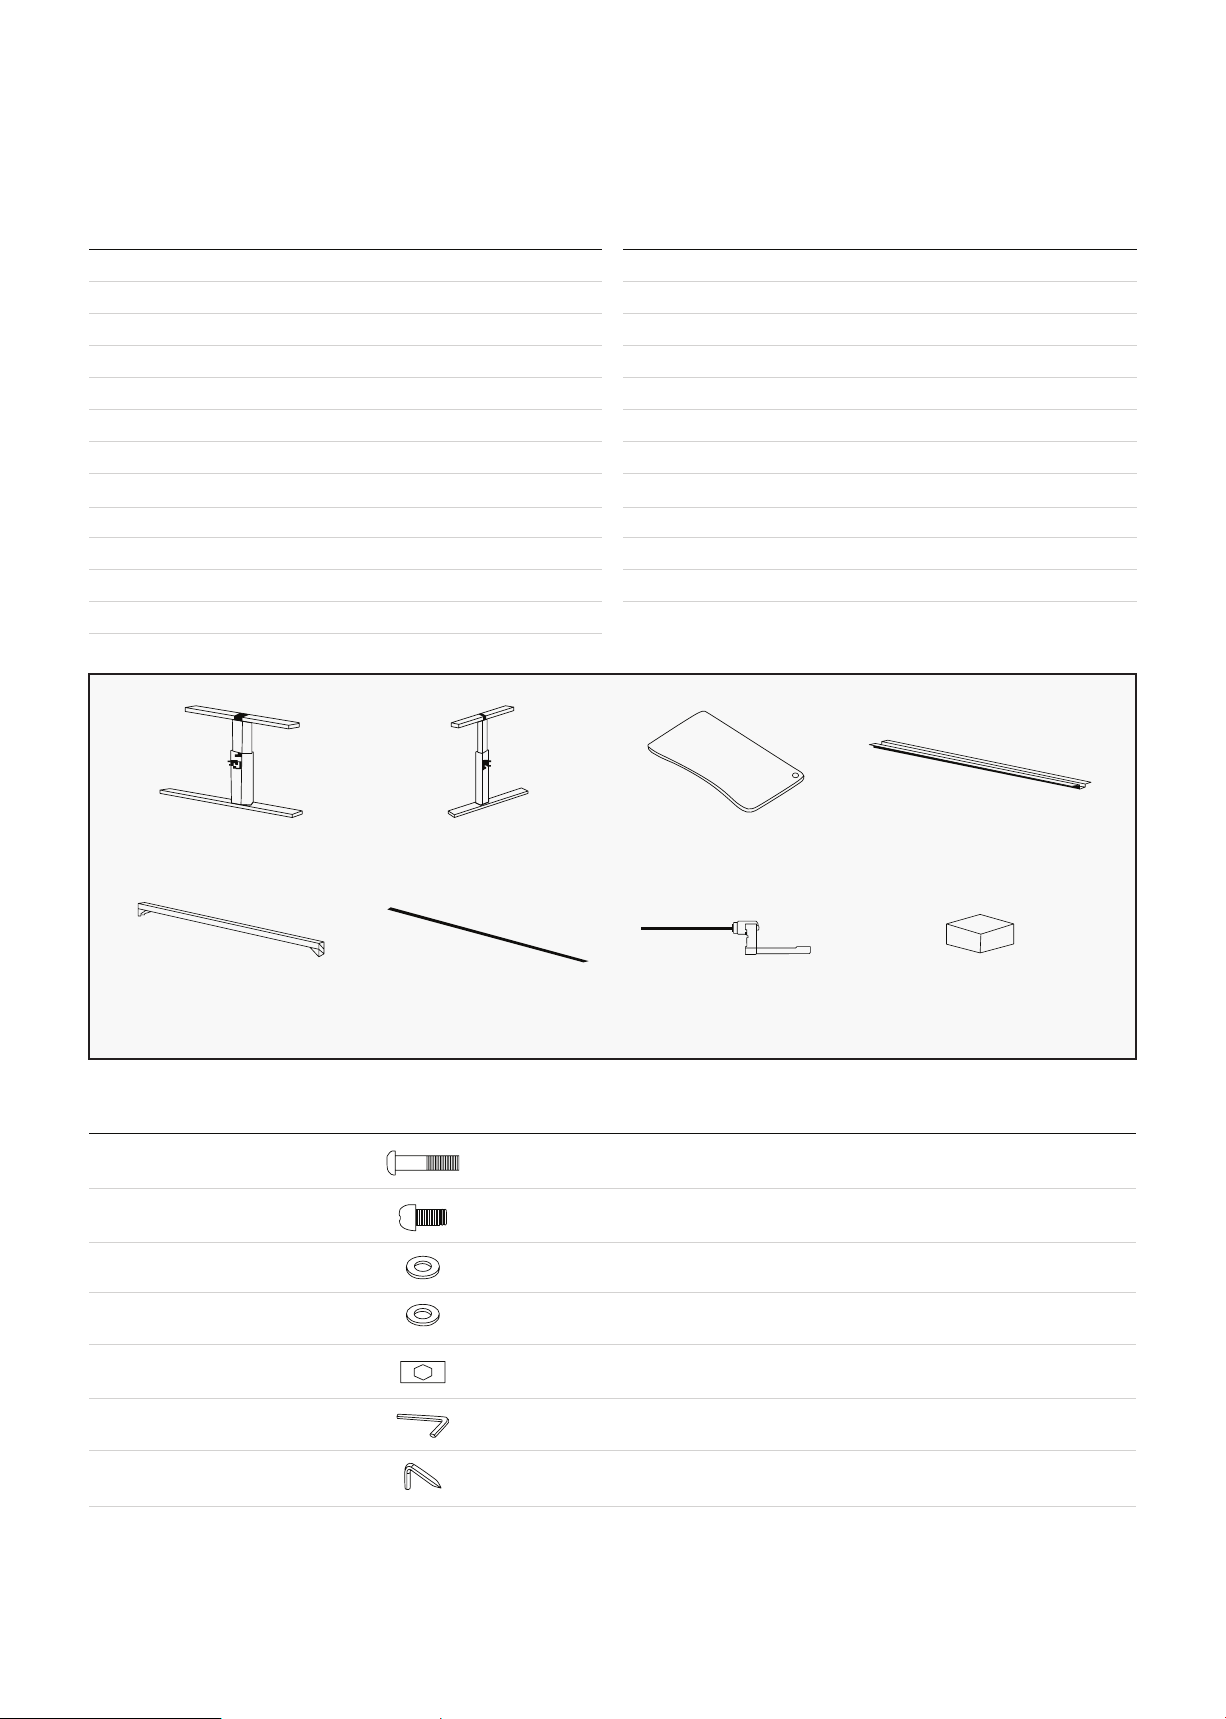
III. PARTS LIST
No. Description Qty
1 Upright-L 1
2 Upright-R 1
3 T Shape Tube-L 1
4 T Shape Tube-R 1
5 Cover 1
6 Connecting Rod 1
7 Desktop 1
8 Elevator 2
9 Hexagon Screw M8*55mm 4
10 Hexagon Screw M8*40mm 2
11 Hexagon Screw M6*10mm 14
12 Cross Screw ST4*10 6
No. Description Qty
13 Cross Screw M6*5mm 2
14 Hexagon Fastener 2
15 Washer Φ 8 6
16 Washer Φ6 14
17 45*45 Pipe Stopper 4
18 25*50 Pipe Stopper 4
19 Pipe Stopper 2
20 Lower Limit 2
21 Hexagon Adjustment Rod 1
22 Adjustment Hand Bar 1
23 Adjustment Foot Pad 4
Upright-L Set 1pc Upright-R Set 1pc Desktop 1pc Cover 1pc
Connecting Rod 1pc Hex Adjustment Rod 1pc Hand Bar 1pc Hardware Kit 1pc
Name Drawing Specification Qty
| PARTS LIST
7ASSEMBLY INSTRUCTIONS |
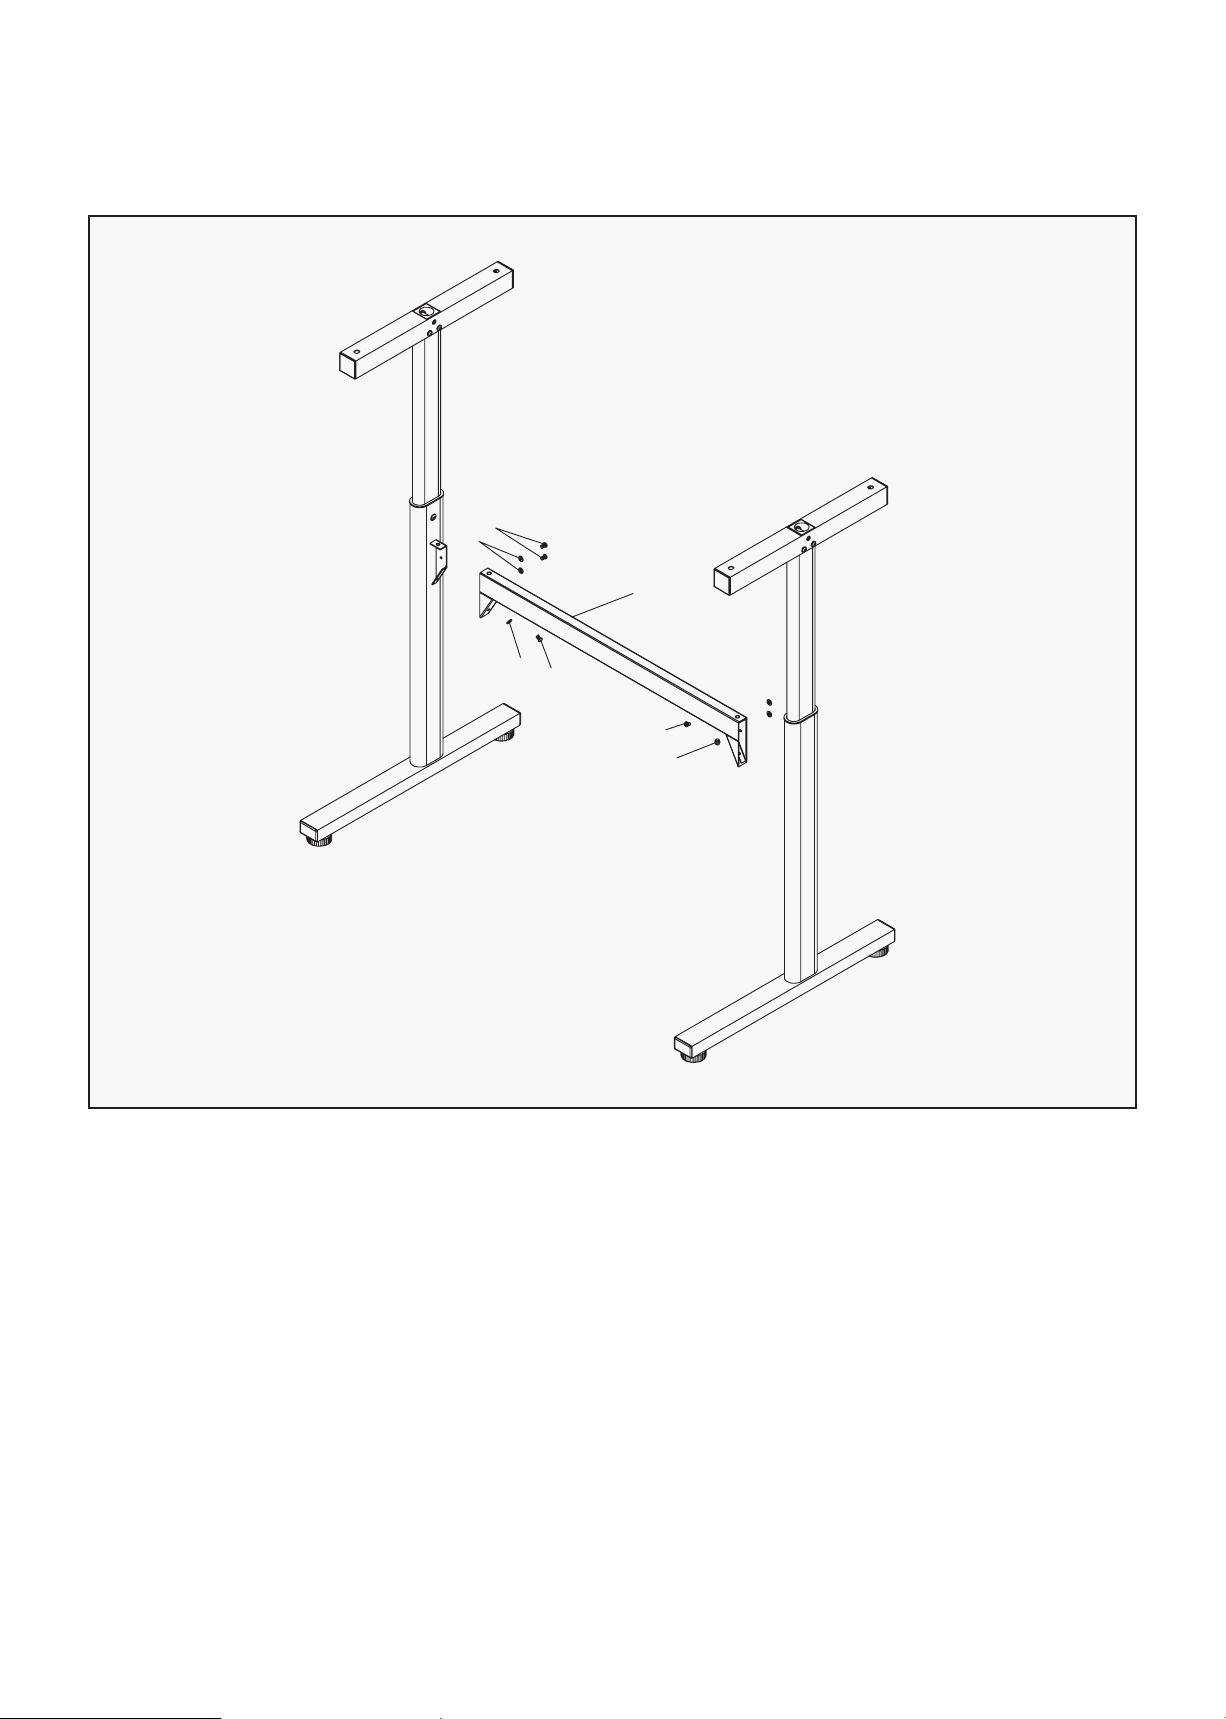
IV. ASSEMBLY INSTRUCTIONS
STEP 1
11
16
6
16
11
11
16
1. Attach Upright L (1) and Upright R (2) together with Connecting Rod (6) and secure with:
• Hexagon Screw M6*10mm (11)
• Washer Φ 6 (16)
• Hex Wrench 4mm
8
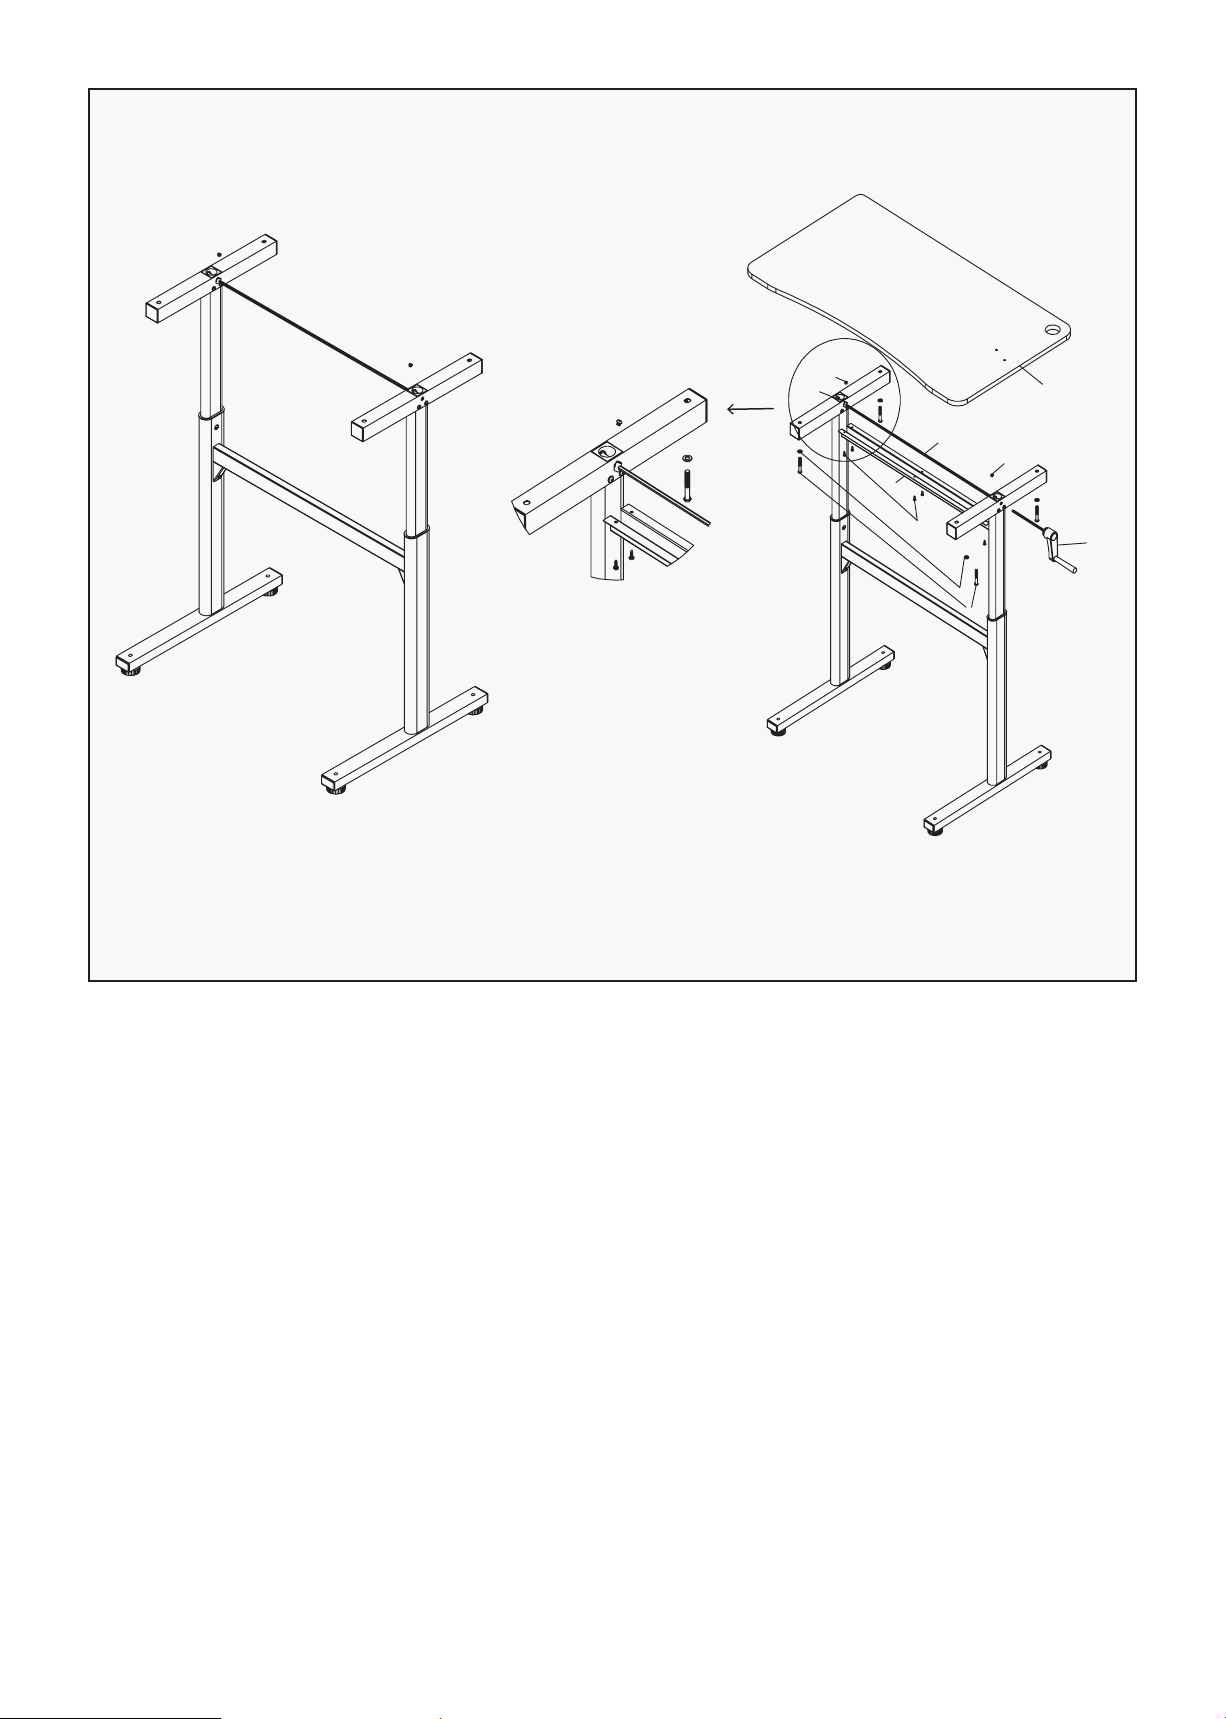
STEP 2
1. Connect the Hexagon Adjustment Rod(21) in the Elevator (8) and use the Hex Fasteners (14) to fix the
rod in position with cross screw driver.
2. Attach the Desktop (7) on both T Shape Tube (3&4) and secure with:
• Hexagon Screw M8*55mm (9)
• Washer Φ 8 (15)
3. Use the Cross Screw ST4*10(12) to fix cover onto the desktop.
4. Adjust height of the deskusing the Adjustment Hand Bar (22).
Clockwise rotation can increase the height and Anti-clockwise rotation can decrease the height.
| ASSEMBLY INSTRUCTIONS
13
14
5
21
12
13
22
15
9
1
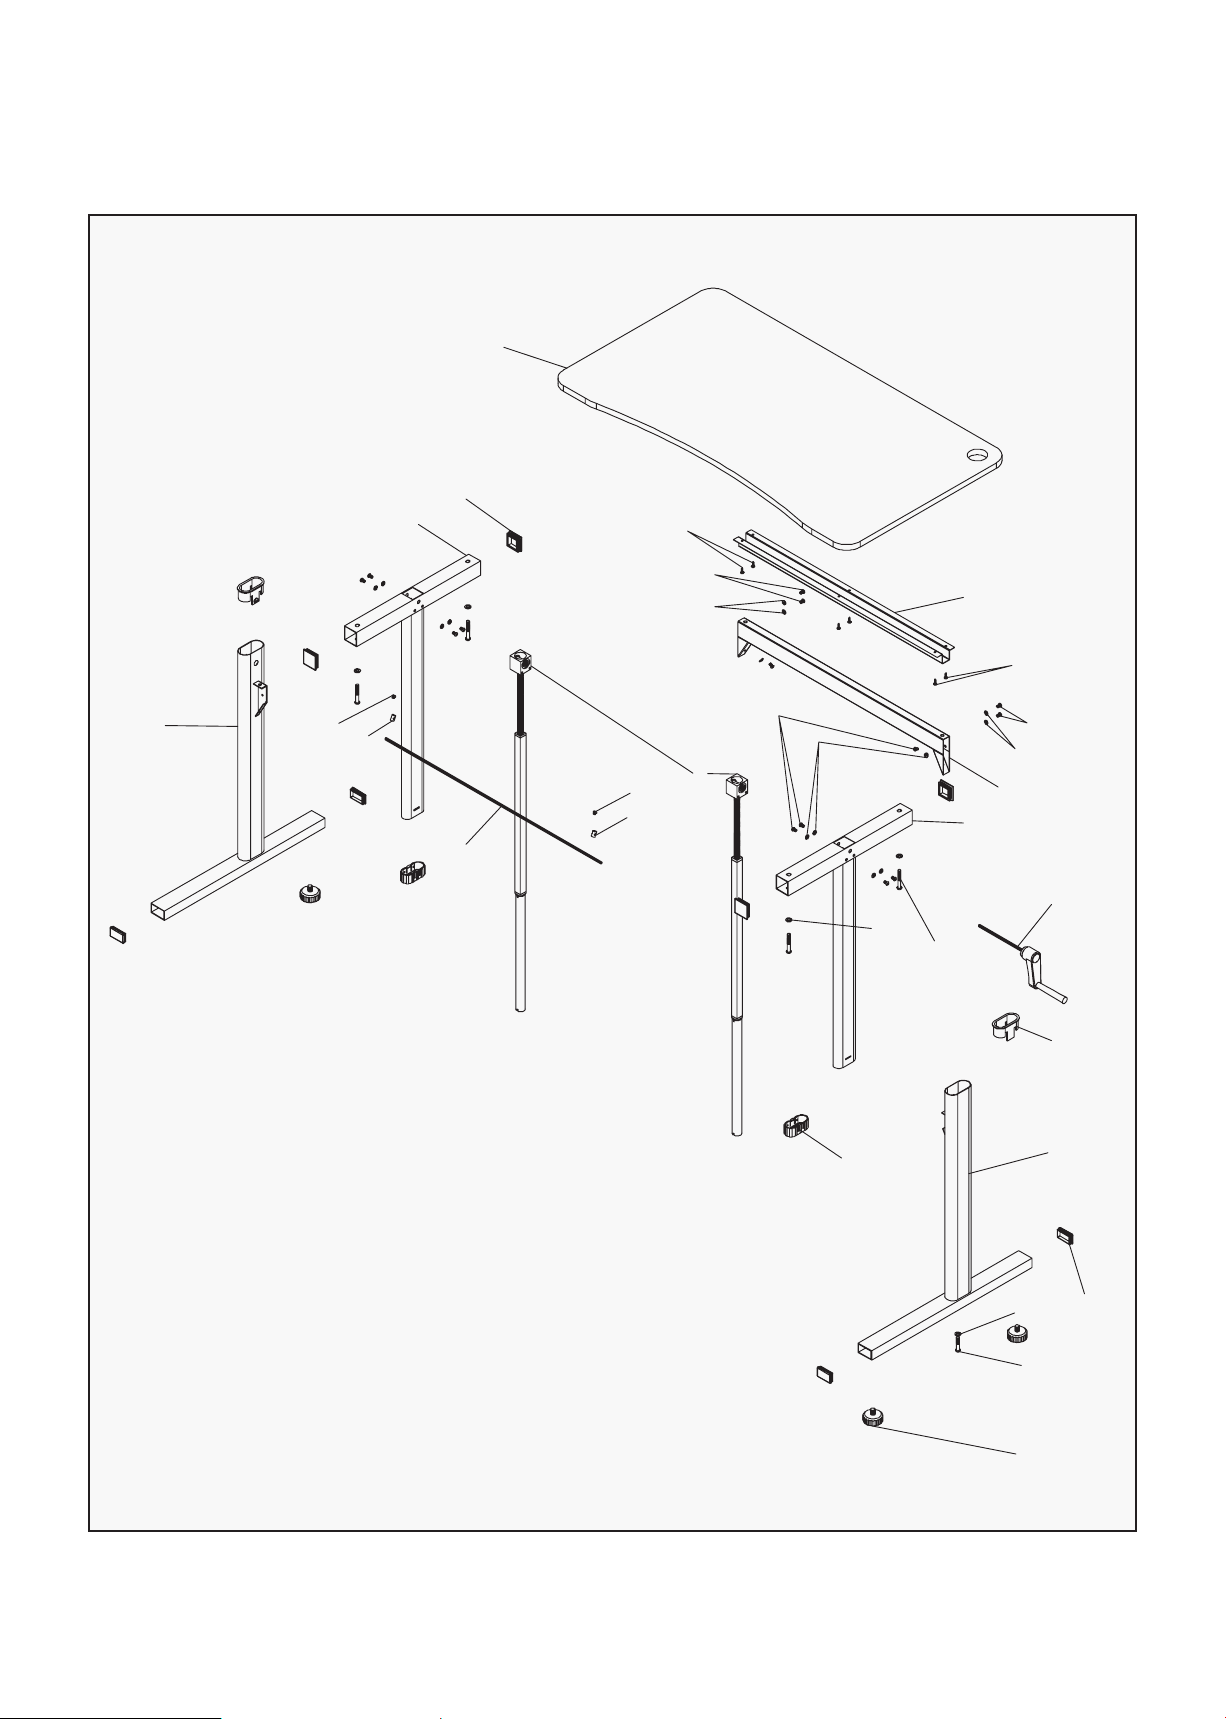
9EXPLODED DIAGRAM |
V. EXPLODED DIAGRAM
7
17
3
1
13
14
21
13
14
8
15
9
20
19
2
18
15
10
23
22
4
6
16
11
12
5
11
16
12

10
VI. WARRANTY
AUSTRALIAN CONSUMER LAW
Many of our products come with a guarantee or warranty from the manufacturer.In addition, they come
with guarantees that cannot be excluded under the Australian Consumer Law. You are entitled to a
replacement or refund for a major failure and compensation for any other reasonably foreseeable loss
or damage.
You are entitled to have the goods repaired or replaced if the goods fail to be of acceptable quality and
the failure does not amount to a major failure. Full details of your consumer rights may be found at
www.consumerlaw.gov.au.
Please visit our website to view our full warranty terms and conditions:
http://www.lifespanfitness.com.au/warranty-repairs
WARRANTY AND SUPPORT
Please email us at [email protected] for all warranty or support issues.
For all warranty or support related enquiries, please lodge a support ticket first by sending us an email.
| WARRANTY