Loading ...
Loading ...
Loading ...
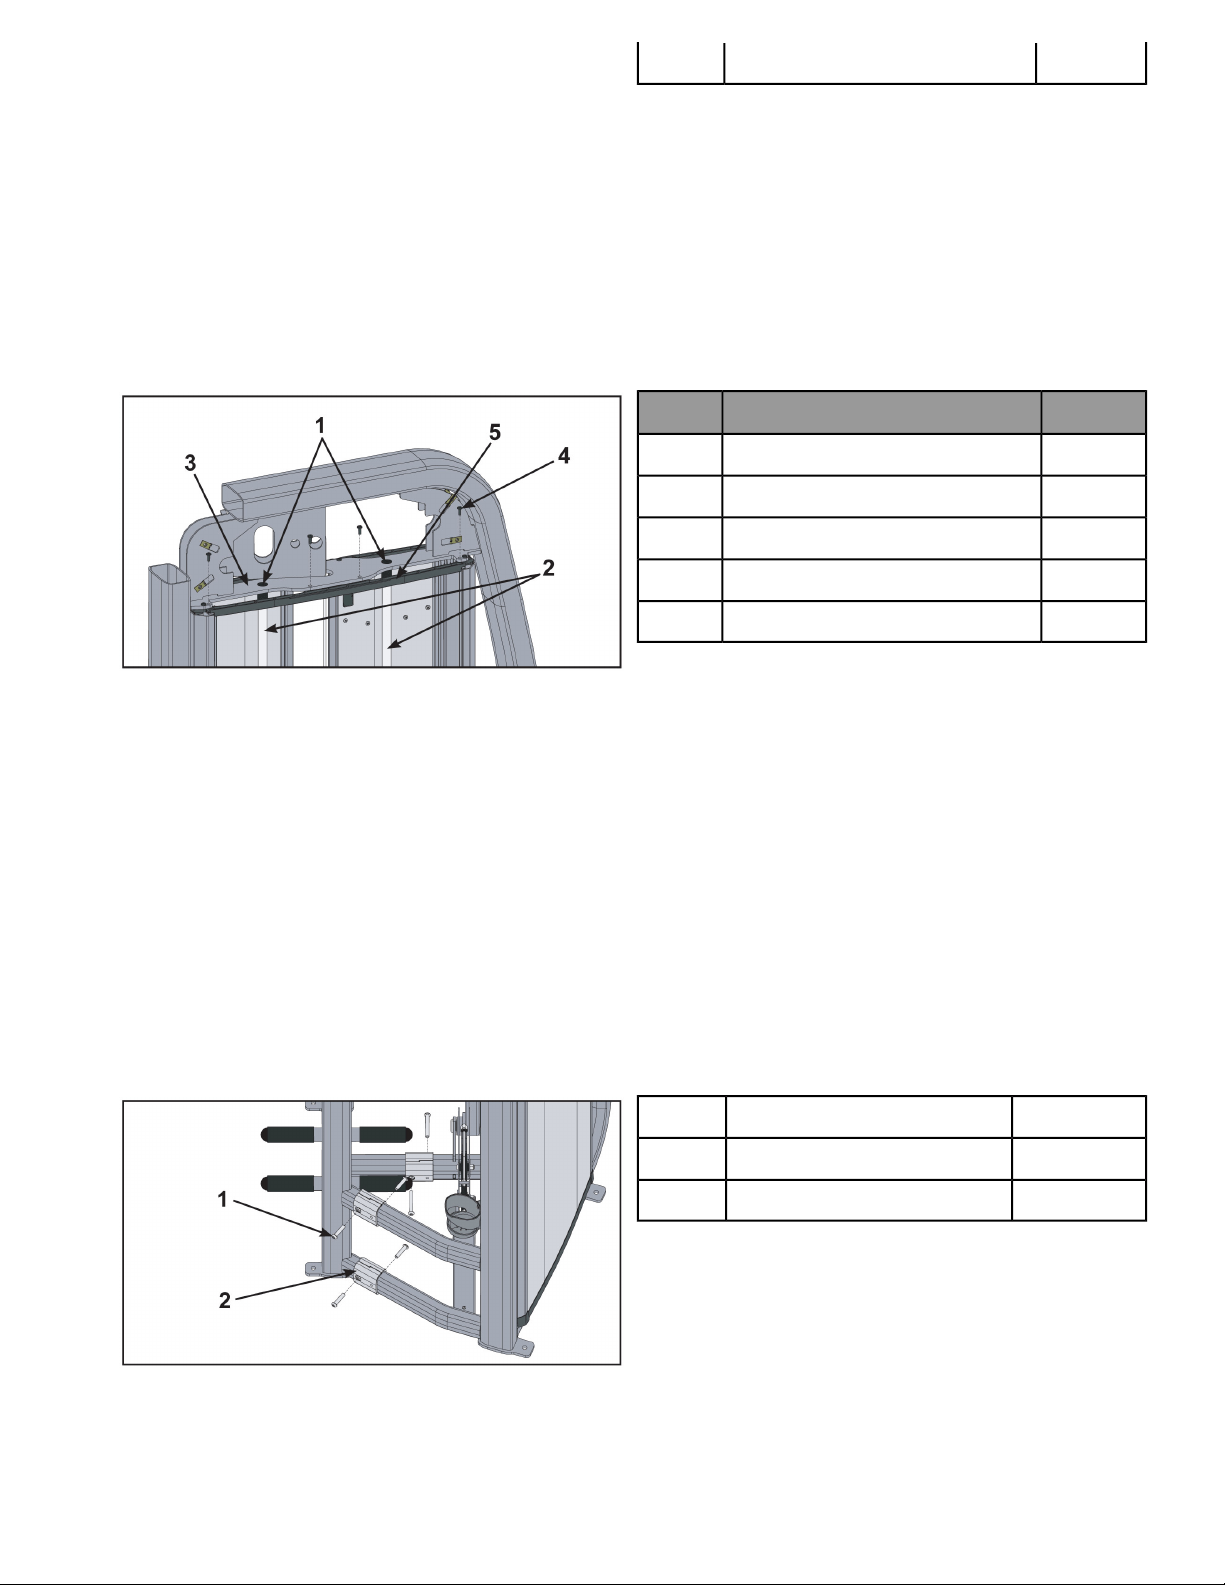
1Pulley bracket4
2. Remove pulley assemblies from pulley bracket.
3. Route cable up through guide rod plate, pulley bracket, and top cover.
4. Set cable aside for rerouting.
Remove weight plates
1. Turn the increment weight adjusting knob to select 0 lbs (0 kg).
2. Remove four Phillips head screws and plastic mount for guide rod access.
QtyDescription
2Top guide rod cap1
2Guide rod2
1Guide rod plate3
4Phillips head screw4
1Plastic mount5
3. Remove top guide rod caps. Top guide rod cap contains a compression spring that will fly if grasp is not
released slowly. Slide spring loaded top guide rod cap down guide rod until cap is clear of frame. Slowly release
grasp of top guide rod cap and set aside.
4. Repeat above step for opposite guide rod.
5. Lean guide rods slightly outward, away from machine. DO NOT put excessive pressure on guide rods, it will
damage lower guide rod caps.
6. Slide top weight up and out of the machine and set aside.
7. Remove weight plates and set aside for re-installation later.
Separate Frame
1. Remove six bolts and three connectors securing two halves of the frame using a 7/32” Allen wrench.
QtyDescription
6Bolt1
3Connector2
2. Move each half through the doorway to the desired location.
Page 12 of 24
Loading ...
Loading ...
Loading ...