Loading ...
Loading ...
Loading ...
8
Complete the Installation
WARNING
Electrical Shock Hazard
Plug into a grounded 3 prong outlet.
Do not remove ground prong.
Do not use an adapter.
Do not use an extension cord.
Failure to follow these instructions can result in death,
fire, or electrical shock.
1. Plug into a grounded 3-prong outlet.
NOTE: Allow 24 hours to produce the first batch of ice. Discard
the first three batches of ice produced. Allow 3 days to completely
fill ice container.
Install Air Filter
On some models, your refrigerator's accessory packet includes an
air filter, which must be installed prior to use. On some models,
the air filter is already installed at the factory. To order a
replacement air filter, use part number W10311524.
The air filter reduces the buildup of odors. This helps to maintain a
cleaner environment inside the refrigerator.
Installing the Air Filter
The filter should be installed behind the vented door, which is
located (depending on your model) along either the rear or left
interior wall near the top of the refrigerator compartment.
1. Remove the air filter from its packaging.
2. Lift open the vented door.
3. Snap the filter into place.
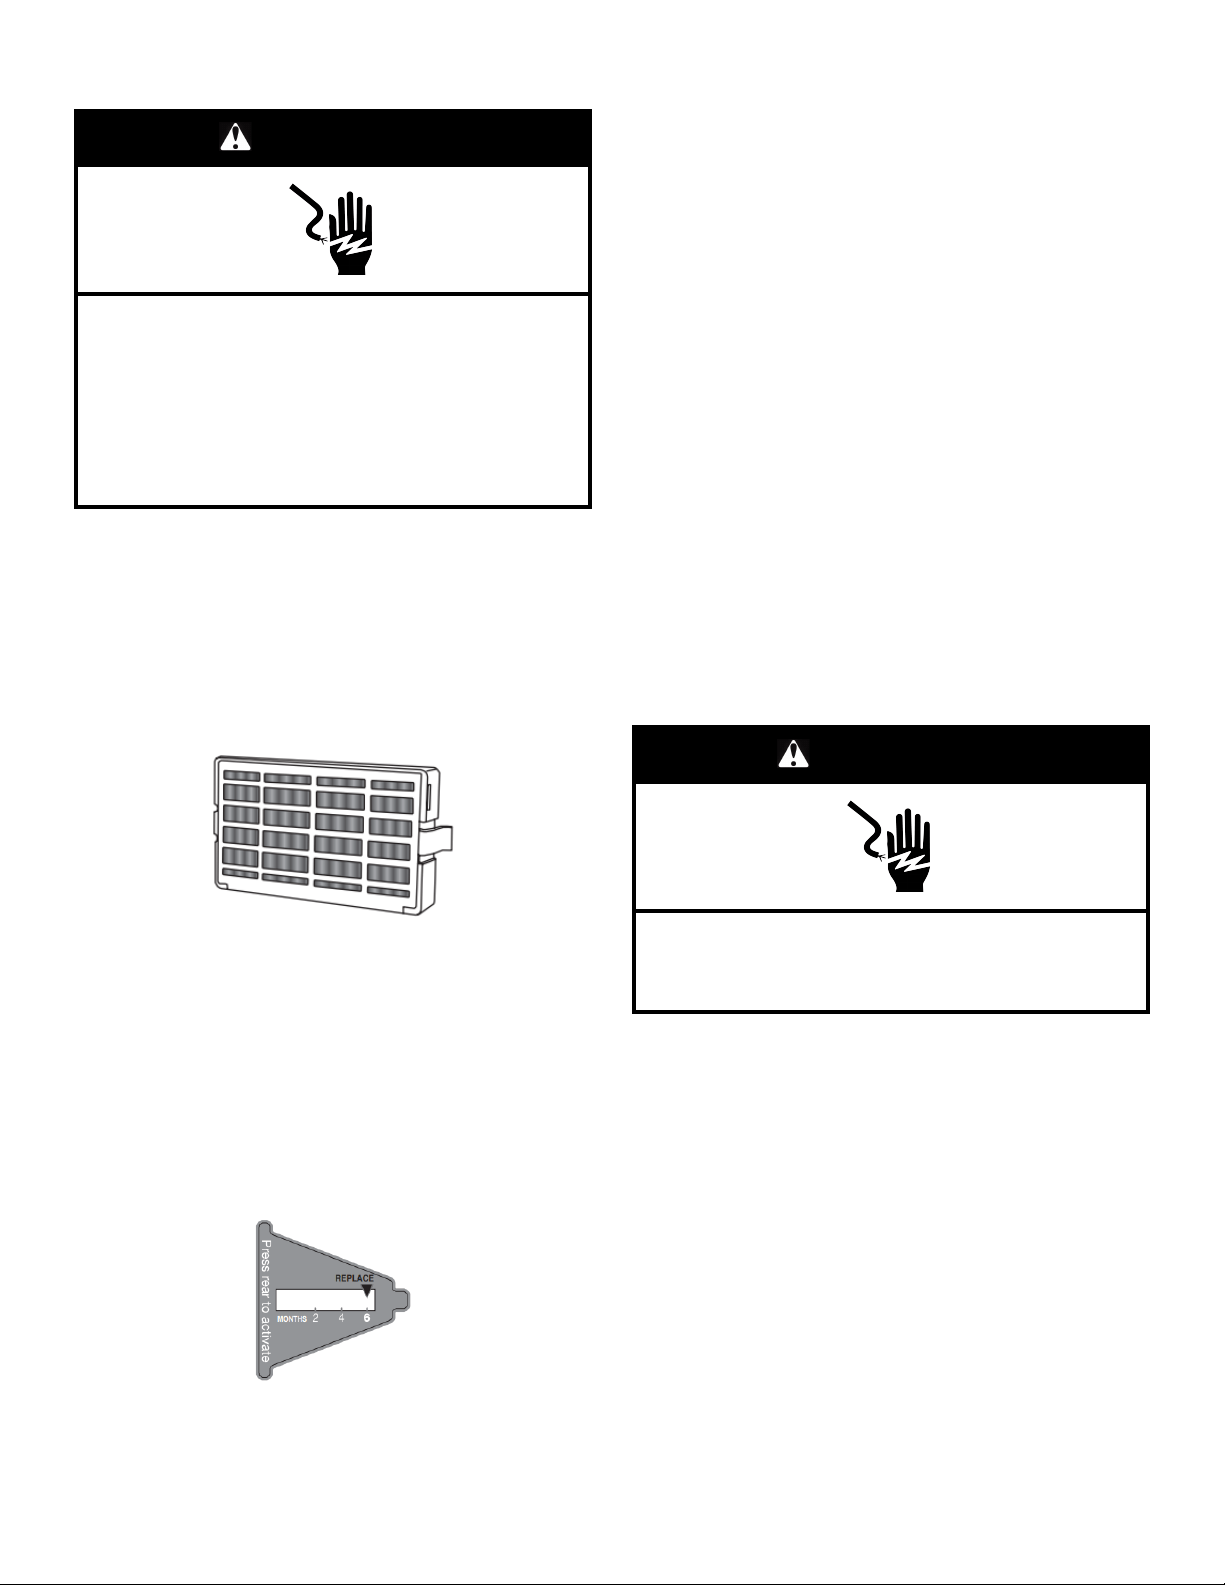
Air Filter Status Indicator
The filter comes with a status indicator, which should be activated
and installed at the same time the air filter is installed.
1. Place the indicator facedown on a firm, flat surface.
2. Apply pressure to the bubble on the back of the indicator, until
the bubble pops to activate the indicator.
3. Lift open the vented air filter door. On some models, there are
notches behind the door.
On models with notches:
� Slide the indicator down into the notches, facing outward.
NOTE: The indicator will not easily slide into the notches if the
rear bubble has not been popped.
� Close the air filter door, and check that the indicator is visible
through the rectangular hole in the door.
On models without notches:
� Store the indicator in a visible place you will easily remember
—either inside the refrigerator or elsewhere in your kitchen or
home.
Replacing the Air Filter
The disposable air filter should be replaced every 6 months, when
the status indicator has completely changed from white to red.
1. Remove the old air filter by squeezing in on the side tabs.
2. Remove the old status indicator.
3. Install the new air filter and status indicator using the
instructions in the previous sections.
REFRIGERATOR DOORS
Door and Handle Instructions
Depending on the width of your doorway, you may need to remove
the doors to move the refrigerator into your home. Also, the door
hinges are factory installed on the right-hand side. If you want the
door to open from the other direction, you must reverse the door
swing.
WARNING
Electrical Shock Hazard
Disconnect power before removing doors.
Failure to do so could result in death or electrical shock.
IMPORTANT:
� Before you begin, turn the refrigerator control off. Unplug
refrigerator or disconnect power. Remove food and any
adjustable door or utility bins from doors.
� If you are only removing and replacing the doors, see the
“Remove Doors and Hinges” and “Replace Doors and Hinges”
sections.
� If you choose to reverse the door swing, a Reversibility Kit,
which includes a new brand badge and hole plugs, is
available.
Tools Needed: 5/16" hex-head socket wrench, #2 Phillips
screwdriver, flat-blade screwdriver, 5/16" open-end wrench, flat 2"
putty knife
Loading ...
Loading ...
Loading ...