Reolink Solar Panel
Quick Start Guide
For more troubleshooting, please go to FAQs on our website:
https://reolink.com/faqs/
For other technical support, please contact us at
Technical Support
QG3_S
EN/DE
Welcome to Reolink
Easy Setup Within Minutes!
General Introduction
English 3
Deutsch 8
2 English
3English
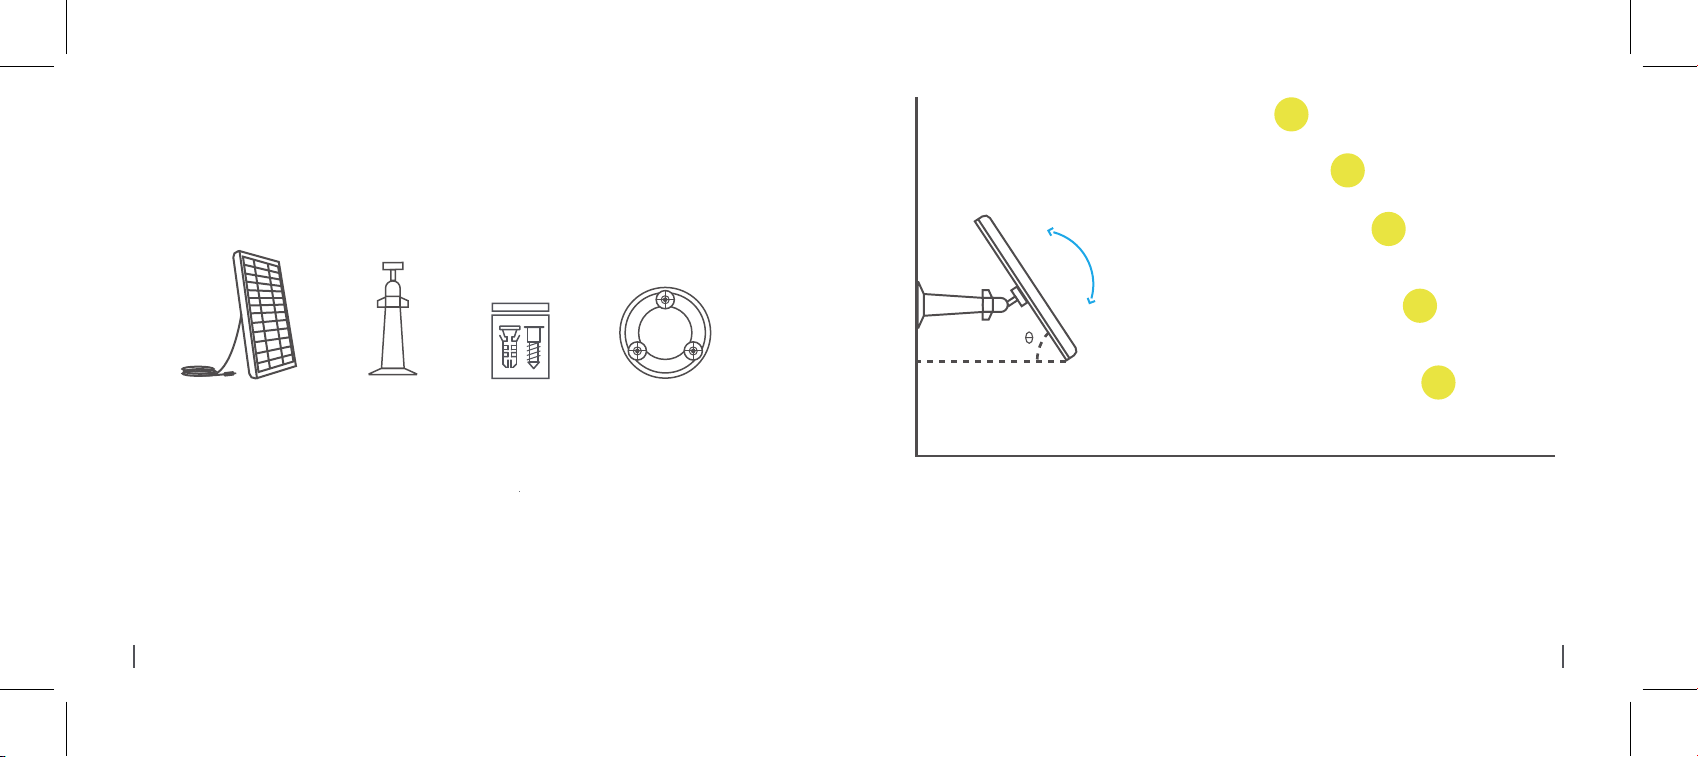
Please select a position with the most sunlight throughout the year for your solar panel. The Reolink
solar panel only needs a few hours of direct sunlight to sufficiently power your camera daily.The amount
of energy that the solar panel can produce is affected by weather conditions, seasonal changes,
geographic locations, etc.
The Ideal Angle = The Local Latitude + 5°
1.
What’s in the Box
Screws
(in pack)
x1
Bracket
x1
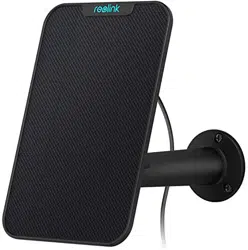
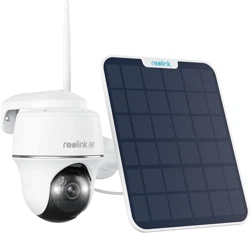
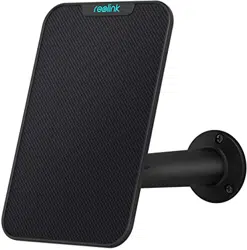
Solar Panel
x1
Lochschablone
zur Montage
x1
4 English 5English
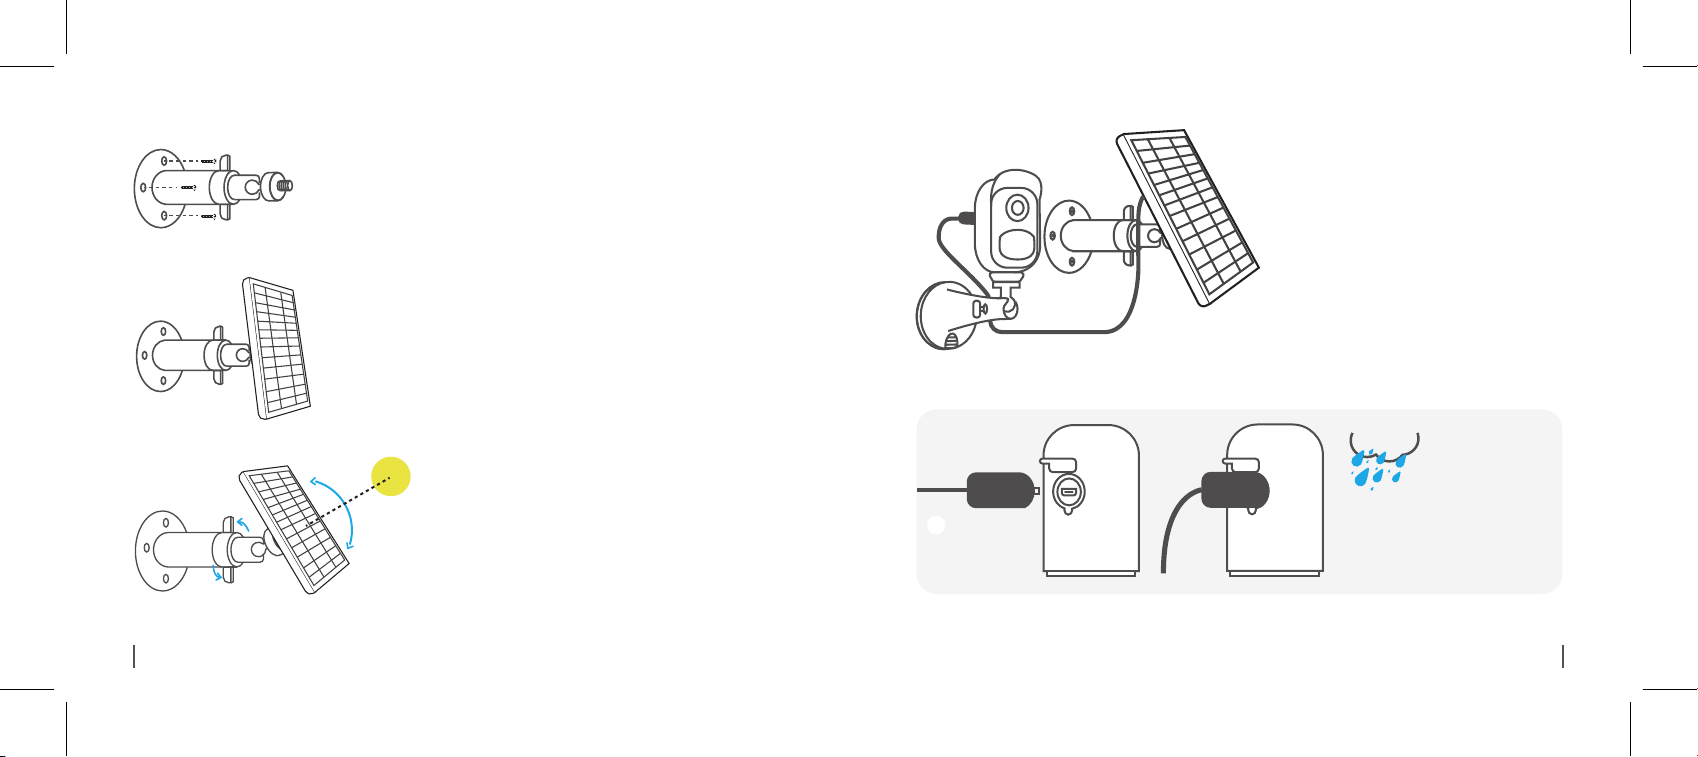
Mount the bracket with the
mounting template and the screws
provided in the package.
Loosen the adjusting control on the bracket and adjust
the angle of the solar panel to make it receive direct
sunlight, and then retighten the adjusting control to
secure your setting.
2.
Slot the solar panel into the bracket and make
sure it's secure.
3.
4.
Connect the solar panel to the Reolink Argus
2 camera with the micro USB cable.
Make sure the camera is
plugged in all the way and that
the waterproof wire cover
protects the interface between
the camera and the solar panel.
1. Make sure that there is NO blocking on the solar
panel. The energy harvesting efficiency drops
drastically even when a small portion of the solar
panel is blocked.
2. Please don’t install the solar panel completely
horizontally. Otherwise your solar panel might
accumulate dust and other debris easily. It’s
advised to install the solar panel angularly to make
it receive direct sunlight.
3.Wipe the solar panel regularly to remove the dust or
debris.
Important Notes:
5.
The Waterproof
Wire Cover
!
6 English
7English
Danke, dass Sie sich für Reolink entschieden haben.
Einfache Installation in wenigen Minuten!
Reolink SolarPanel
Kurzanleitung
8 Deutsch 9Deutsch
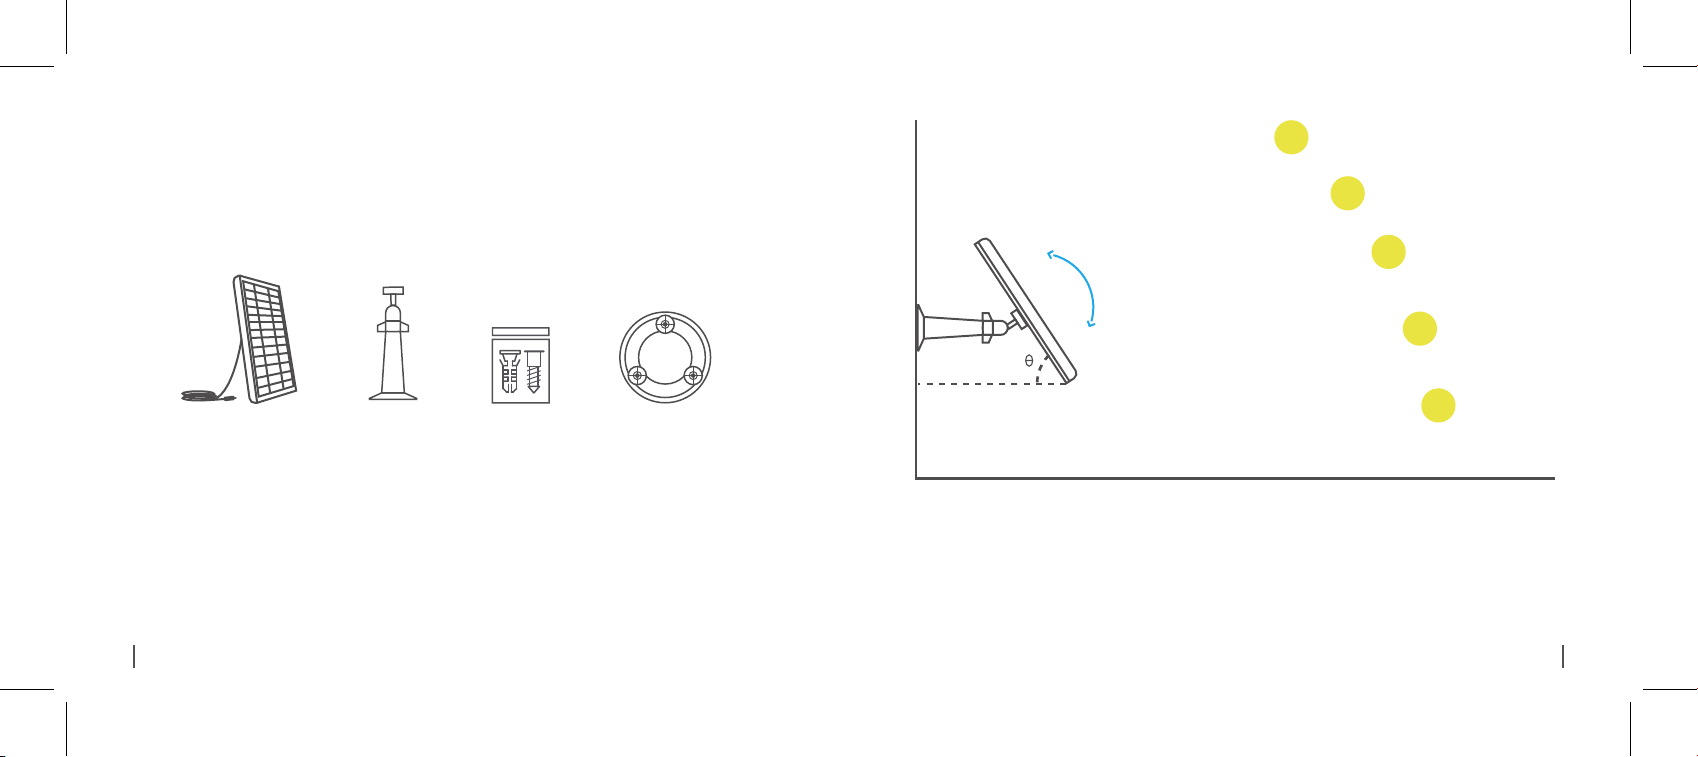
Bitte wählen Sie einen Installationsort für das Solarpanel aus, wo es ganzjährig die meisten Sonnen-
schein gibt. Täglich braucht das Reolink Solarpanel bei direkter Sonneneinstrahlung nur einige Stunden,
um Ihre Kamera (ausgestattet mit Akku) ausreichend aufzuladen. Die Faktoren wie Wetterbedingungen,
jahreszeitliche Veränderungen und geografische Lage etc. werden Einfluss auf die Energiemenge
ausüben, die das Solarpanel erzeugt.
1.
Der optimale Winkel = Der lokale Breitengrad + 5°
Lieferumfang
Solarpanel
x1
Halterung
x1
Päckchen mit
Schrauben
x1
Lochschablone
zur Montage
x1
10 Deutsch
11Deutsch

Verbinden Sie das Solarpanel durch das
USB-Kabel mit der Reolink Argus 2 Kamera.
Stellen Sie sicher, dass das
USB-Kabel vollständig in die Kamera
eingesteckt ist, und die wetterfeste
Kabelabdeckung die Schnittstelle
zwischen der Kamera und dem
Solarpanel schützt.
1. Stellen Sie sicher, dass es keine Decke auf dem
Solarpanel gibt. Die Effizienz der Energieproduktion
sinkt drastisch, selbst wenn ein kleines Teilstück
vom Solarpanel abgedeckt wird.
2. Installieren Sie das Solarpanel bitte nicht komplett
horizontal. Sonst ist es anfällig für Staub und
Schmutz. Es wird vorgeschlagen, das Solarpanel
schräg für direkte Sonneneinstrahlung zu installieren.
3.Wischen Sie regelmäßig das Solarpanel ab, um
Staub oder Schmutz zu entfernen.
Wichtige Hinweise:
5.
Die wetterfeste
Kabelabdeckung
!
Schrauben Sie das Solarpanel in die Halterung
ein und stellen Sie sicher, dass es fest
installiert ist.
3.
Lösen Sie den Drehregler auf der Halterung und stellen
Sie den Winkel des Solarpanels ein, damit es direkte
Sonneneinstrahlung bekommt. Danach befestigen Sie
wieder den Drehregler, um das Solarpanel zu fixieren.
4.
2.
Montieren Sie die Halterung mit
Hilfe der mitgelieferten
Lochschablone und Schrauben.
12 Deutsch
13Deutsch

14 Deutsch
Mehr Informationen über Problembehebung finden Sie bitte unter:
https://reolink.com/faqs/
Für technische Unterstützung kontaktieren Sie uns bitte via:
Support