Loading ...
Loading ...
Loading ...
EN
10
6 - General Oven Tips
Default Settings
The Cooking Modes automatically select a suitable temperature.
These can be changed when a different one is needed.
Oven Condensation and Temperature
• It is normal for a certain amount of moisture to evaporate
from the food during any cooking process. The amount
depends on the moisture content of the food. The moisture
may condense on any surface cooler than the inside of the
oven, such as the control panel.
• Your new oven has an electronic temperature sensor that
allows maintaining an accurate temperature. Your previous
oven may have had a mechanical thermostat that drifted
gradually over time to a higher temperature. It is normal that
you may need to adjust your favorite recipes when cooking
in a new oven.
Operational Suggestions
• Use the Cooking Charts as a guide.
• Do not set pans or any weight on the open oven door.
• Use the interior oven lights to view the food through the
oven door window rather than opening the door frequently.
Utensils
• Glass baking dishes absorb heat. Reduce oven temperature
25 °F (15 °C) when baking in glass.
• Use pans that give the desired browning. The type of finish
on the pan will help determine the amount of browning that
will occur.
• Shiny, smooth metal or light non-stick / anodized pans
reflect heat, resulting in lighter, more delicate browning.
Cakes and cookies require this type of utensil.
• Dark, rough or dull pans will absorb heat resulting in a
browner, crisper crust. Use this type for pies.
• For brown, crisp crusts, use dark non-stick / anodized
or dark, dull metal utensils or glass bake ware. Insulated
baking pans may increase the length of cooking time.
• Do not cook with the empty Broiler Pan in the oven, as this
could change cooking performance. Store the Broiler Pan
outside of the oven.
Oven Racks
• The oven has rack guides at six levels as shown in the
illustration on Page 6.
• Rack positions are numbered from the bottom rack guide
(#1) to the top (#6).
• Check cooking charts for best rack positions to use when
cooking.
• Each level guide consists of paired supports formed in the
walls on each side of the oven cavity.
• Always be sure to position the oven racks before turning
on the oven. Make sure that the racks are level and secure
once they are in position.
Please refer to illustration on Page 6 if there is any question
as to which side is the front of the rack.
• The racks are designed to stop when pulled forward to their
limit.
ATTENTION
Never use aluminum foil to cover the oven racks or to line
the oven. It can cause damage to the oven liner if heat is
trapped under the foil.
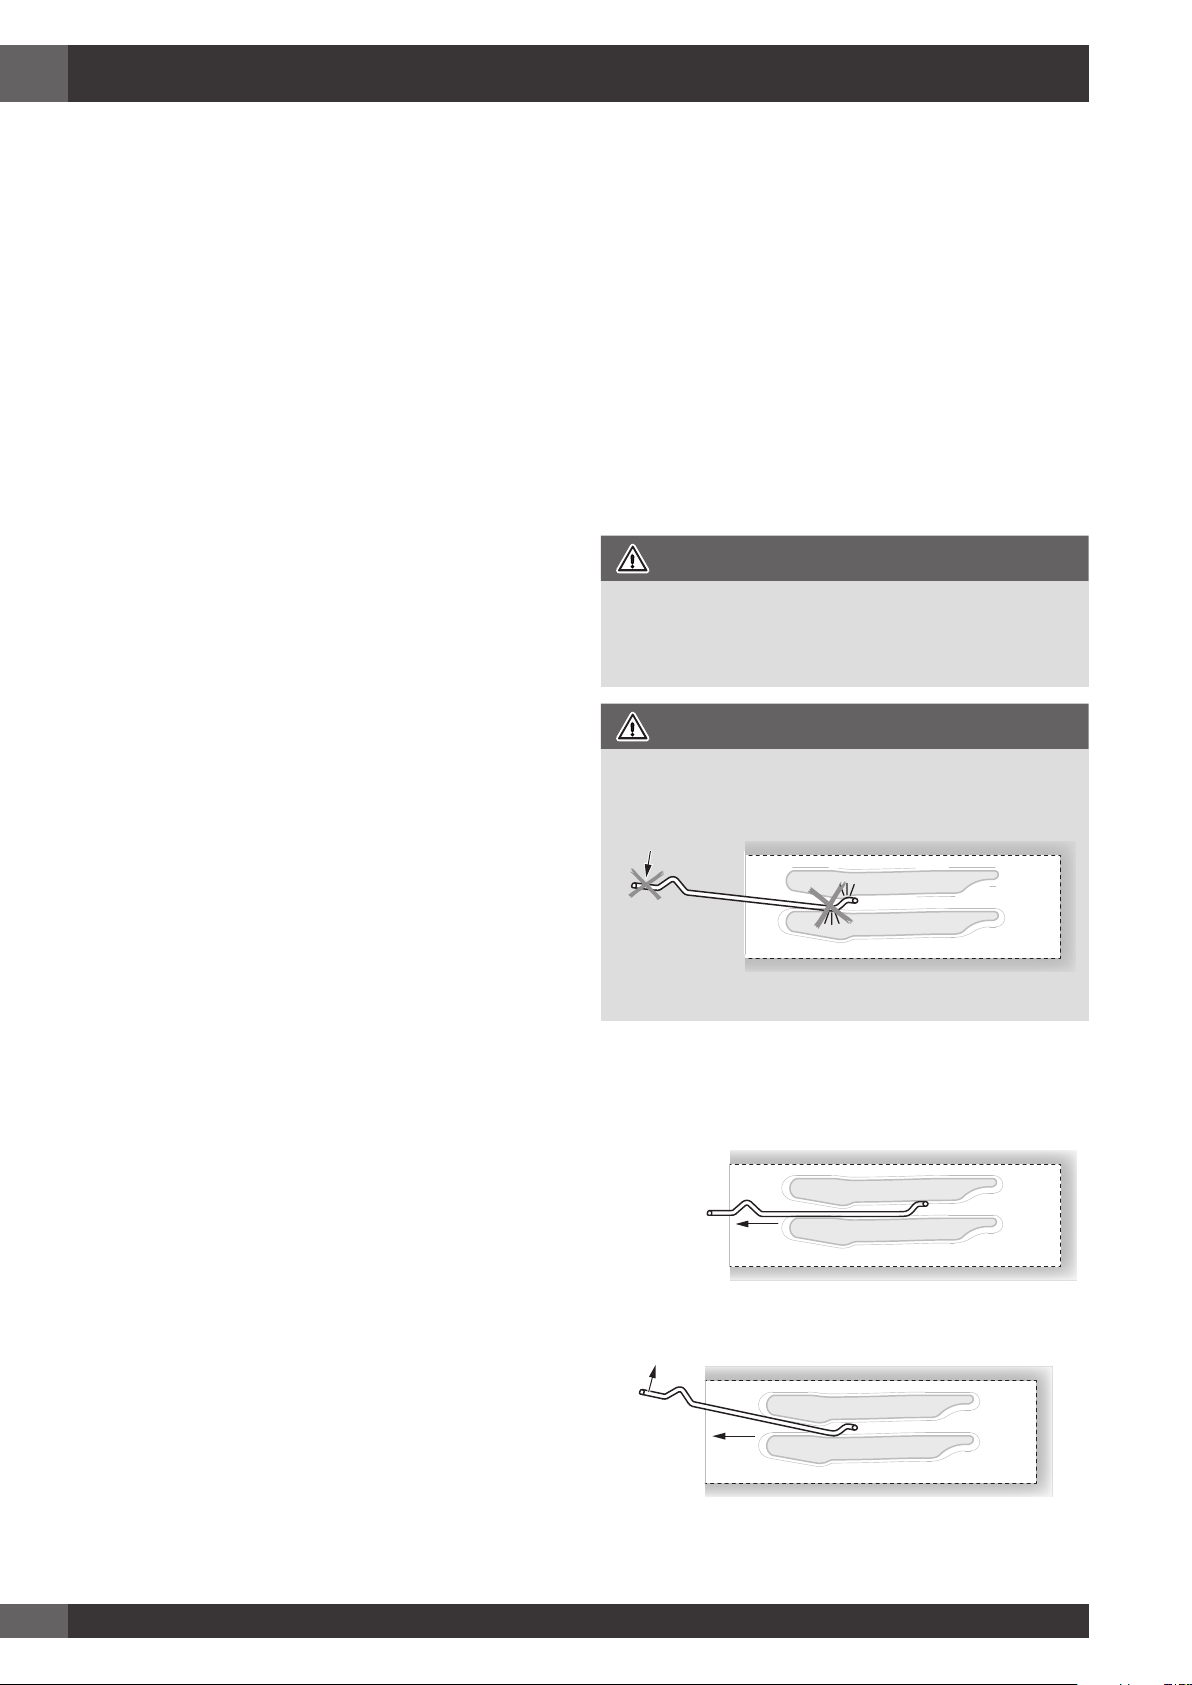
ATTENTION
Make sure you do not force it to avoid damage to the
enamel.
Front Back
To remove oven rack from the oven:
1. Pull rack forward
2. Lift rack up at front and then remove it
Loading ...
Loading ...
Loading ...