Loading ...
Loading ...
INSTALLATION INSTRUCTIONS
BEFORE USING ICE MAKER
• Remove the exterior and interior packaging.
• Before connecting the ice maker to the power source, let it stand upright for approximately 2 hours. This will
reduce the possibility of a malfunction in the cooling system from handling during transportation.
• Clean the interior surface with lukewarm water using a soft cloth.
• Attach the water inlet and outlet pipe, loosen the screw nut, choose the function switch (see connecting ice
maker).
• Note: After installation, dispose of the fi rst two full batches of ice to clear any dust resulting from transport.
ICE MAKER INSTALLATION
• Place your ice maker on a fl oor that is strong enough to support it when it is fully loaded. To level your ice
maker adjust the front leveling leg at the bottom of the unit. (see leveling instructions below)
• Locate the ice maker away from direct sunlight and sources of heat (stove, heater, radiator, etc.) Direct
sunlight and heat sources may increase electrical consumption. Extreme cold ambient temperatures may
also cause the unit not to perform properly.
• Avoid locating the unit in damp areas.
• Plug the unit into an 115/120-volt, 60Hz electrical outlet with three-prong ground receptacle. Do not under any
circumstances cut or remove the third (ground) prong from the power cord. Any questions concerning power and/or
grounding should be directed toward a qualifi ed electrician or an authorized service center.
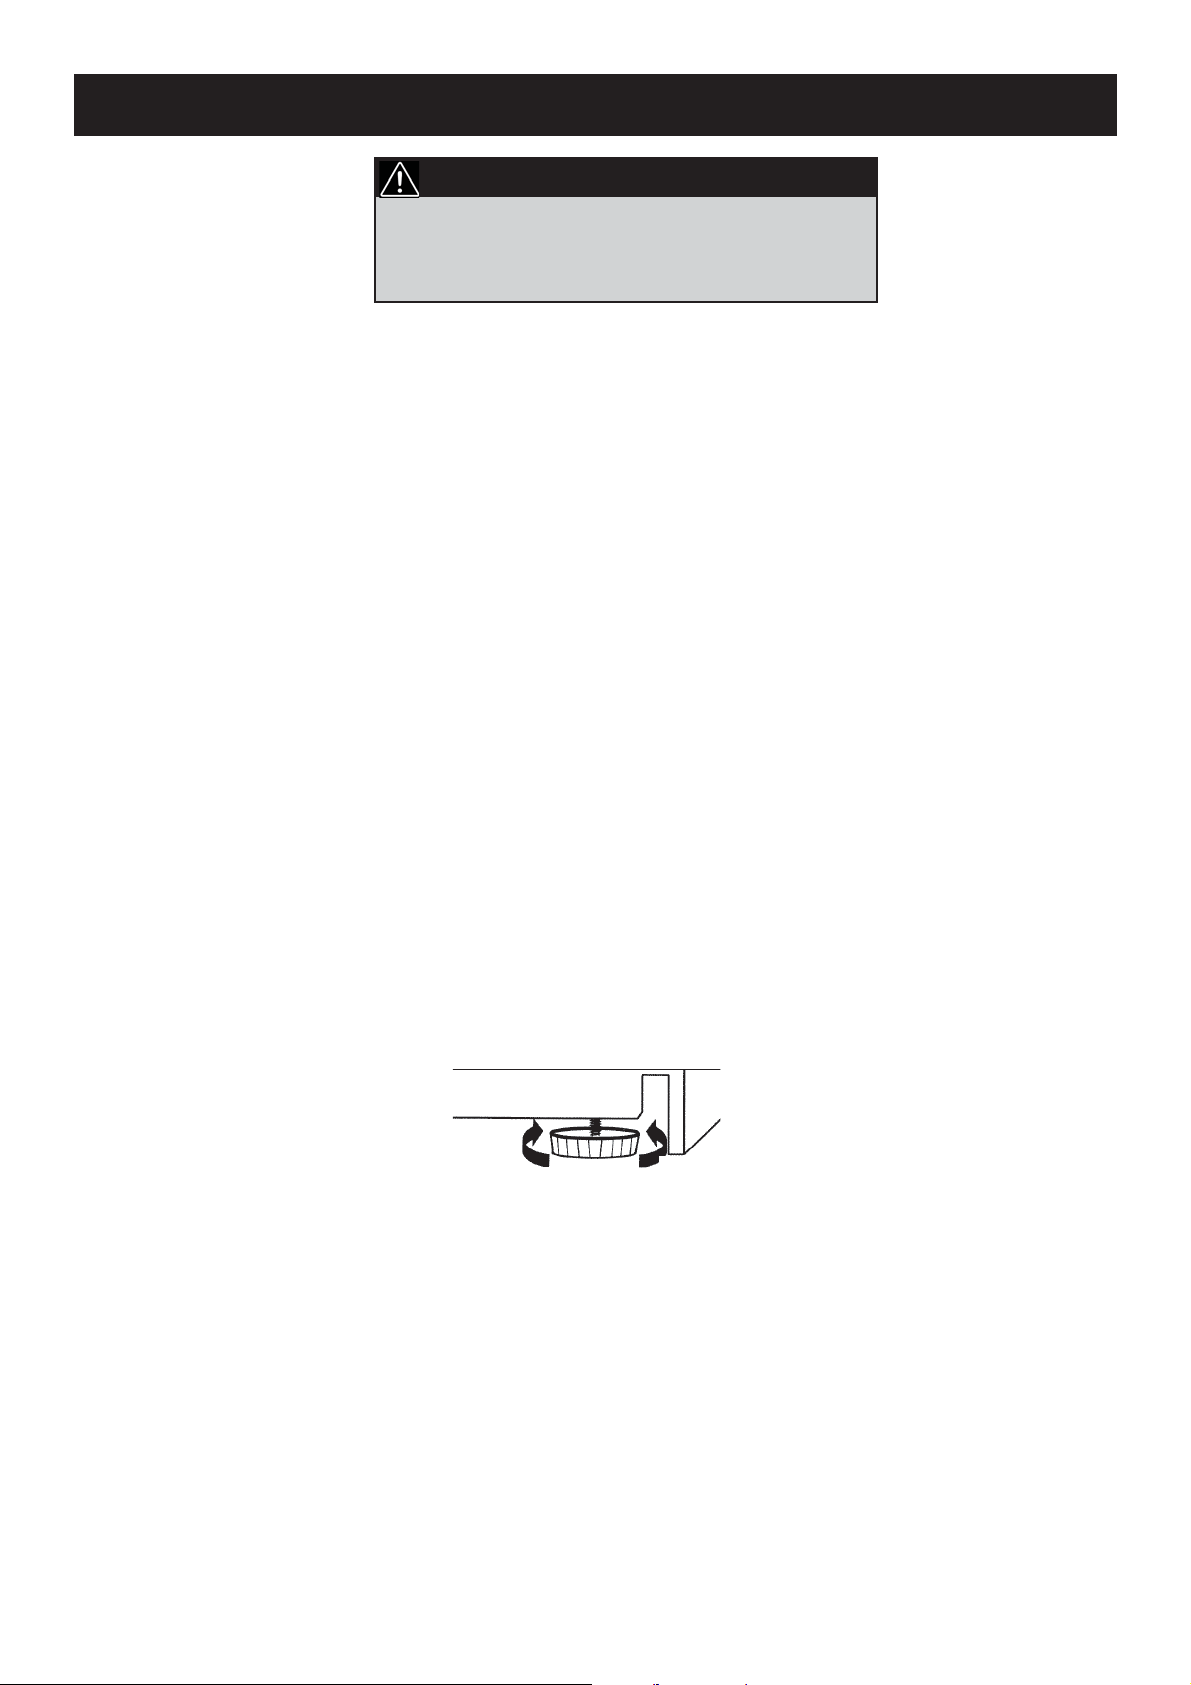
LEVELING INSTRUCTIONS
1) Move the ice maker to its fi nal location.
2) Have someone gently tilt the front of the ice maker to take some weight off of the leveling leg.
3) Turn the leveling leg clockwise to raise and counterclockwise to lower the ice maker. Adjust until level.
It is recommended that this appliance be installed
by a recognized installation professional following
any or all National Safety codes or Municipal by-
laws for the installation area.
IMPORTANT
Front of the
unit
Raises
Lowers
1
Loading ...
Loading ...
Loading ...