INSTALLATION INSTRUCTION
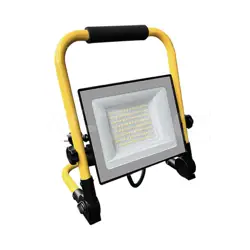
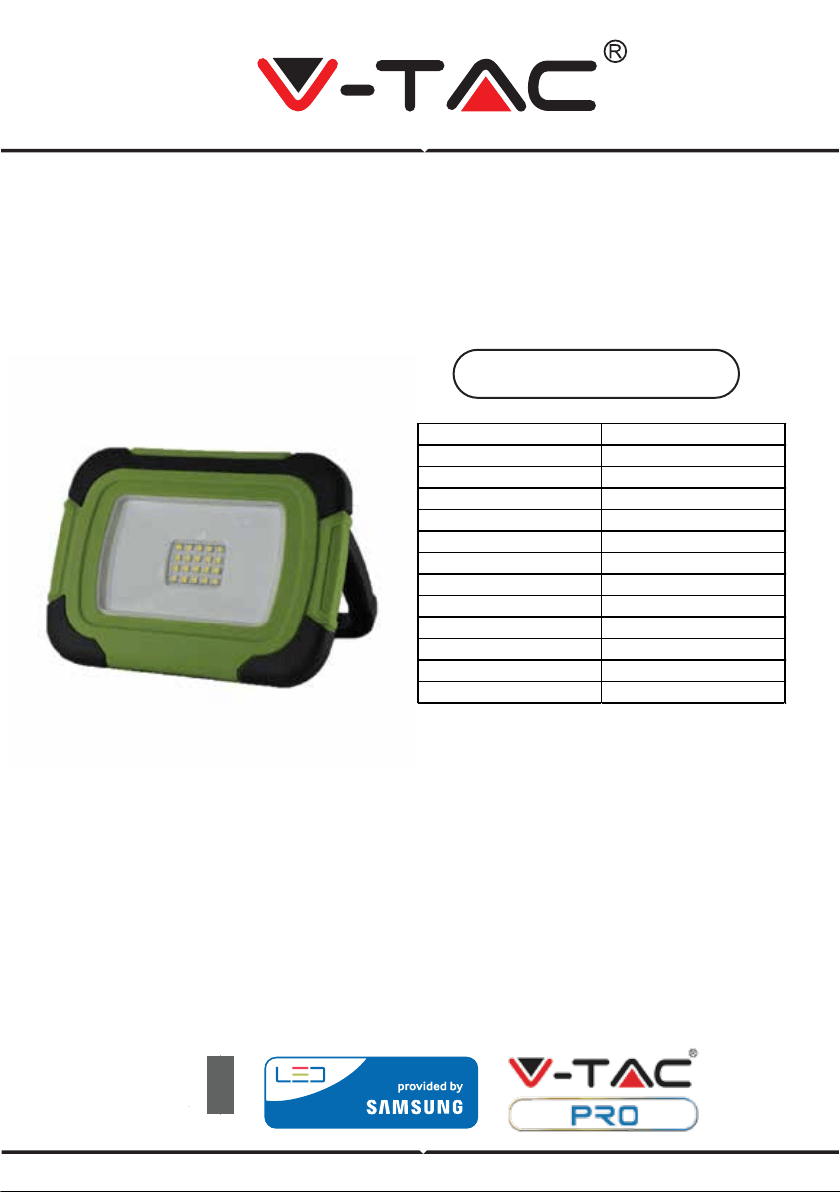
LED RECHARGEABLE LIGHT
SPECIFICATIONS
INTRODUCTION & WARRANTY
Thank you for selecting and buying V-TAC product. V-TAC will serve you the best. Please read
these instructions carefully before starting the installing and keep this manual handy for future
reference. If you have any another query, please contact our dealer or local vendor from whom
you have purchased the product. They are trained and ready to serve you at the best.
The warranty is valid for 2 years from the date of purchase. The warranty does not apply to
damage caused by incorrect installation or abnormal wear and tear. The company gives no
warranty against damage to any surface due to incorrect removal and installation of the
product. The products are suitable for 10-12 Hours Daily operation. Usage of product for 24
Hours a day would void the warranty. This product is warranted for manufacturing defects only.
2
YEAR
WARRANTY
*
Model VT-11-R
Was 10
Lumens 700
BeamAngle 100
PF >0.9
CRI >80
LED Chip Type SMD
IP Rang IP44
Unit Color Green+Black
On/O Cycles >15000
Operaon Temperature -20°C to +45°C
Input Power AC:100-240V
Dimension 175x125mm
Batteries
1. Never attempt to open for any reason.
2. Do not store in locations where the temperature may exceed 40 °C.
3. Charge only at ambient temperatures between 4 °C and 40 °C.
4. Charge only using the charger provided with the tool.
5. When disposing of batteries, follow the instructions given in the section “Protecting the environ-
ment”.
6. Do not cause short circuits. If connection is made between the positive (+) and negative (-)
terminal directly or via accidental contact with metallic objects, the battery is short circuited and an
intense current will flow causing heat generation which may lead to casing rupture or fire.
7. Do not heat. If batteries are heated to above 100 °C, sealing and insulating separators and other
polymer components may be damaged resulting in electrolyte leakage and/or internal short circuiting
leading to heat generation causing rupture or file. Moreover do not dispose of the batteries in fire,
explosion and/or intense burning may result.
8. Under extreme conditions, battery leakage may occur. When you notice liquid on the battery,
proceed as follows:
•- Carefully wipe the liquid off using a cloth. Avoid skin contact.
•- In case of skin or eye contact, follow the instructions below:
i. Immediately rinse with water. Neutralize with a mild acid such as lemon juice or vinegar.
ii. In case of eye contact, rinse abundantly with clean water for at least 10 minutes. Consult a
physician.
Fire hazard! Avoid short-circuiting the contacts of a detached battery. Do not incinerate the battery.
Chargers
1. Use the charger provided with the tool only to charge the battery
2. Never attempt to charge non-rechargeable batteries.
3. Have defective cords replaced immediately.
4. Do not expose to water.
5. Do not open the charger.
6. Do not probe the charger.
7. The charger is intended for indoor use only.
This is not a toy; children should not permit to use it.
This is a DIY product, all electronic parts fixed already,
any intention of opening work-light or changing
work-light design is prohibitive unless a professional
electrician.
Do not attempt to replace or change or the diode lights!
If the protective glass is cracked or broken, it must be
replaced before the work light can be used again.
Safety instructions for batteries and chargers
Symbology
Safety warning for work-Light
Double insulated
Underwriters Labor atories,
Inc.
Volts Alternating Current
Amperes
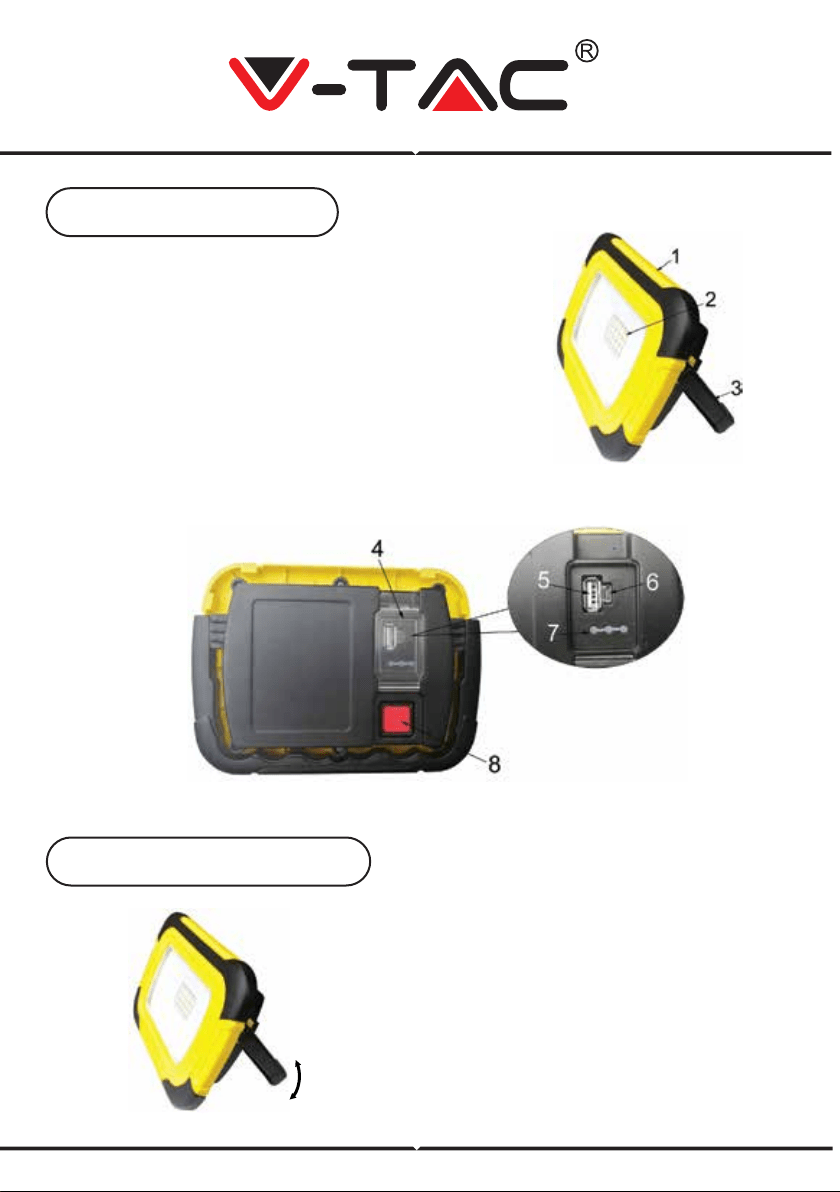
1. Work light head
2. LED lamp assembly
3. Portable bracket
4. Protective cover
5. USB socket
6. Micro socket
7. LED indicator
8. ON/OFF switch with mode function
The LED work light’s portable bracket (3) is
adjustable (Max. 45°). Adjust the bracket to the
suitable position before using.
NOTE: Do not exceed to adjustable range which
avoid damaging the bracket
ADJUSTMENT THE STAND
Major Components
Assembly Instruction
Fig. 2
Fig. 1
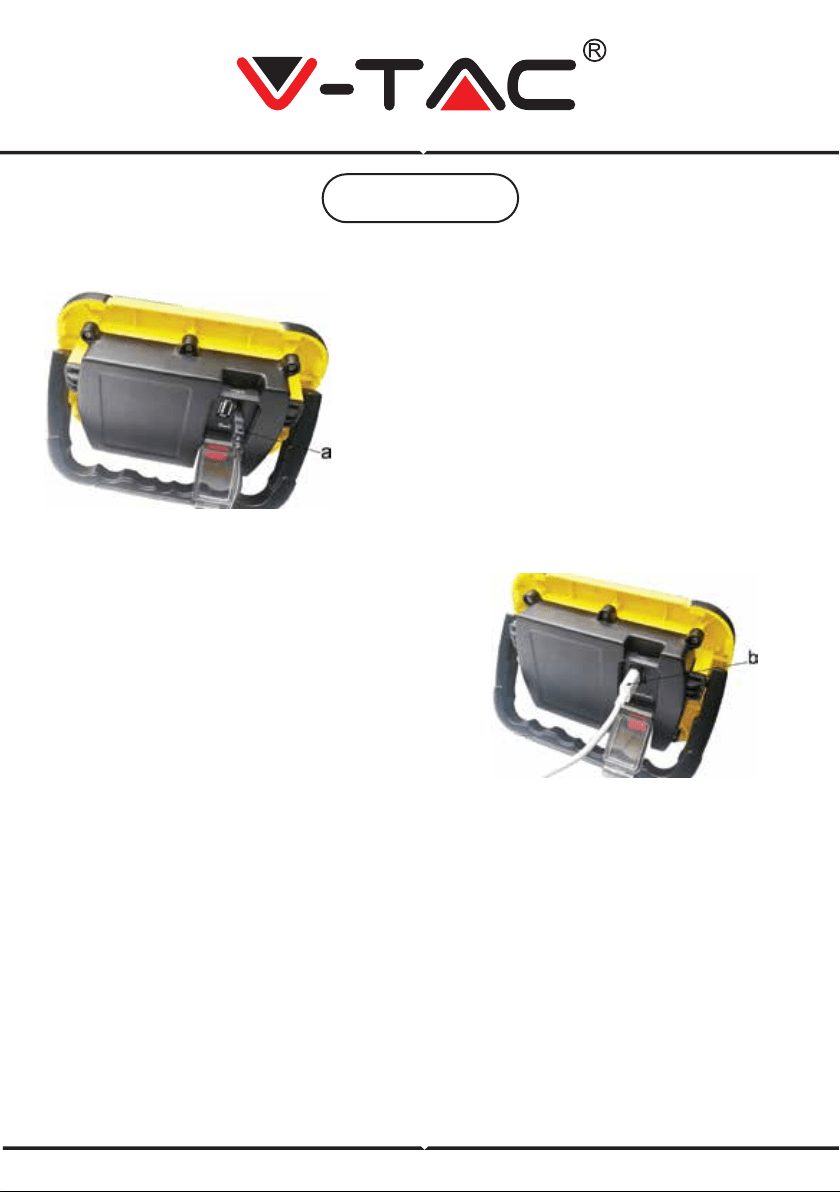
1. Open the protective cover (4) and push the micro plug
(a) into micro socket (6).
2. Plug the adapter into a suitable mains outlet. Do not use
an extension cord.
3. When the battery is loaded, three LED indicators (7) all
illumine (Red light, yellow light and green light light up in
sequence).
NOTE: Reset the protective cover after full charge which to
avoid water enter. (Refer to Fig. 2)
NOTE: The LED indicator only will show red that means it‘s
batteries will soon run out and need to recharge.
NOTE: Don’t turn the work light on/ use USB while
charging.
• To reduce the risk of injury, user must read and understand instruction manual.
• Always make sure the work light is off and complete cool before attempting to clean it.
CHARGING THE WORK LIGHT
The USB DC 5V 1A output socket (8) can use for
all kinds of device which can be charged by USB
cord (b), such as mobile phone, MP3/MP4,
Bluetooth headset etc.
NOTE: The USB output will stop output
automatically if the total working current of the
total connected device exceed the limit.
SWITCH ON/OFF AND LUMEN ADJUSTMENT (See Fig. 2)
The work light is equipped with an ON/OFF switch with mode function (8) locate on the back side of the
work light.
The LED work light’s brightness is adjustable.
With press ON/OFF switch (8): 1st press: 100% brightness; 2nd press: 50% brightness; 3rd press: SOS
flashing; 4th press: OFF.
Discharging time: About 3 hours for 100% brightness;
About 5 hours for 40% brightness;
USB OUTPUT
OPERATION
WARNING!
Fig. 5
Fig. 4