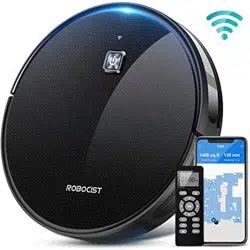
Robocist R850 Vacuum Robot Smart Cleaner
Product's Documents
Below are documents related to this product, you can read online or download:
- User Manual - (English) Read Online | Download pdf
- Application Guide - (English) Download


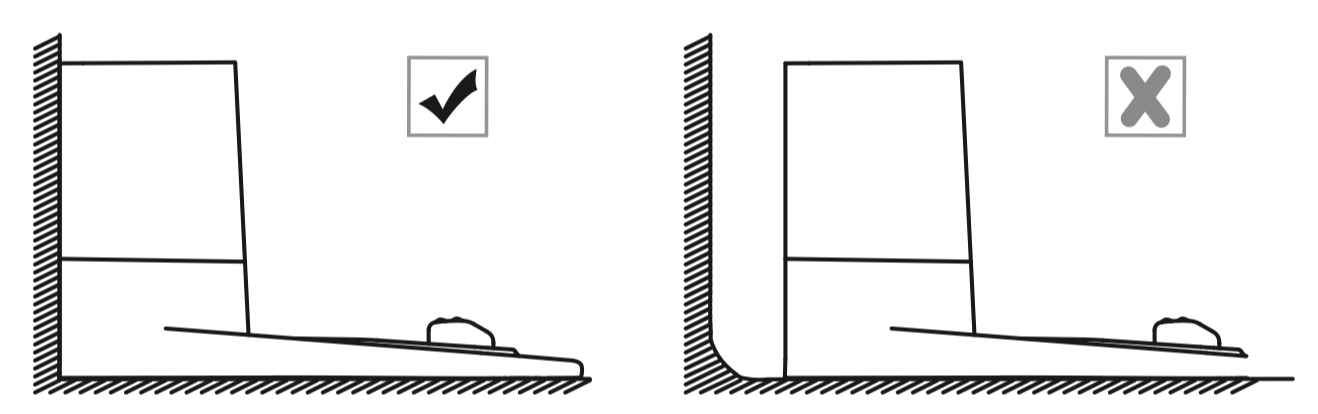


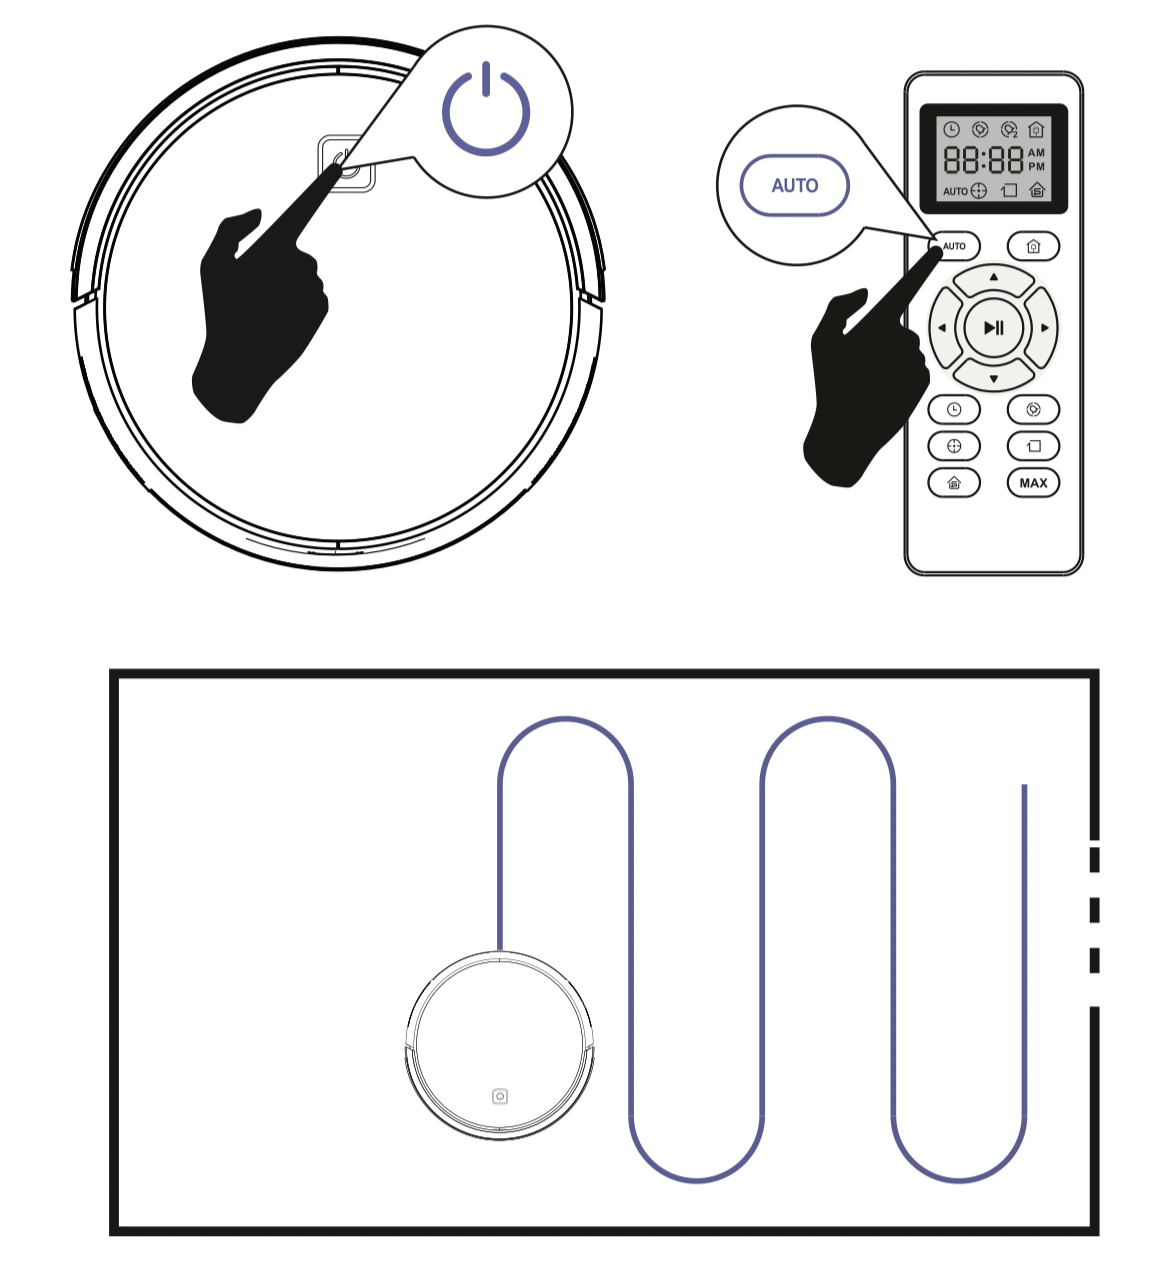
 Power button illuminates robot is ready for use.
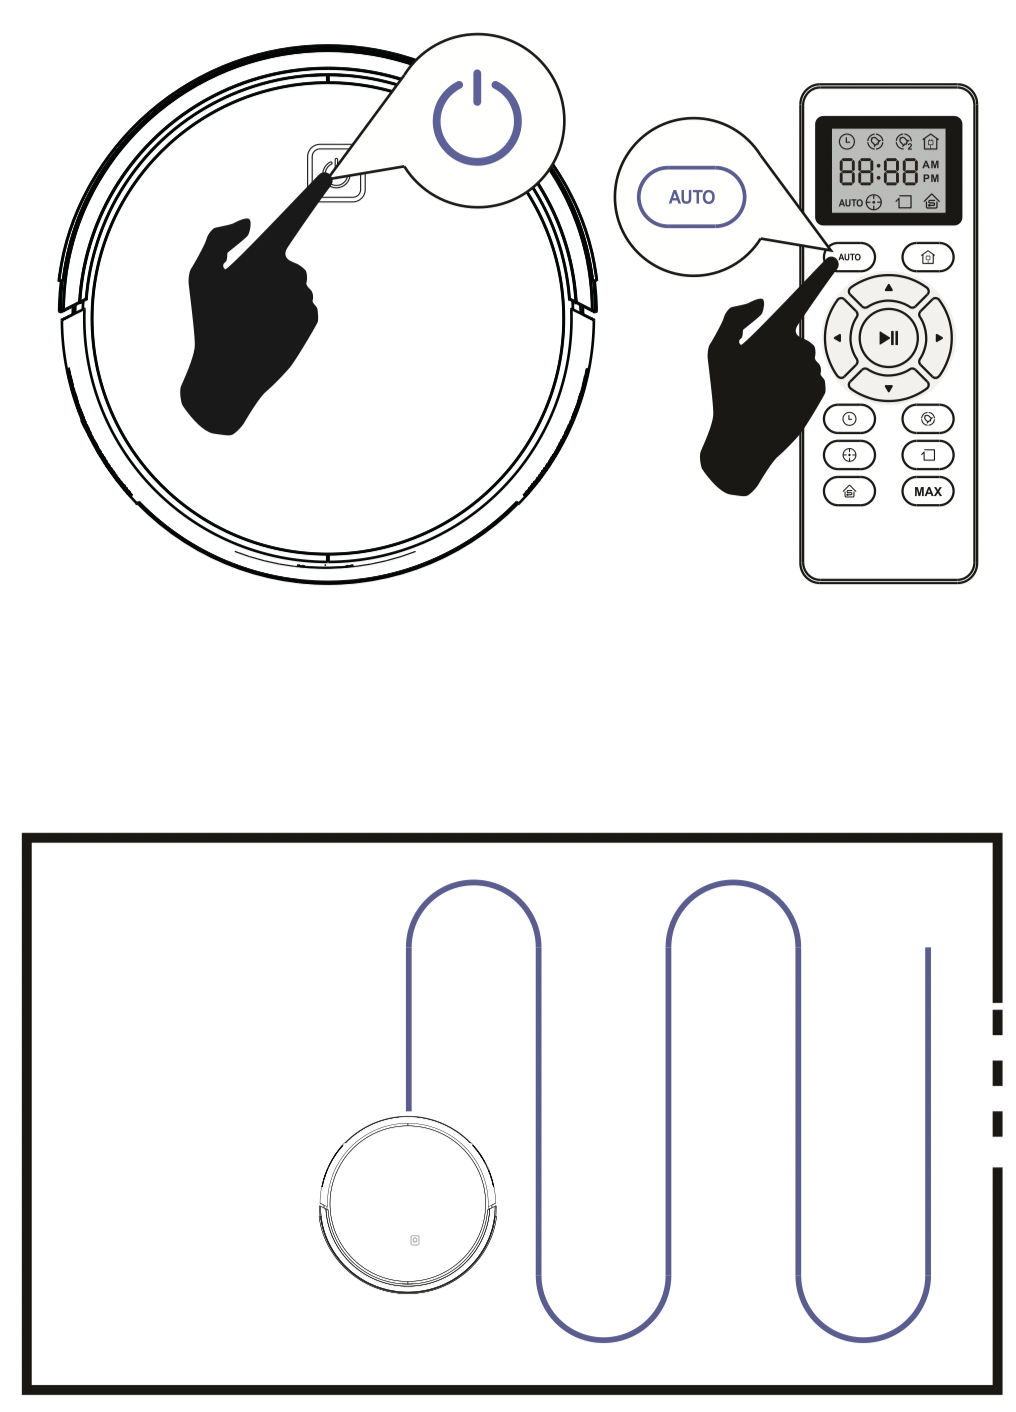
 button on Remote Control.
 button.

 (Spot) on the Remote Control.
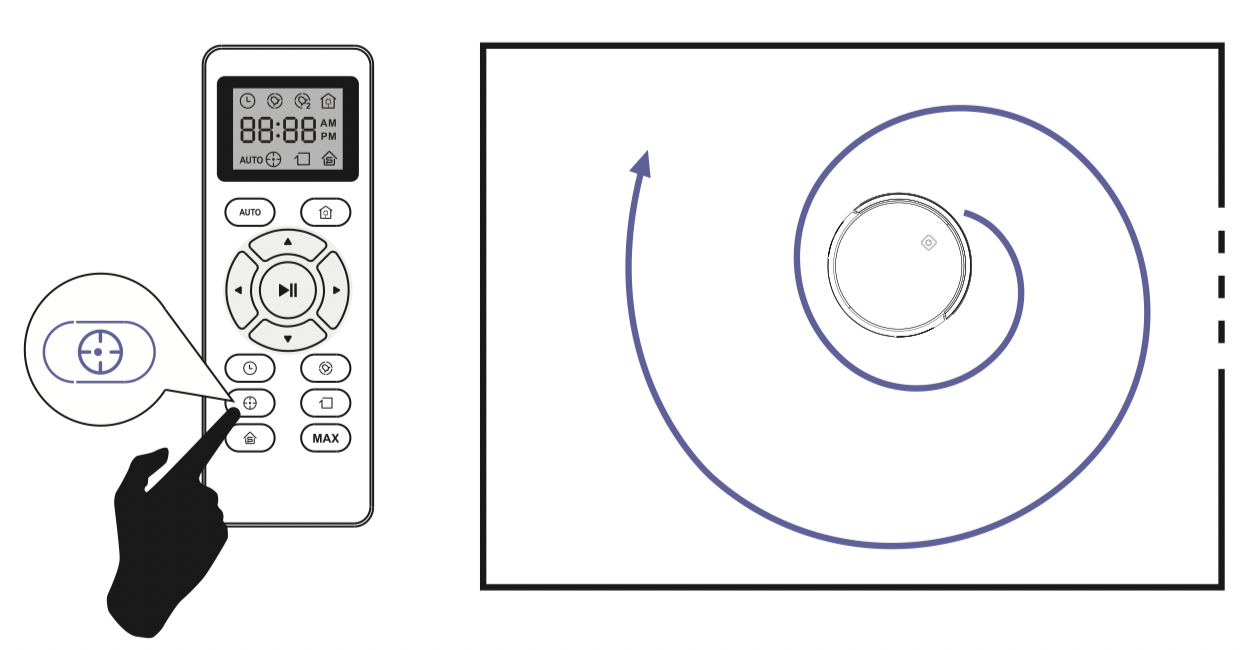
 button on Remote control, Max Vacuuming Cleaning if Off by default.
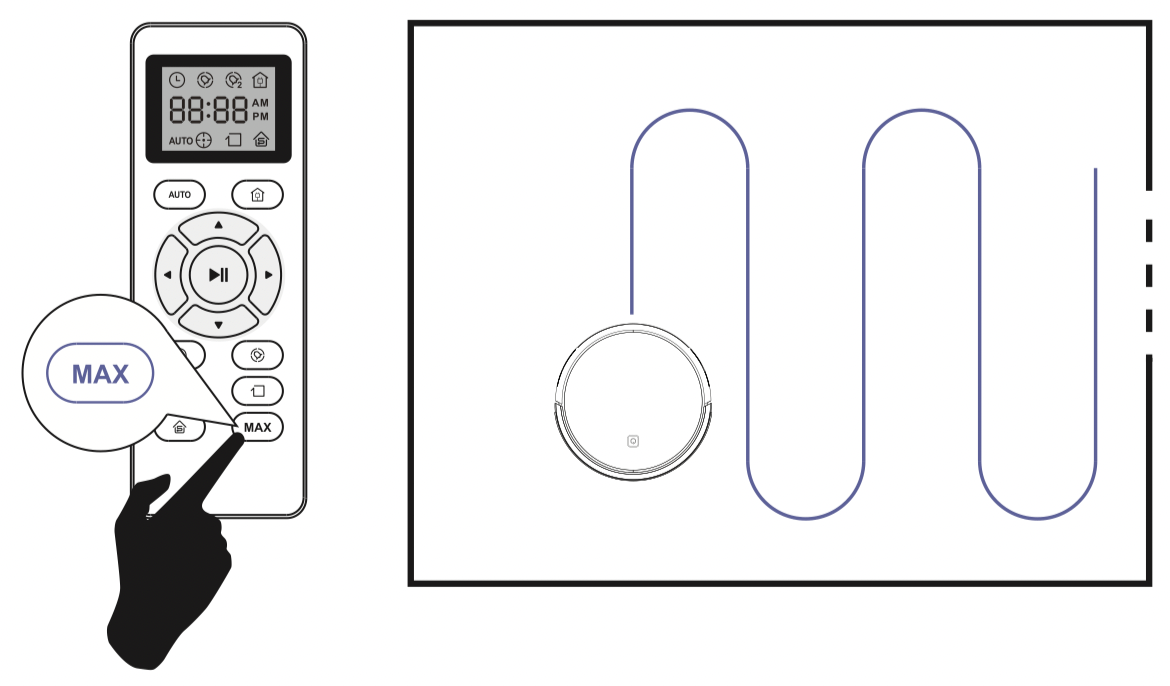
 button on Remote Control.
 control to start random cleaning.
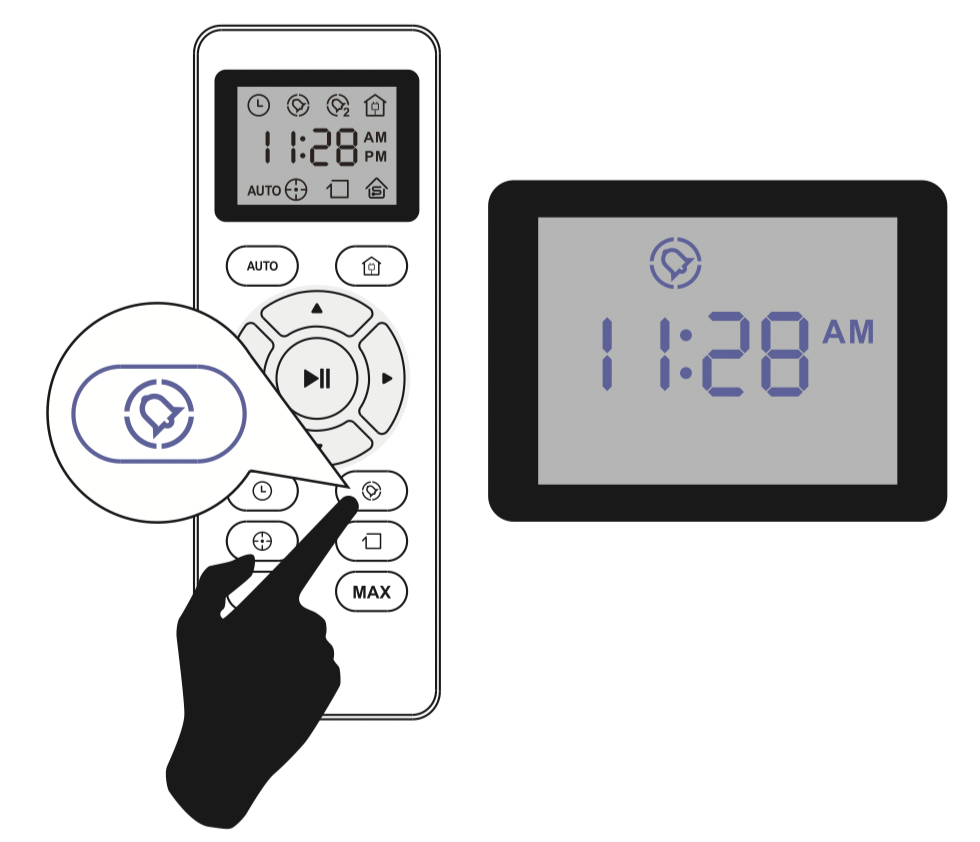
 button on Remote Control, and then the hour section begins to flash in the clock display setting window.
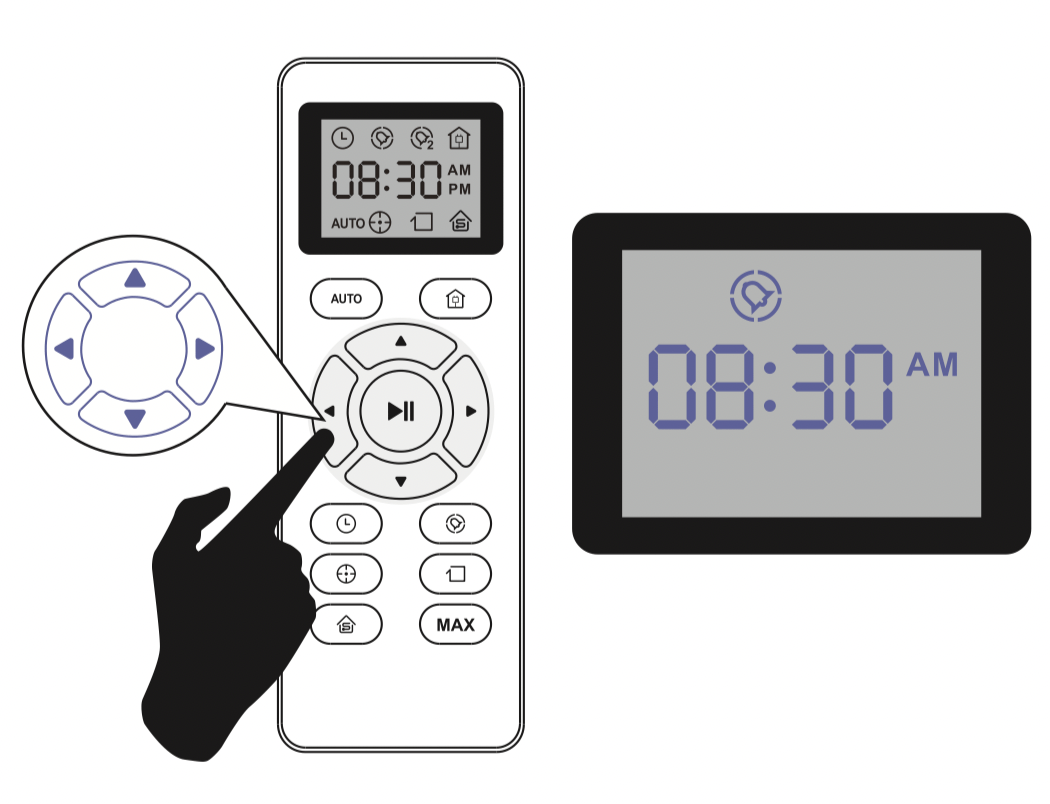
 or
or  button to select the desired figures. Press the
  or
or  button to select the minute or hour section.
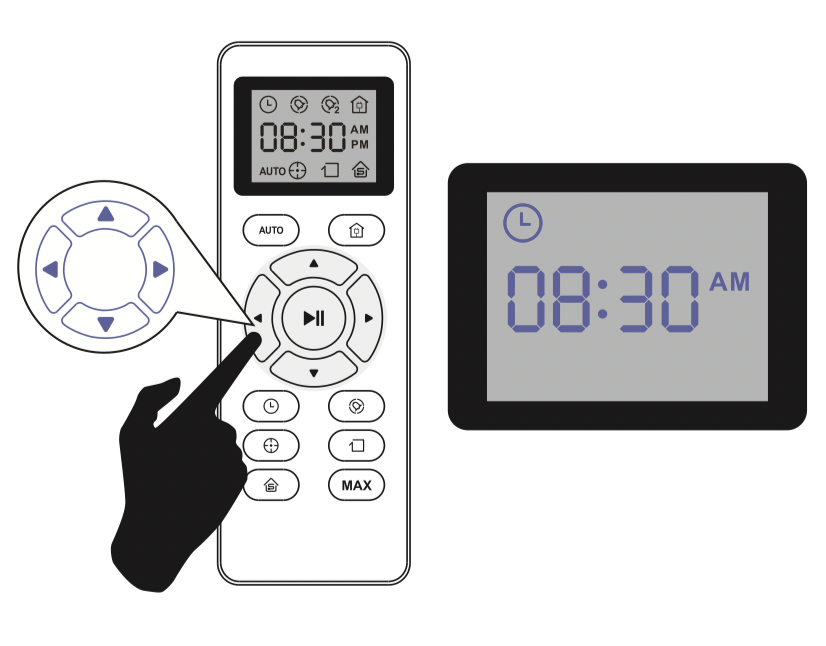
 button. The Robot will ''BEEF" when the clock setting completed.
 button on Remote Control, and then the hour section begins to Hash in the Cleaning Schedule display setting window.