Loading ...
Loading ...
Loading ...
5
KEYPAD FEATURE INSTRUCTIONS
WARM Hold warm Food must be at serving temperature before placing it in the warmed oven.
1. Press WARM.
2. Temperature is set at 170°F (75°C) for 60 minutes (1.00 hour).
3. Press START.
4. Press OFF/CANCEL when finished.
COOK TIME
(on some models)
Timed cooking Timed Cooking allows the oven to be set to turn on at a certain time of day, cook
for a set length of time, and/or shut off automatically. Delay start should not be
used for foods such as breads and cakes because they may not bake properly.
To set a Timed Cook or a Delayed Timed Cook see “Timed Cooking” section.
START TIME Delayed start The Start Time keypad is used to enter the starting time for an oven function with
a delayed start.
START Cooking start The Start pad begins any oven function. If Start is not pressed within 5 seconds,
“PUSH?” or “PSH” appears in the display. If Start is not pressed within 1 minute
after pressing a keypad, the function is canceled and the time of day is displayed.
OFF/CANCEL Range function The Off/Cancel keypad stops any function except the Clock, Timer, and Oven
Control Lockout.
TEMP/TIME Temperature
and time adjust
The “+” or “-” arrow pads are used to adjust time and temperature settings.
COOKTOP USE
The control knobs can be set to anywhere between HI and LO.
Push in and turn to setting.
Ceramic Glass (on some models)
The surface cooking area will glow red when an element is on.
It may cycle on and off to maintain the selected heat level.
Use cookware about the same size as the surface cooking
area.
Cookware should not extend more than ½" (1.3 cm) outside
the area.
Cleaning off the cooktop before and after each use will help
keep it free from stains and provide the most even heating.
Cooktop On Indicator Light (on some models)
The Cooktop On indicator light is located on the console panel.
When any control knob on the console panel is turned on, the
Cooktop On indicator light will glow.
Ceramic Glass Cooktop Cleaning
Clean the cooktop after each use to help avoid scratches,
pitting, abrasions, and to condition the glass surface. Ceramic
glass cooktop cleaner, Cooktop Cleaning Pads, and a cooktop
scraper are also recommended for stubborn soils. Do not
use abrasive cleaners, cleaning pads, or harsh chemicals for
cleaning. The Cooktop Care Kit, Part Number 31605, contains
all of the items to clean and condition your ceramic glass
cooktop. Refer to the “Range Care” section for additional
information.
IMPORTANT: To avoid permanent damage to the cooktop
surface and to make soils easier to remove, clean the cooktop
after each use to remove all soils.
Hot Surface Indicator Light (on some models)
On ceramic glass models, the hot surface indicator light is
located on the console panel.
The hot surface indicator light will glow as long as any surface
cooking area is too hot to touch, even after the surface cooking
area is turned off.
Coil Elements and Burner Bowls (on some models)
Coil elements should be level for optimal cooking results.
Burner bowls, when clean, reect heat back to the cookware.
They also help catch spills.
Cookware should not extend more than ½" (1.3 cm) over the
coil element. If cookware is uneven or too large, it can produce
excess heat, causing the burner bowl to change color.
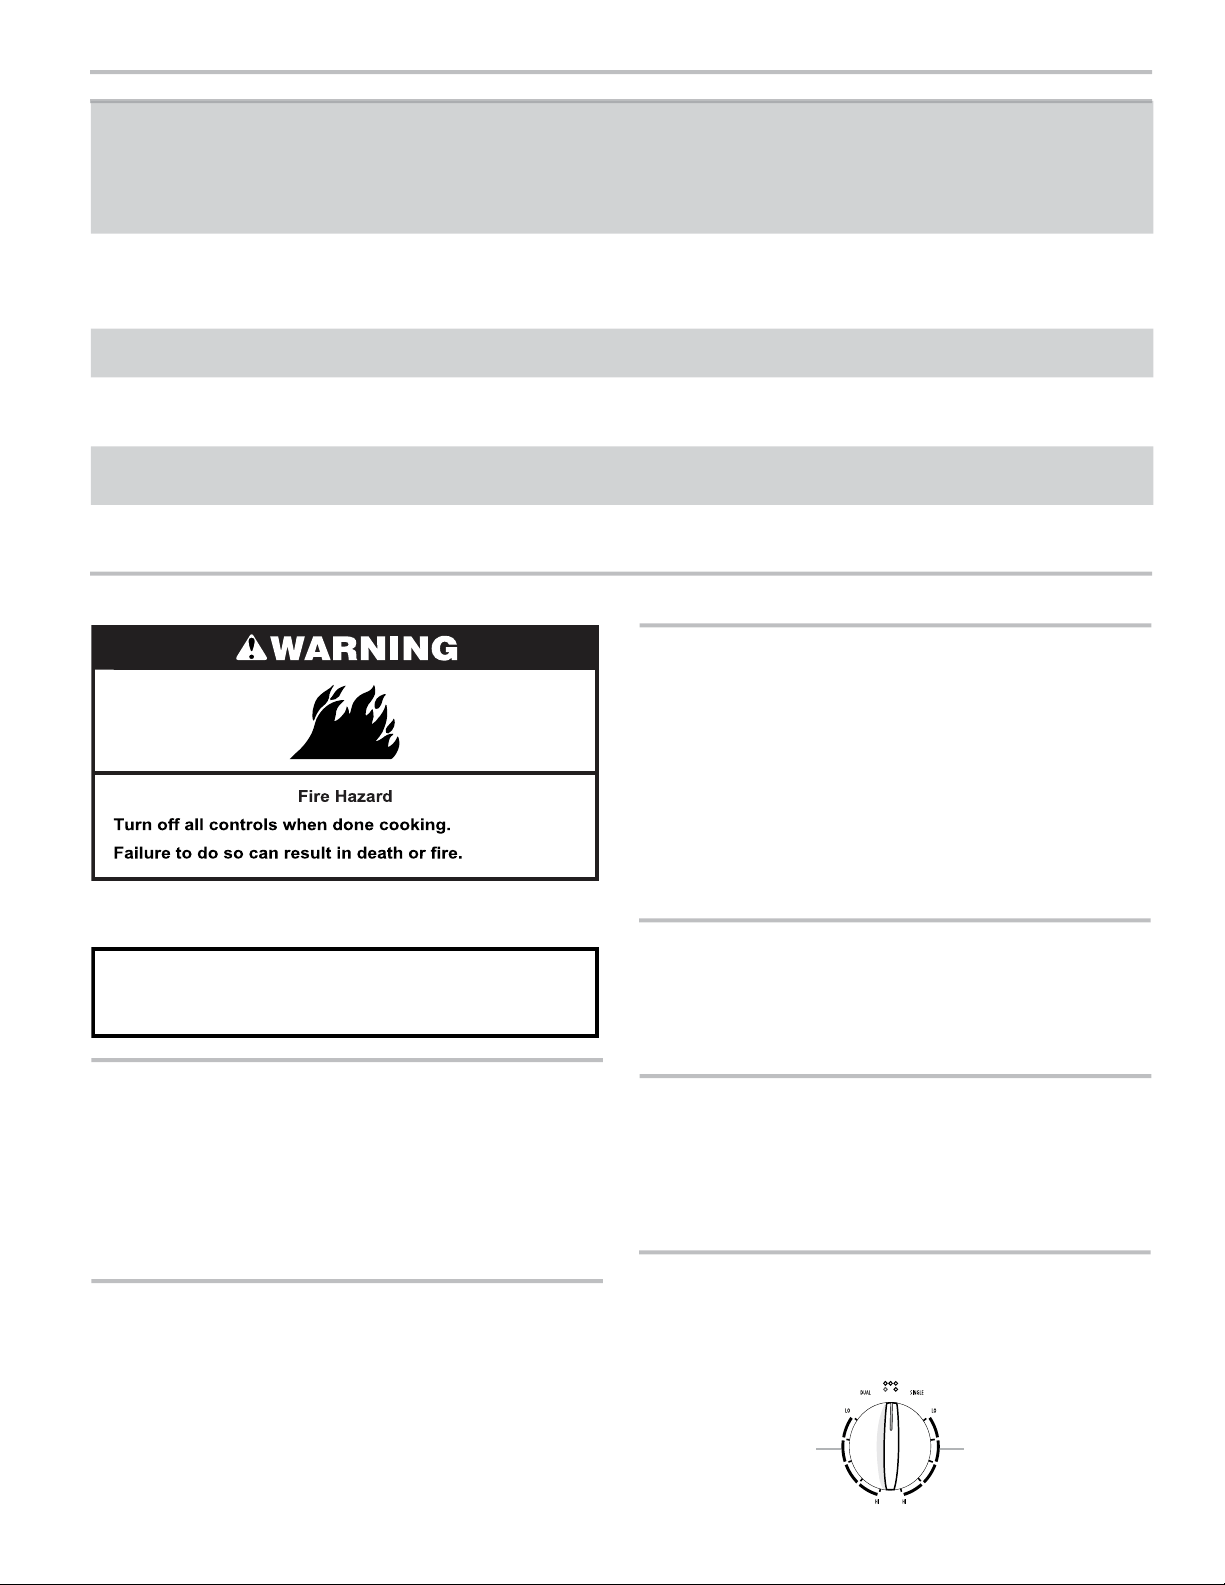
Dual Cooking Zone (on some models)
The Dual Cooking Zone offers exibility depending on the size
of the cookware. Single size can be used in the same way as
a regular element. The dual size combines both the single and
outer element and is recommended for larger size cookware.
REMEMBER: When range is in use or (on some models)
during the Self-Cleaning cycle, the entire cooktop area may
become hot.
A
B
A. Dual
B. Single
Loading ...
Loading ...
Loading ...